The Magic Of An RV Star Ceiling For Mobile Living
Ambiance Benefits
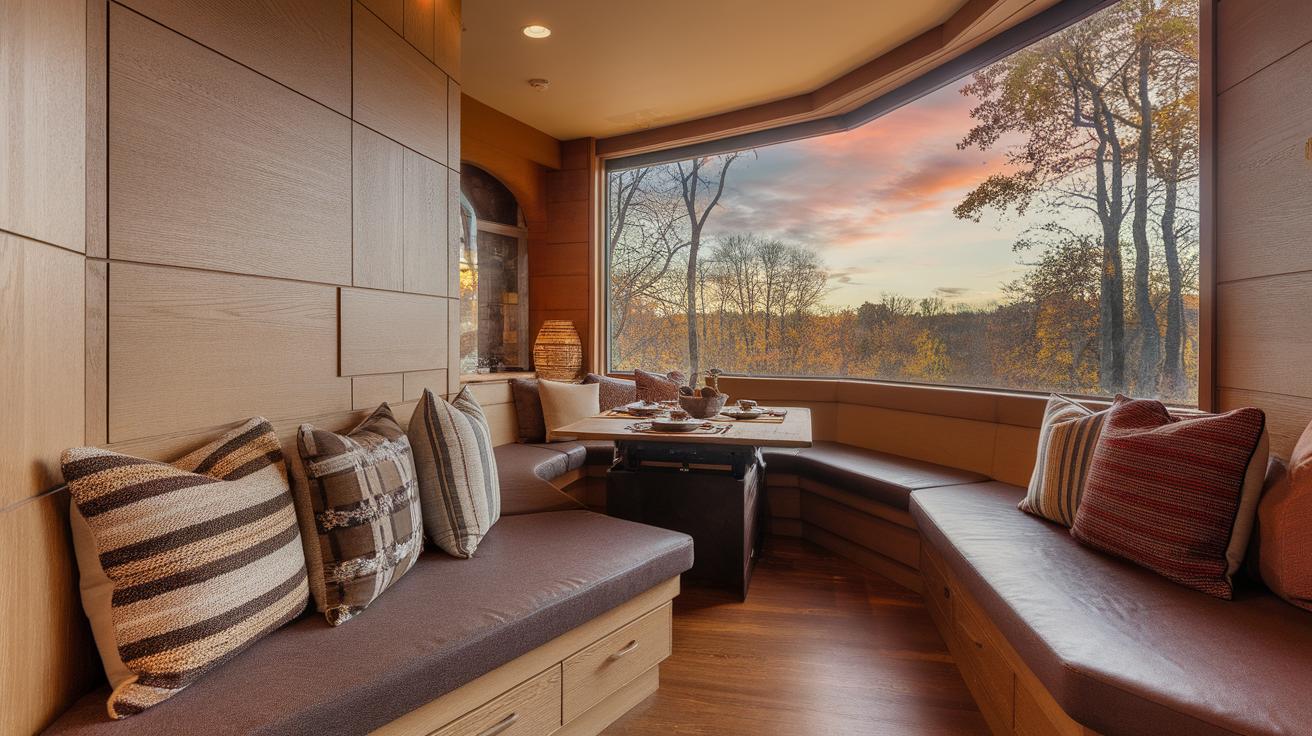
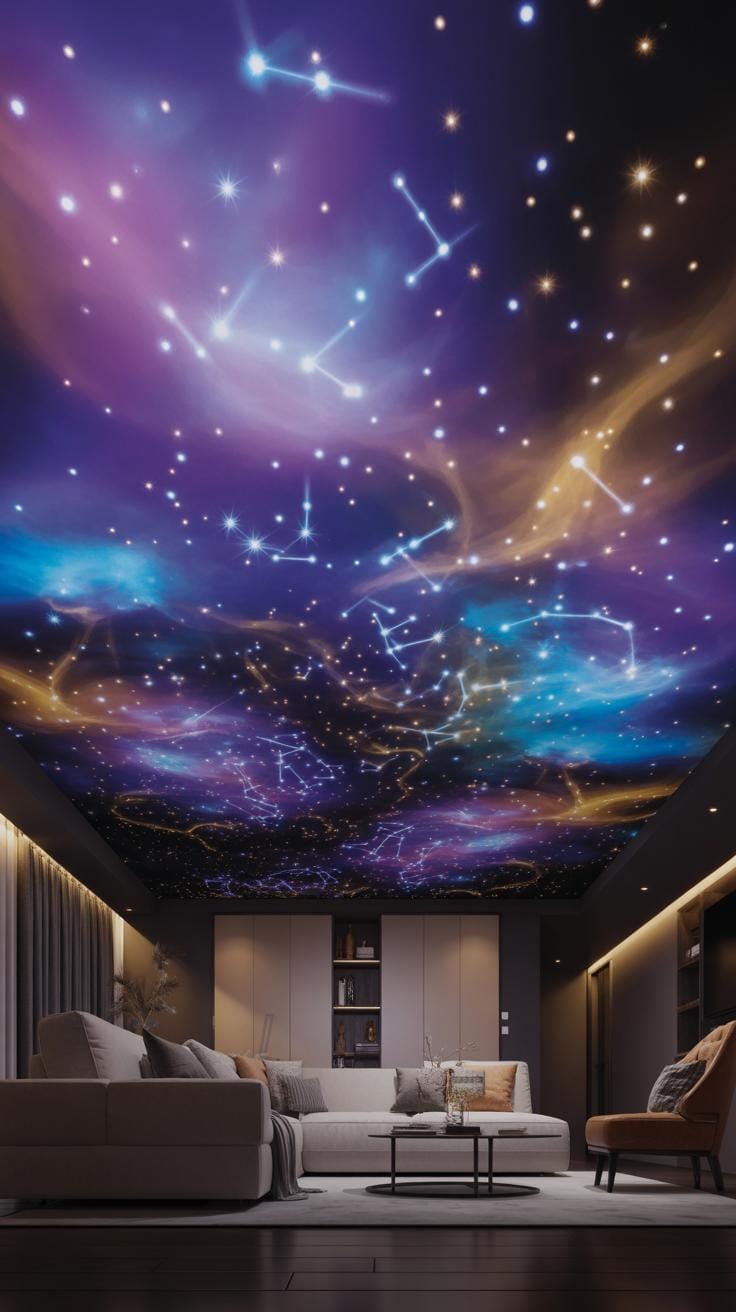
Small living areas often feel cramped after long days of travel. Adding a Night Sky Ceiling changes the mood immediately. It makes the tight space of a coach feel much larger and more open. This simple change helps you relax after driving many miles. You can enjoy a quiet evening while looking up at a Starry Ceiling that brightens your mood.
Many people search for Camper Ceiling Ideas to make their vehicle feel like a real home. Using Ceiling Stars Glow In The Dark materials creates a soft light that is not too bright. This design mimics a Glow In The Dark Stars Aesthetic Room found in luxury homes. It creates a calm space for sleeping and resting without needing harsh electric lamps or overhead lights.
Stargazing Comfort
Real stargazing depends on clear weather and dark locations away from city lights. An RV star ceiling brings those shimmering views inside your vehicle every single night. You do not have to worry about rain or cold wind when you have a Star Ceiling Bedroom. It provides a consistent view of the galaxy while you lay in your own comfortable bed.
If your current panels look old or stained, you should learn How To Replace Rv Ceiling materials with modern fiber optics. Installing Ceiling Stars allows you to enjoy nature even when you are parked in a crowded city or a bright rest stop. These Rv Ceiling Ideas provide a sense of peace. You can recreate the feeling of the wilderness while staying safe and warm inside.
Creative RV Ceiling Ideas To Transform Your Interior
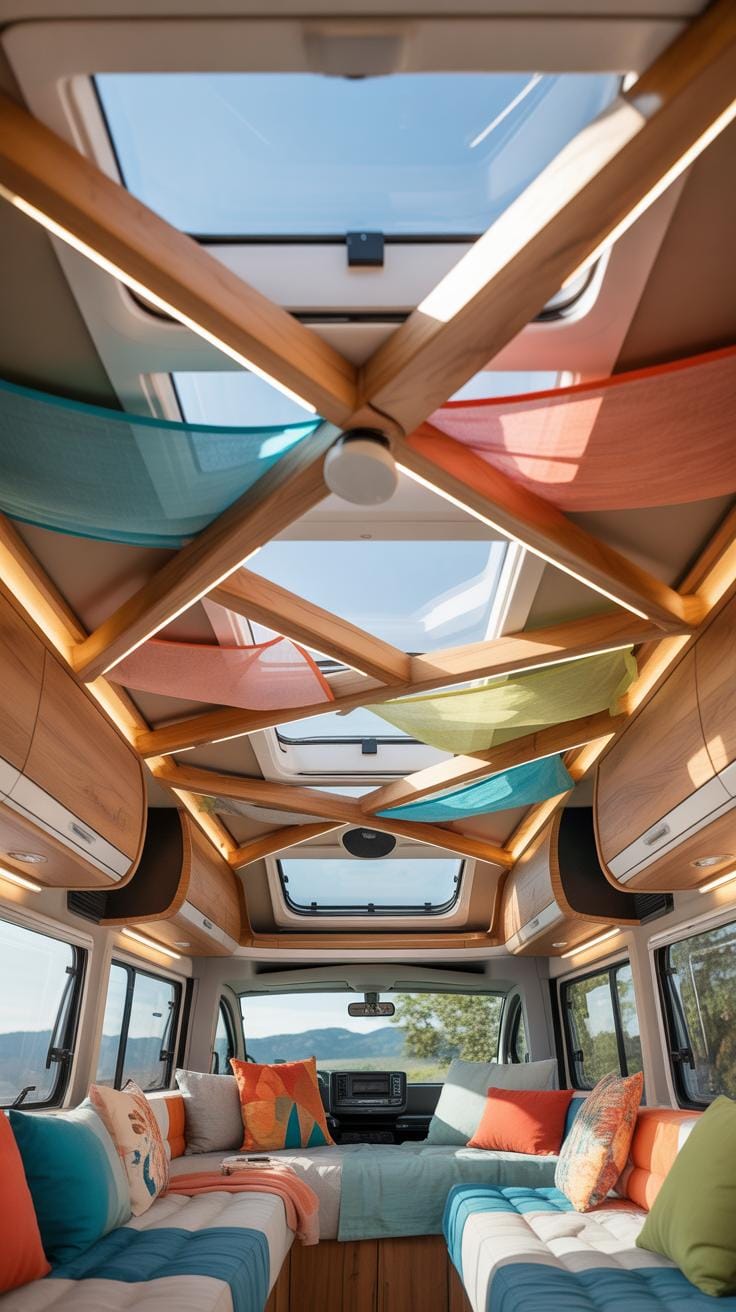
Design Trends
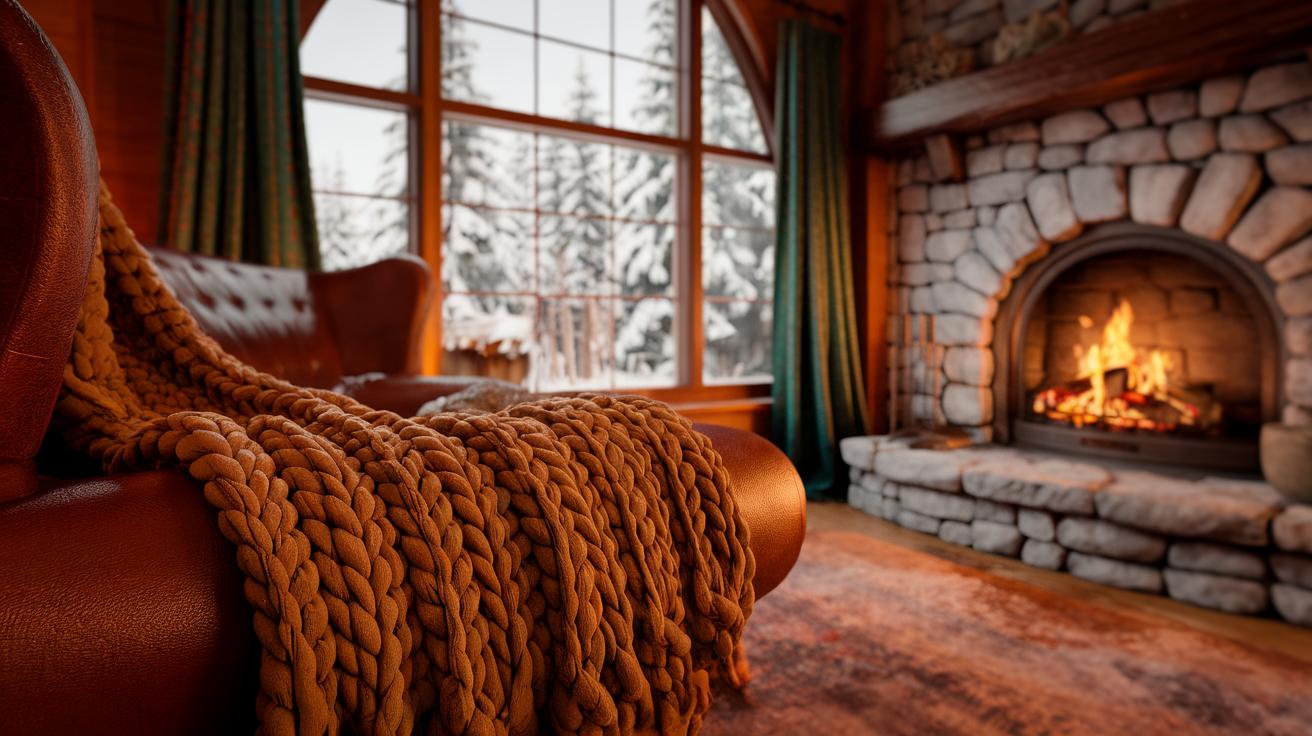
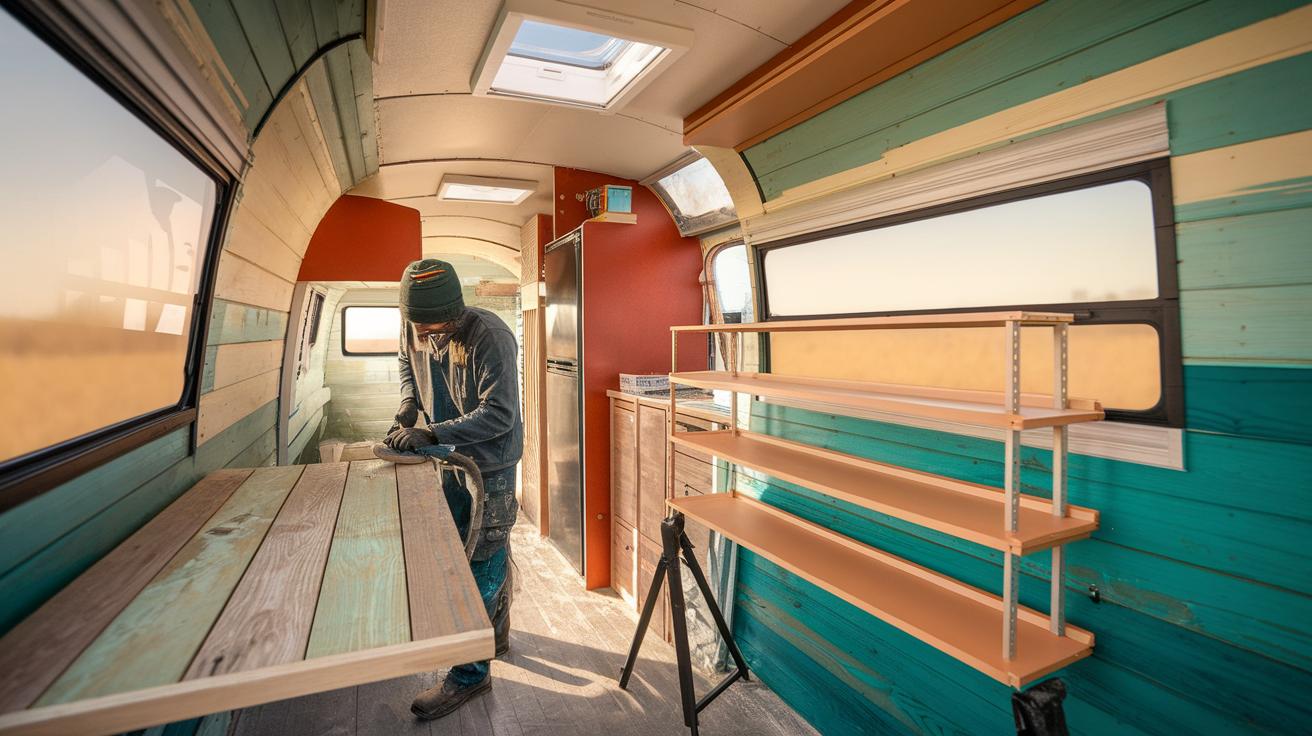
Modern camper ceiling ideas center on making small spaces feel open and personal. Many travelers now move away from factory plastic and choose natural wood or textured fabrics. These materials create a cozy atmosphere similar to a star ceiling bedroom in a traditional house. High-quality finishes turn a standard cabin into a warm retreat. This change helps owners feel closer to nature during their long road trips.
If your current surface looks old, you might learn how to replace rv ceiling panels with lightweight plywood or vinyl. Soft colors and matte finishes are popular for a night sky ceiling look. These choices help hide small scratches and reflect light better. A well-designed area makes the whole room feel taller. Modern enthusiasts prioritize comfort and durability while keeping the aesthetic clean and simple for every journey.
Lighting Integration
Smart lighting brings life to your rv ceiling ideas by adding depth and utility. You can use recessed puck lights or hidden strips to create a soft glow. Some people install a starry ceiling using tiny fiber optic cables for a realistic effect. This setup mimics the natural beauty of the desert sky while you stay warm inside. Good lighting makes small spaces more functional and much more inviting.
You can also try a glow in the dark stars aesthetic room style for a classic feel. Simple ceiling stars glow in the dark can be placed over painted murals to save power. Integrating these elements with basic ceiling stars creates a layered look. Standard LED panels work well with decorative covers to reduce harsh glare. Using multiple light sources allows you to change the mood from bright tasks to calm rest easily.
How To Replace RV Ceiling Panels For A Fresh Start
Removal Steps
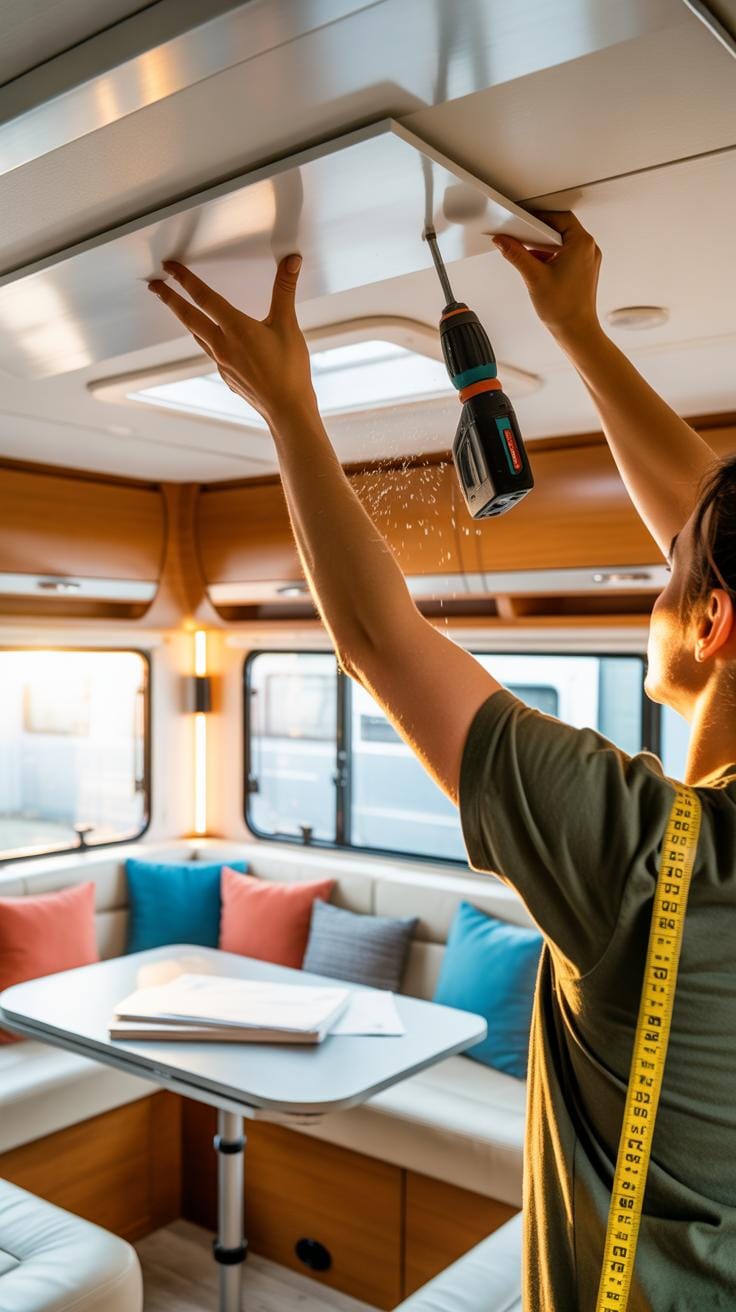
Removing old materials is the first step when you learn how to replace rv ceiling parts. You need a clean surface to create a night sky ceiling later. Start by taking down trim pieces and light fixtures carefully. This process requires patience to avoid damaging the underlying frame. Clear away old adhesive or staples so the new panels sit flat against the roof supports.
- Cordless Drill: Use this tool to remove screws from trim and vents quickly. It saves your wrists from strain during the teardown phase. Most RVs use square head or Phillips screws for interior panels and molding.
- Pry Bar: A small flat bar helps pop out stubborn staples and nails. Use it gently to avoid denting the aluminum or wood wall studs. This tool is vital for cleaning the edges where panels meet the walls.
- Utility Knife: Use a sharp blade to cut through old seam tape or wallpaper. It prevents the old material from peeling off in jagged chunks that ruin the look. Always keep extra blades nearby for clean and precise cuts.
- Safety Gear: Wear goggles and a mask to protect yourself from falling debris. Older campers often have dust or insulation particles hidden behind the panels. Keeping your lungs and eyes clear makes the renovation much more enjoyable.
- Oscillating Multi-Tool: This power tool cuts through stubborn glue or tight corners with ease. It is perfect for trimming away excess wood or plastic in corners. It makes removing the old camper ceiling ideas much faster than using manual hand tools.
Organizing your hardware ensures a smooth transition to your star ceiling bedroom project. Label every screw and bracket as you take them down. This habit prevents confusion when you install the new material. A tidy workspace allows you to focus on the creative aspects of your rv ceiling ideas. Proper preparation leads to a professional finish for your starry ceiling and provides lasting results.
Structural Inspection
Inspect the roof framing for signs of water damage or wood rot immediately. Leaks often hide behind old panels and can ruin a new ceiling stars glow in the dark setup. Feel the wood for soft spots or dampness that indicates a failing seal outside. Repairing these issues now prevents mold from growing inside your cozy glow in the dark stars aesthetic room later.
Look at the wiring for your ceiling stars to ensure everything remains safe and functional. Damaged insulation or loose connections can cause flickering or fire hazards in your mobile home. Check the metal or wood ribs for straightness and strength before adding new weight. Sturdy supports are required to hold up a heavy starry ceiling or thick insulation layers in your vintage camper.
Innovative Camper Ceiling Ideas Using Fiber Optics
Fiber Optic Tech
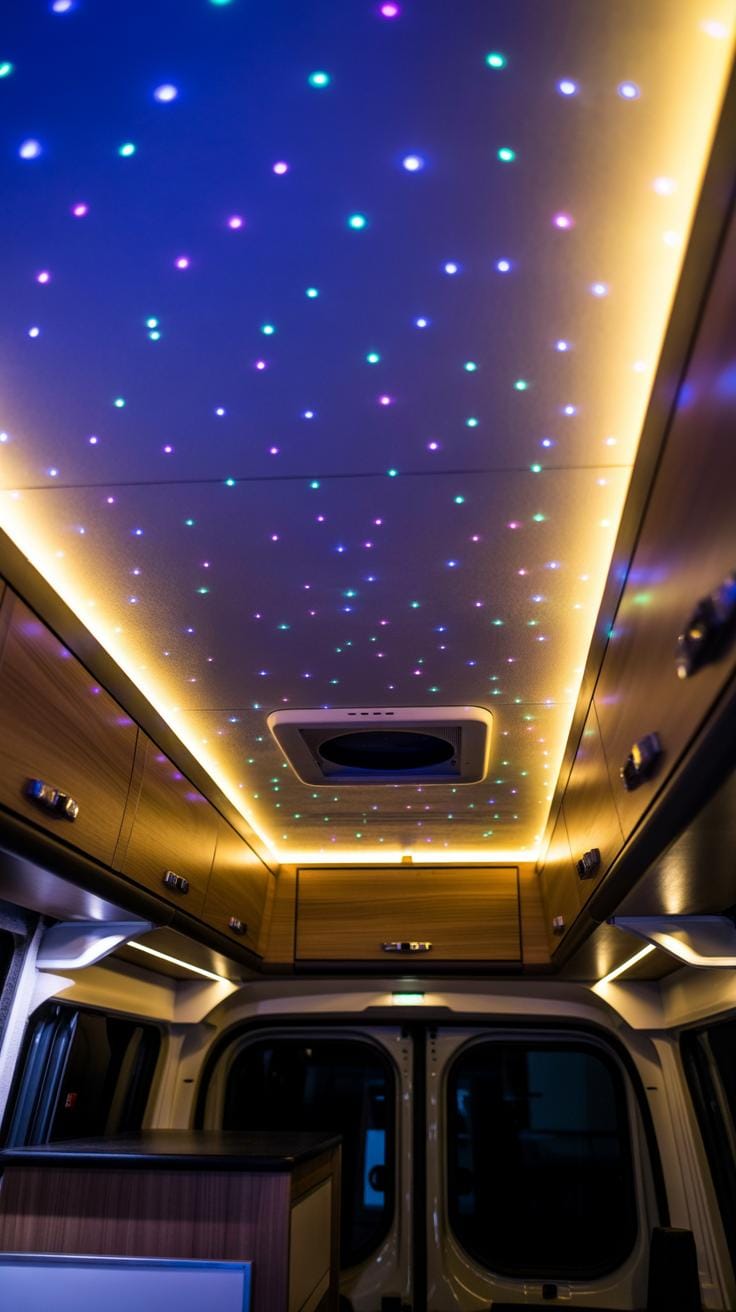
Fiber optic kits create a stunning Starry Ceiling in your mobile home. These systems use a light source called an illuminator and thin plastic strands. High quality illuminators use LED bulbs to push light through the cables. You can hide the box in a cabinet or behind a panel. This setup offers better results than Ceiling Stars Glow In The Dark stickers which fade fast.
Builders often use these kits for Camper Ceiling Ideas because they are safe and durable. Unlike traditional bulbs, the actual strands do not carry heat or electricity through the roof. This makes the project ideal for a Star Ceiling Bedroom inside a compact van. You can learn How To Replace Rv Ceiling panels with lightweight foam or fabric to hold the glowing fiber strands securely in place.
Twinkle Effect
A Night Sky Ceiling looks best when the lights vary in brightness and movement. Many fiber optic motors include a rotating twinkle wheel that blocks light at intervals. This creates a shimmering look that mimics real atmospheric conditions. Modern units often come with remote controls or phone apps to adjust the speed. This feature makes any Glow In The Dark Stars Aesthetic Room feel much more realistic.
You can customize your RV Ceiling Ideas by using different cable thicknesses. Shaving the ends of the fibers or pulling them at different lengths creates varied star sizes. This technique brings depth to your Ceiling Stars and makes the small space feel larger. Using a slow twinkle setting provides a relaxing vibe for sleeping under the stars. Proper planning ensures your mobile cabin feels like a cozy sanctuary every single night.
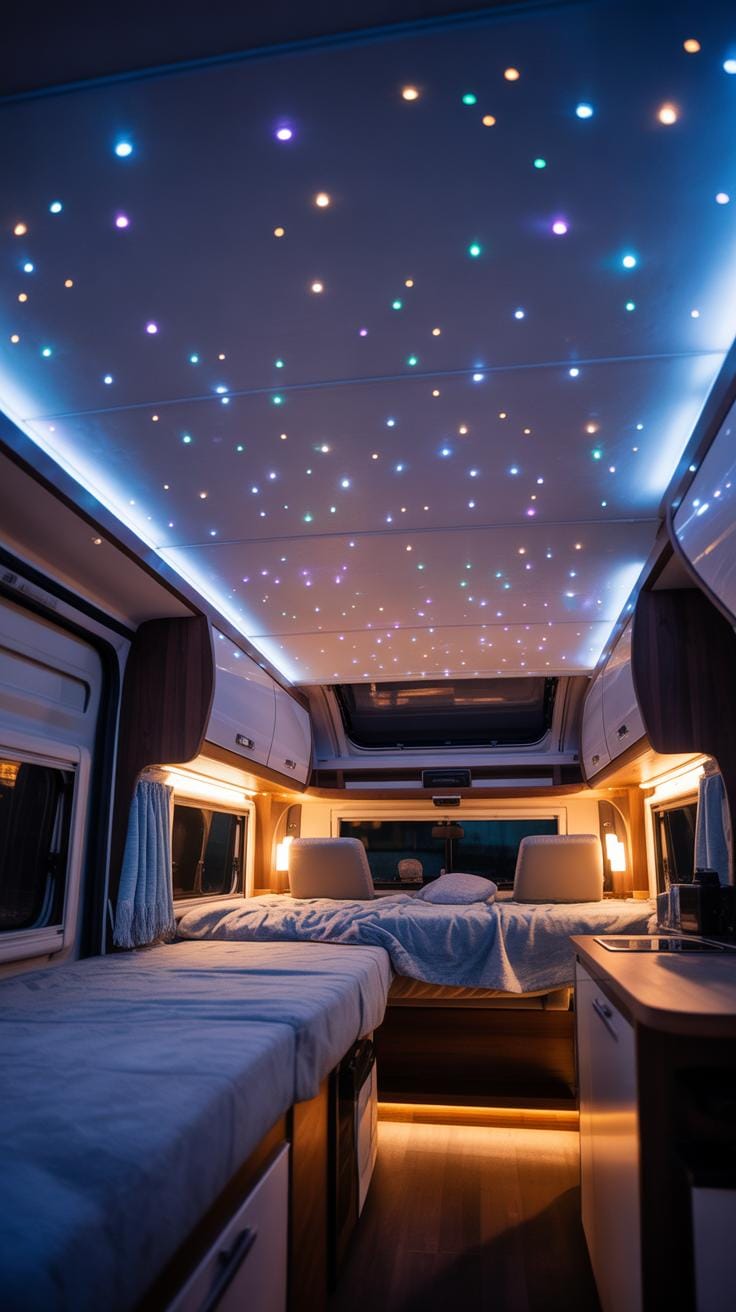
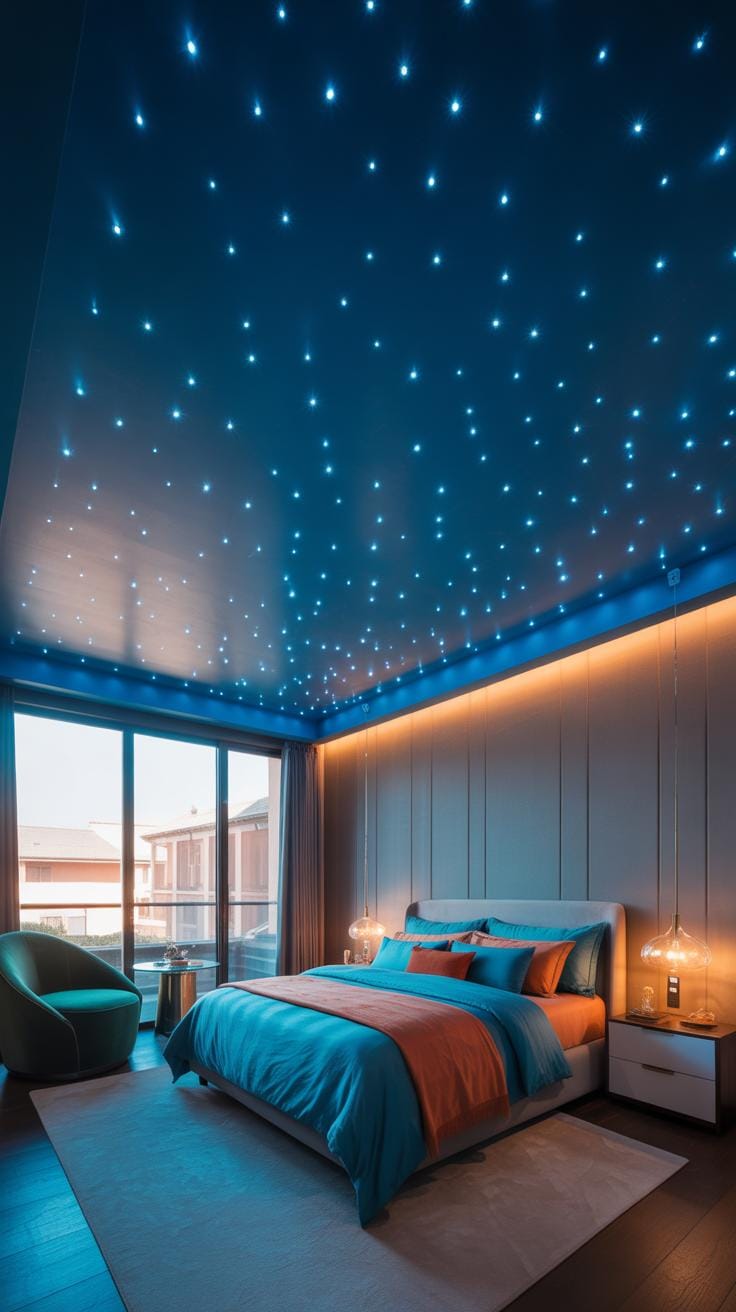
Creating A Night Sky Ceiling With LED Technology
Led Strips
Smart lighting offers a simple way to create a Night Sky Ceiling without complex wiring. These thin strips hide behind molding or inside panels to cast a soft glow across your RV interior. You can choose deep blues or soft purples to mimic a real midnight horizon. This modern approach works better than a Glow In The Dark Stars Aesthetic Room because you can change the intensity and color at any time.
These lights work well with other Rv Ceiling Ideas to give your living space a sense of depth. You should look for strips that use a phone app or a remote control for easy adjustments. This setup makes your Starry Ceiling feel alive after the sun sets. Builders often use these strips when they learn How To Replace Rv Ceiling materials with lighter, more modern options that reflect light beautifully.
No matter where the road takes you, you can always fall asleep under the same stars that watched over your childhood. Bring the infinite beauty of the cosmos inside and let every night in your tiny home feel like a miracle.
— Carl Sagan
Power Management
Your mobile home rely on a 12V system to run lights and appliances without a shore power connection. Connecting your Star Ceiling Bedroom to the existing fuse block ensures everything stays safe and functional. Always use the correct wire gauge to prevent overheating in small spaces. Proper wiring keeps your Ceiling Stars Glow In The Dark features working smoothly without draining your house batteries too quickly while you are dry camping.
Managing power is a vital part of most Camper Ceiling Ideas today. You should install a dedicated switch so you can turn off the Ceiling Stars when you need total darkness for sleep. Integrating these lights into your 12V grid is more reliable than using battery packs. Using professional connectors ensures your Night Sky Ceiling remains bright even as you travel over rough roads during your long outdoor adventures.
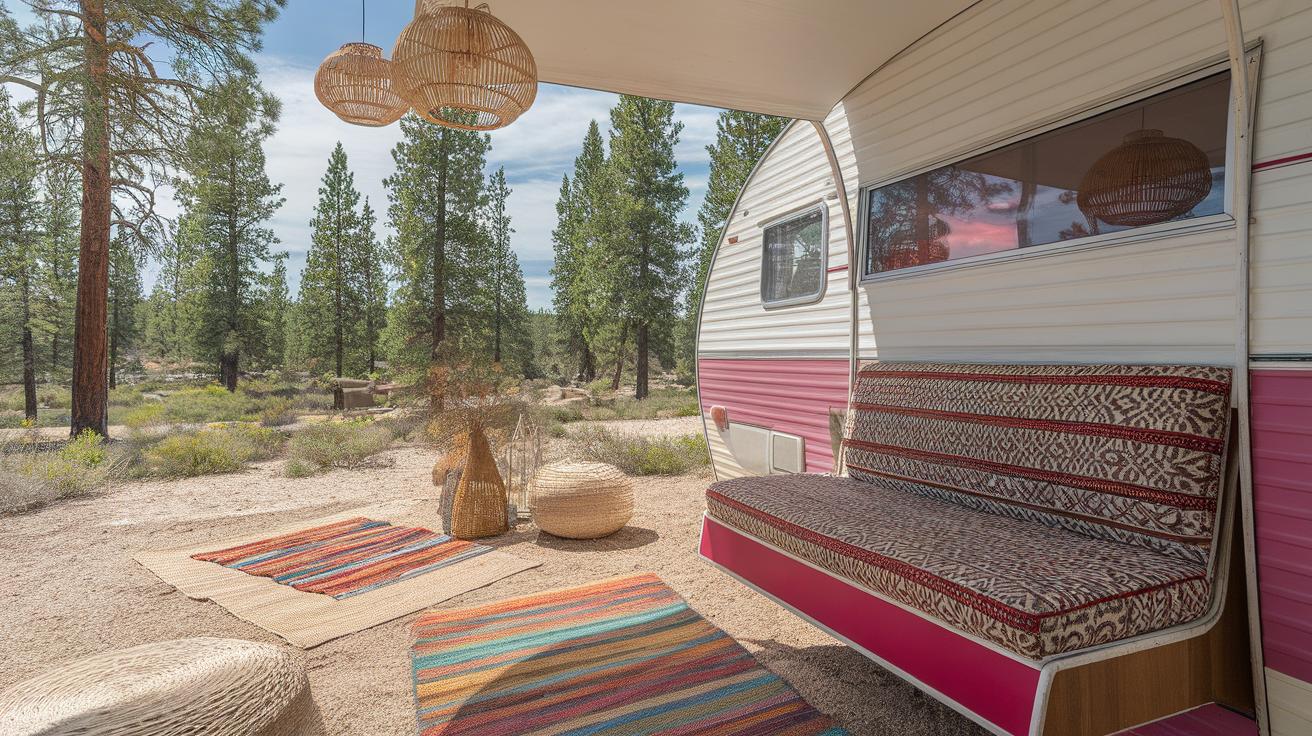
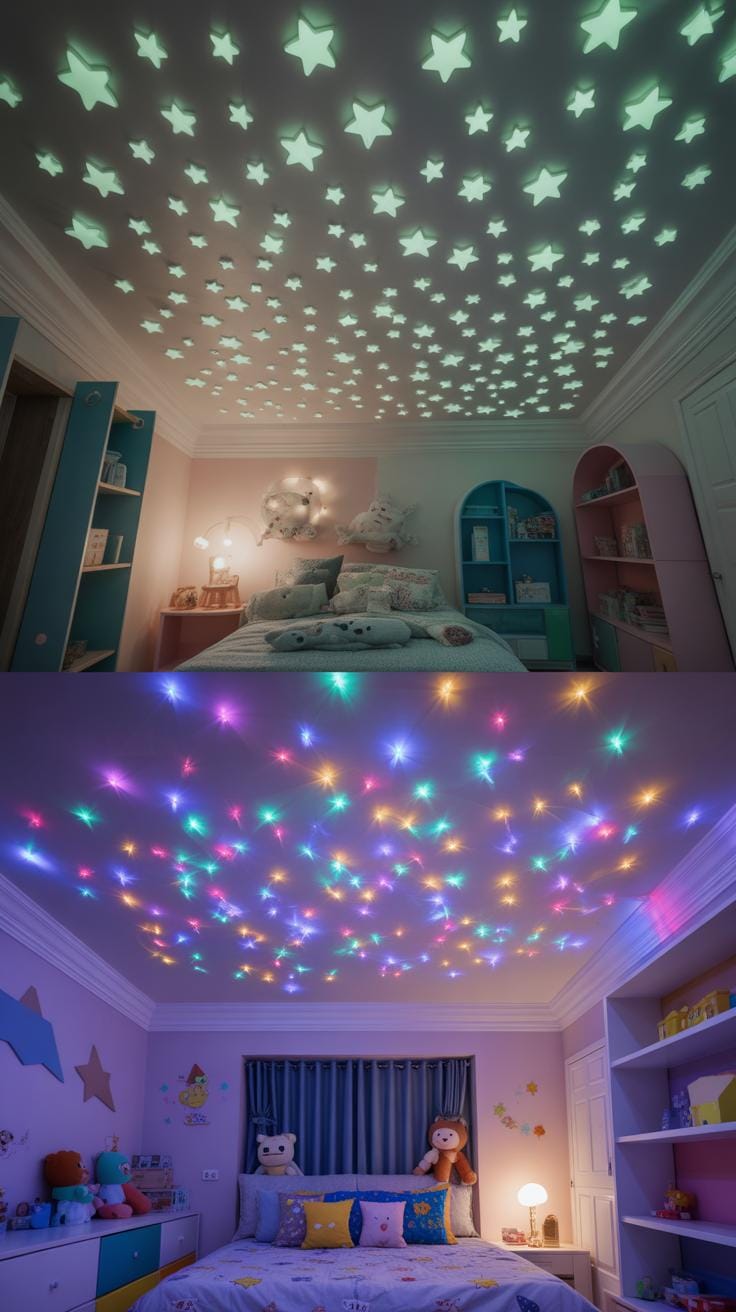
Achieving A Glow In The Dark Stars Aesthetic Room Outdoors
Vintage Vibes
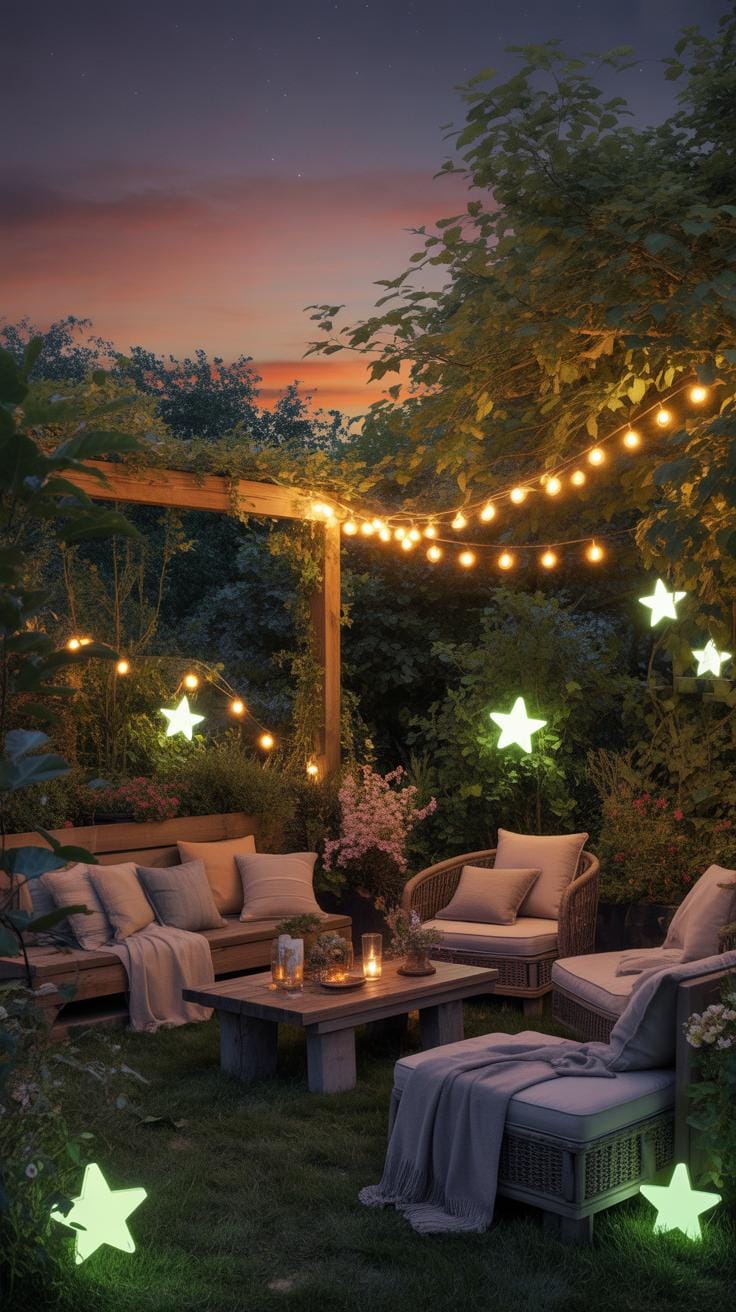
Classic adhesive decals bring back the charm of 1970s and 1980s campers. These simple stickers allow you to recreate a glow in the dark stars aesthetic room inside your vehicle. They capture light during the day and release a soft green hue at night. This method is an affordable way to test new Rv ceiling ideas without performing permanent modifications to the interior structure.
Many owners choose these decals when researching how to replace Rv ceiling panels or refresh old surfaces. Applying ceiling stars glow in the dark creates a cozy feeling for children and adults alike. You can arrange them in clusters to mimic real constellations visible through the windows. This approach remains a favorite among hobbyists seeking a starry ceiling that reminds them of childhood camping trips.
Phosphorescent Paints
Professional grade phosphorescent paint offers a more seamless appearance for your night sky ceiling. High quality pigments glow brighter and longer than standard craft supplies. You apply the paint directly to the surface using small brushes or stencils. This technique fits perfectly into modern camper ceiling ideas because the stars remain invisible during the day while providing a bright star ceiling bedroom effect at night.
Using durable finishes ensures the ceiling stars stay bonded to the moving vehicle. It is important to select non toxic options safe for small spaces. Map out your design beforehand to create a realistic night sky ceiling across the entire living area. These paints provide a custom look that integrates smoothly with existing decor. You can achieve a professional result that makes every evening inside your camper feel like an outdoor adventure.
Comparing Ceiling Stars Glow In The Dark Vs Electric Options
Cost Analysis
Planning Rv Ceiling Ideas often starts with your budget. Adhesive Ceiling Stars Glow In The Dark offer a cheap way to create a Glow In The Dark Stars Aesthetic Room feel. You can buy hundreds of stickers for a few dollars. These require zero tools or wiring. Most owners choose these when they want a fast change without learning How To Replace Rv Ceiling panels or spending much money.
Electric fiber optic kits cost much more than stickers. These units require power and professional installation. You might pay hundreds for a high quality Night Sky Ceiling kit. This choice is common for high end Camper Ceiling Ideas where the budget is larger. While electricity increases the price, it provides a luxury look that simple stickers cannot match in a Star Ceiling Bedroom setup or a living area.
Longevity Brightness
The brightness of a Starry Ceiling depends on the light source. Standard Ceiling Stars use phosphorescent materials to store light. They glow brightly for a short time after you turn off the lamps. This glow fades throughout the night. It creates a soft and natural feel for a Night Sky Ceiling without using any battery power. You never have to worry about broken bulbs or loose wires.
Fiber optic systems stay bright as long as the power is on. These electric Ceiling Stars use a light engine to push light through tiny strands. You can change colors or make the stars twinkle with a remote. This setup offers more control for your Rv Ceiling Ideas than paint or stickers. It requires more maintenance over time. You must ensure the light source has enough ventilation to prevent overheating.
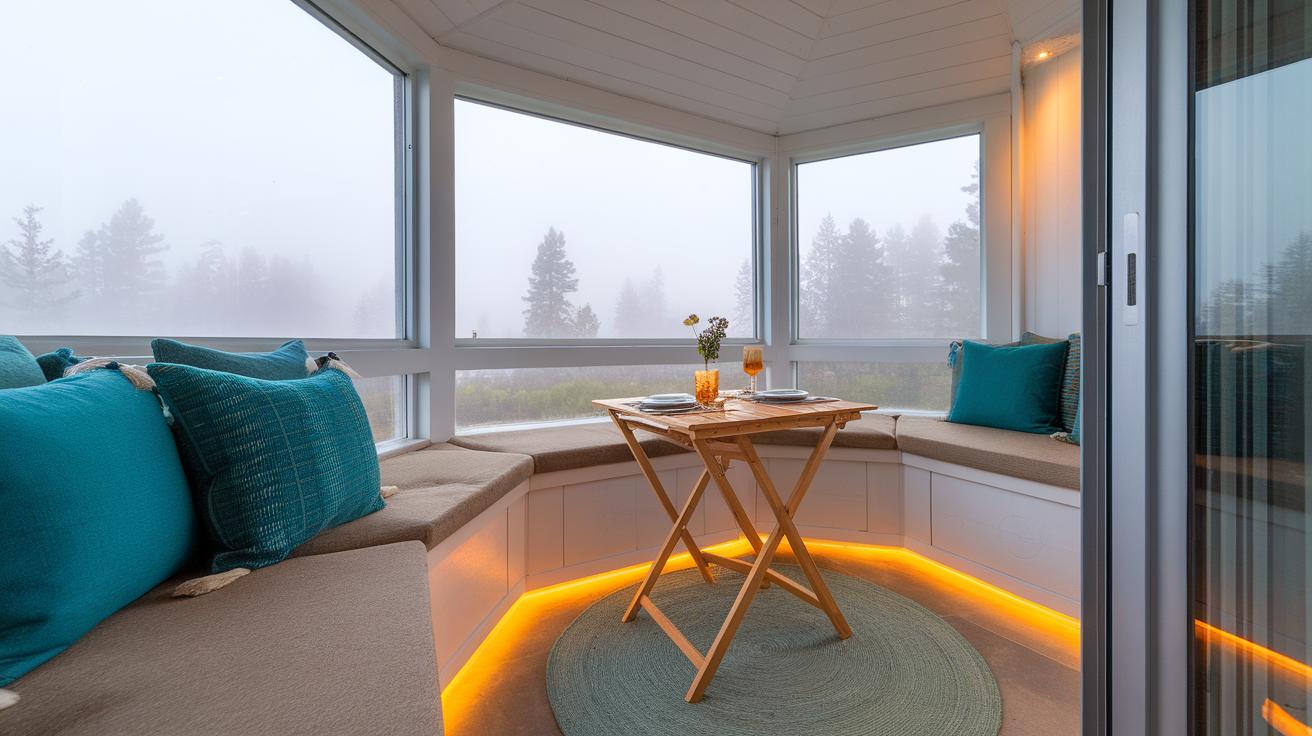
Designing A Star Ceiling Bedroom In Your Master Suite
Sleep Quality

A Night Sky Ceiling helps your body relax after a long day of travel. Looking at Ceiling Stars mimics the natural sky and triggers a calm feeling in your brain. This peaceful view reduces stress and makes falling asleep easier in a small mobile home. Many owners use these Rv Ceiling Ideas to create a quiet space that feels like camping under the open air.
Adding a Star Ceiling Bedroom to your camper improves your rest by providing soft light. A Glow In The Dark Stars Aesthetic Room offers enough glow to see without being too bright. These Ceiling Stars Glow In The Dark help kids and adults feel safe and steady at night. You will wake up feeling refreshed because your mind stayed calm while watching the gentle patterns above.
Space Optimization
Low ceilings in motorhomes often feel cramped and tight. You can make the room look taller by using a Starry Ceiling. Dark colors on top create an illusion of depth that mimics the endless universe. This simple trick is one of the best Camper Ceiling Ideas for master suites. It changes a flat surface into a deep window that makes the whole bedroom feel much larger.
If your current panels look old, you should learn How To Replace Rv Ceiling materials with lightweight fiber optics. Thin panels save room and do not take up head space. Install these lights during your next renovation to keep the area open. Using thin layers ensures you stay comfortable while moving around. A well planned layout keeps the focus on the beauty of the stars instead of the low roof.
Step By Step Guide To Installing Ceiling Stars At Home Or In A Van
Installation Process
Creating a Starry Ceiling in your small space requires careful planning and steady hands. You must map out your design before you begin the physical work. Start by measuring your space to ensure your light engine sits in a central, accessible location. This process helps you craft a beautiful Night Sky Ceiling that mimics the natural atmosphere above while you rest inside your vehicle.
- Light Engine Placement: Mount the light source in a ventilated area inside a cabinet or behind a panel. This box powers the individual strands and must remain dry and cool for safety and longevity in your Star Ceiling Bedroom.
- Drilling holes: Use a tiny drill bit to create small openings in your ceiling panel for each fiber. Follow a random pattern to create a realistic look for your campers. Consistency looks fake, so vary the spacing between the holes.
- Threading fibers: Insert the individual plastic strands through each hole starting from the back. Pull them through until they stick out about one inch from the front. Secure them with a small drop of glue on the hidden side of the panel.
- Wiring and Power: Connect the light engine to your twelve volt battery system or a standard outlet. Use a fuse to protect the electronics from power surges. This step ensures your Glow In The Dark Stars Aesthetic Room lighting remains safe to use.
- Trimming strands: Cut the excess fiber optic material flush with the surface of the panel. Use sharp snips to get a clean edge for better light output. This final trimming step makes the tiny points of light appear part of the surface.
If you want to know How To Replace Rv Ceiling panels, start by removing the old trim carefully. Modern Camper Ceiling Ideas often use lightweight plywood or PVC sheets for easy drilling. Secure the finished panel to the roof rafters with screws or heavy duty adhesive. Connect the power wires to a switch so you can toggle your display whenever you want a relaxing view.
Finishing Touches
A professional Night Sky Ceiling relies on the right surface finish to hide the installation work. Apply a flat black or navy blue paint to the panels before you insert any fibers. This dark background creates a deep contrast that makes the light points pop. You can also use Ceiling Stars Glow In The Dark paint to add tiny dots between the fiber optic points for extra depth.
Quality Rv Ceiling Ideas include using fabric textures to dampen sound and hide imperfections. Stretch a thin layer of suede or velvet over the board to give it a soft, premium feel. This technique works perfectly for a Star Ceiling Bedroom because it reduces echoes in small rooms. Once the fabric is tight, poke the fibers through the weave to complete your unique and cozy living space.
Frequently Asked Questions

What are the best methods for creating a galaxy effect in a motorhome?
Creating a stunning RV star ceiling can be achieved through several popular methods depending on your style. You can use fiber optic lighting kits for a realistic twinkling effect, apply high-quality glow-in-the-dark vinyl decals for a simple DIY approach, or install specialized star projector lamps. For a permanent, high-end look, many owners choose custom-fitted acoustic panels pre-wired with micro-LEDs to mimic the actual constellations of the night sky.
How do I install fiber optic cables in an RV ceiling without damaging the structure?
To install a fiber optic RV star ceiling, you typically use a thin foam or suede-wrapped panel as a false ceiling. Carefully drill tiny holes into the panel, thread the fiber strands through, and secure them with adhesive. This secondary panel is then mounted to your existing ceiling using heavy-duty hook-and-loop fasteners or trim screws, ensuring you don’t compromise the structural integrity or insulation of your vehicle’s original roof.
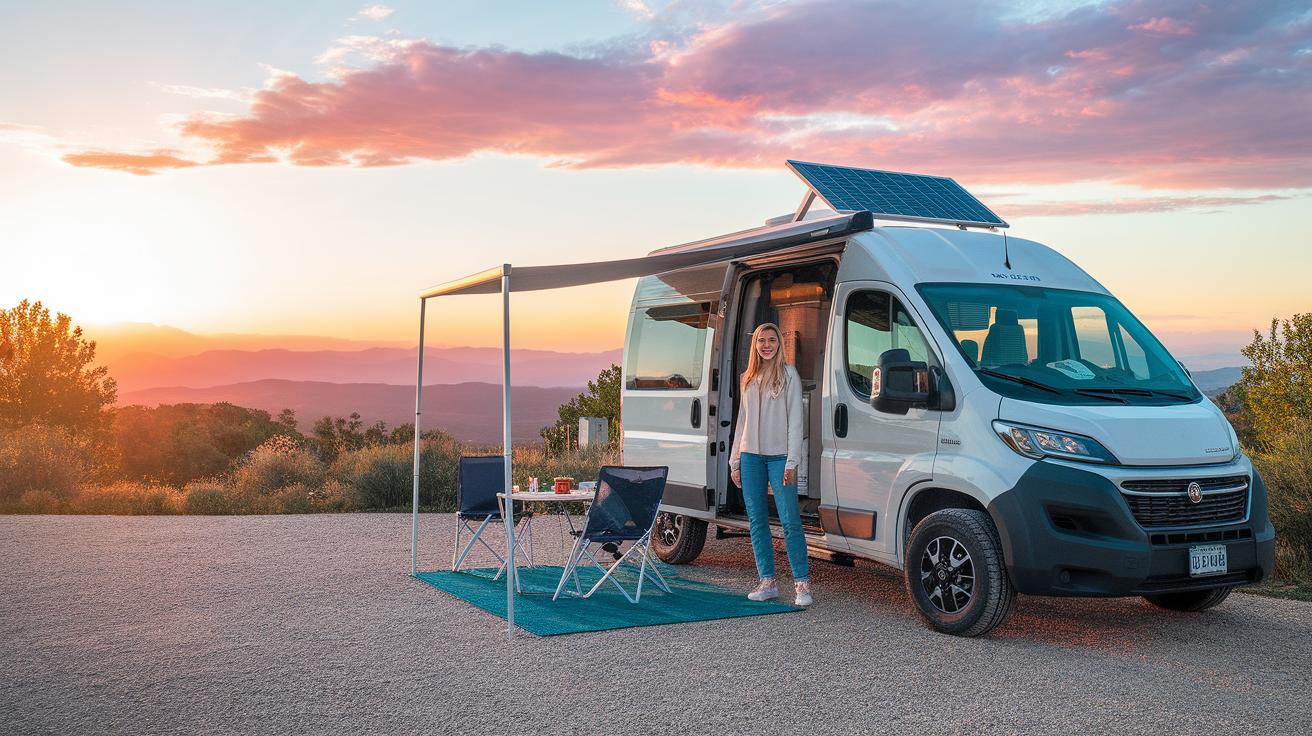
Is it expensive to add a celestial lighting theme to a small travel trailer?
Transforming your space doesn’t have to break the bank. While professional fiber optic installations can cost several hundred dollars, budget-conscious travelers can achieve a beautiful result with affordable LED galaxy projectors or “peel and stick” glow stars for under fifty dollars. These accessible options allow you to enjoy a magical atmosphere every night without a major financial investment or permanent modifications, making it perfect for weekend warriors and full-timers alike.