Introduction
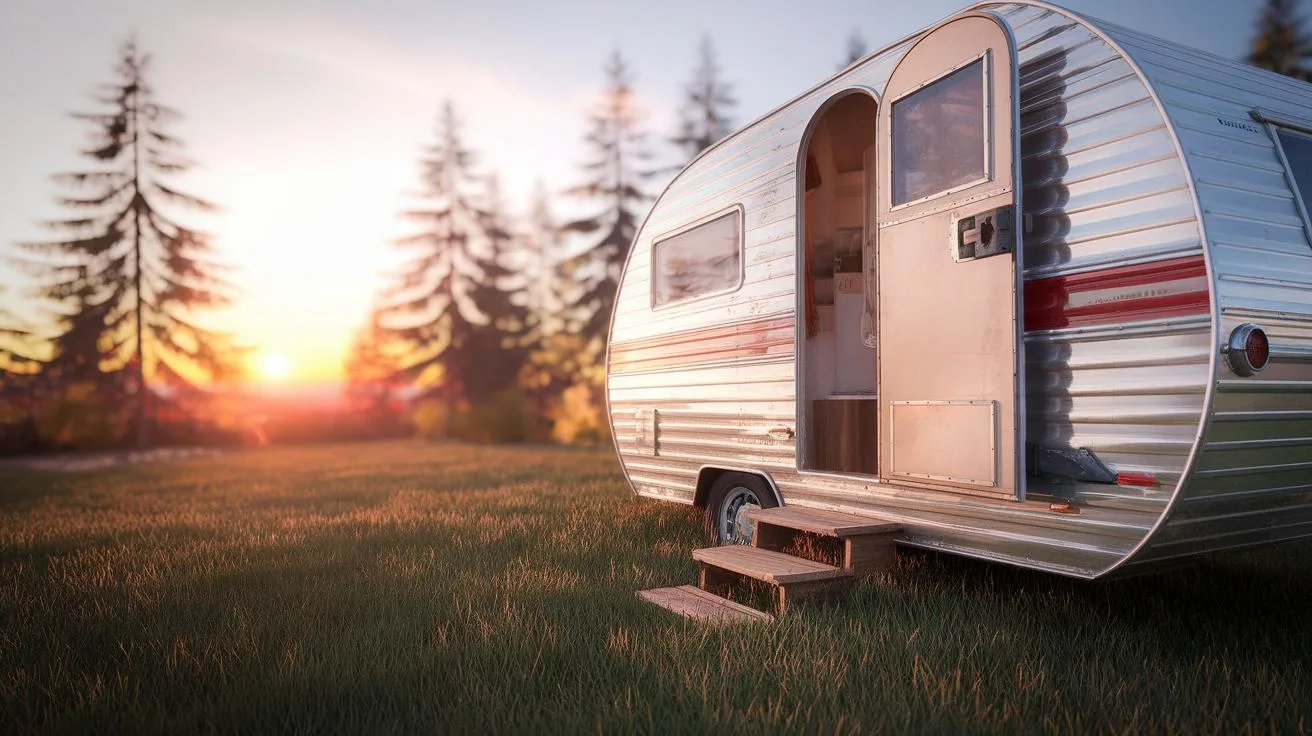
Your vintage camper holds stories and memories from past travels. Bringing it back to life can be rewarding and practical. When you remodel, you combine history with your personal touch. It adds value and comfort to your camper. Vintage campers like Airstream models are known for their distinctive shapes and aluminum bodies. They have unique charm that modern campers often lack. Remodeling these campers lets you keep that charm while updating the functionality. Your camper can become a cozy retreat for family adventures or a stylish showpiece for enthusiasts. How do you start a remodel project? What steps create the best balance of classic look and modern convenience? These questions guide your journey.
Understanding your camper’s construction and features is key. Many vintage models have durable aluminum bodies, while interiors vary from wood paneling to metal frameworks. Planning the remodel begins with assessing repairs and improvements. This process includes updating plumbing, electrical systems, and insulation. At the same time, you choose materials, colors, and furnishings that reflect the vintage style. Small details like retro light fixtures or patterned fabrics bring authenticity. Practical upgrades like energy-efficient appliances and storage solutions increase comfort and functionality. Your vintage camper remodel can revive its classic charm and make it a practical home on wheels for today’s travel demands.
Understanding Your Vintage Camper Model
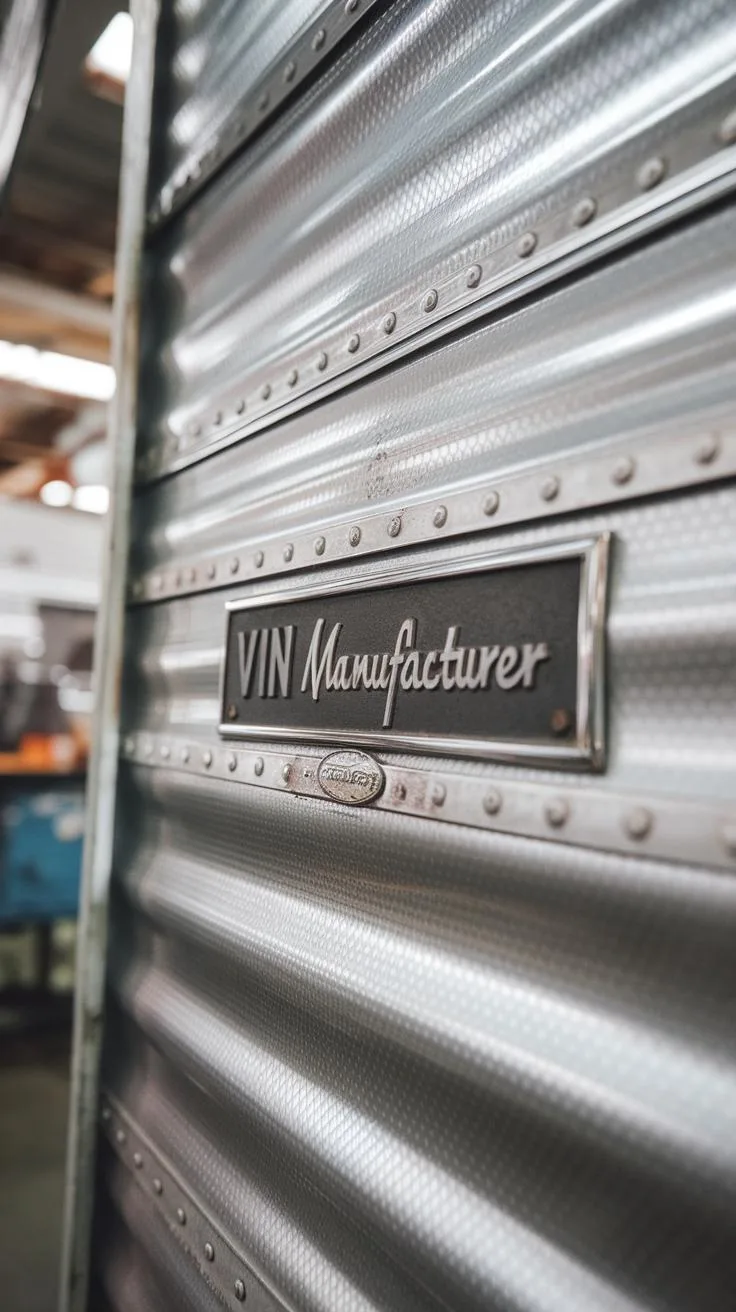
Your vintage camper model tells a story about its design and construction. Take the Airstream, a popular classic camper known for its rounded aluminum body that stands out on the road. These campers often feature wood interiors that add warmth and charm.
Knowing the original materials helps you decide what to keep, replace, or improve. For example, aluminum can be durable but tricky to repair if damaged. Wood inside may look great but can suffer from rot or wear over time.
Each camper model has unique features shaped by its maker’s vision and era. Understanding these details guides your remodel choices and keeps that classic appeal intact. Have you studied your camper’s original build? This insight is your roadmap for thoughtful updates that respect its history.
Materials and Construction of Vintage Campers
Vintage campers often combine aluminum, Masonite panels, and wood. Aluminum forms the shell, which protects the camper and creates its sleek look. Masonite, a type of hardboard, is used for walls or cabinetry but may swell if wet.
Wood is common inside, prized for its looks and ease of customization. It allows you to add personal touches like trims or shelves but may need treatment against moisture and insects.
While aluminum resists rust and is lightweight, it demands careful handling during repairs to avoid dents. Masonite can be fragile, so replacing damaged sections can maintain strength. Recognizing these material traits helps you plan repairs and upgrades that last and look authentic.
Historical Context and Design Importance
Many vintage campers date back to the mid-20th century, reflecting the travel culture of those times. Brands like Airstream and Shasta aimed for both style and function, creating campers that captured the spirit of adventure.
Preserving classic design elements — such as streamlined shapes, retro colors, or original fixtures — keeps the camper’s character alive. Changing too much risks losing what makes the camper special.
When remodeling, ask which details define your camper’s style. Can that old chrome handle be reused? Does the shape of a cabinet tell part of its story? Honoring these features connects your remodel to the camper’s past and adds value and charm.
Planning Your Remodel Project Effectively
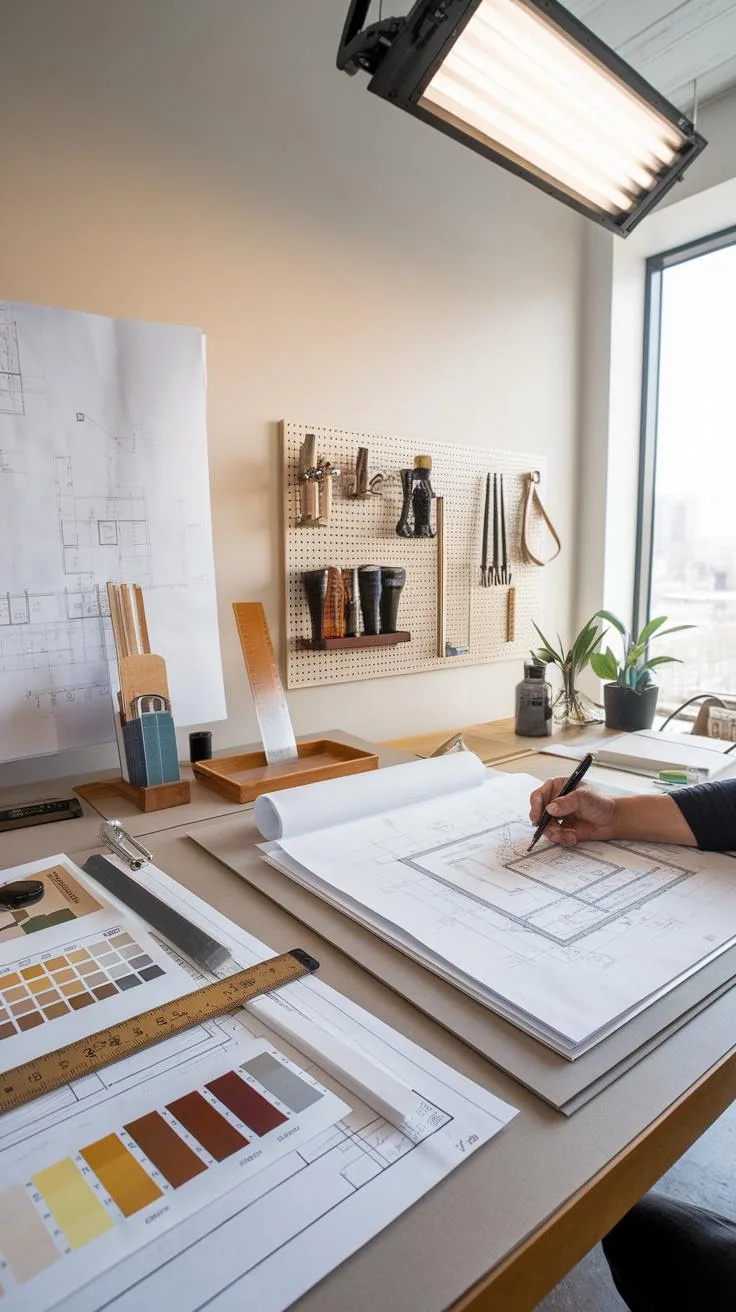
Begin your camper remodel by clearly understanding what you want to achieve. Ask yourself which parts of your vintage camper need the most work. Do you want to fix structural issues, improve comfort, or update the look? Write down your priorities to keep your focus sharp.
Use checklists and simple project-planning tools to track repairs, materials, and tasks. Apps designed for home projects or even a detailed notebook can help you organize steps and deadlines. Break the project into smaller tasks, such as repairing the frame, redoing interiors, or updating systems.
Set a budget before buying materials or hiring help. Consider both parts and labor costs. Estimate how much time you can dedicate weekly and create a timeline that fits your schedule. Staying realistic about money and time helps prevent stress and keeps your remodel on track.
Assessing Repairs and Upgrades
Take a close look at your camper to find any damage that needs attention. Check for leaks around windows, doors, and roof seams since water damage can cause bigger problems. Look under the camper for rust or damage to the frame. These repairs need to come first to protect your investment.
Next, inspect the interior and mechanical systems. Older wiring may not meet safety standards, so plan to upgrade electrical parts where needed. Feel the walls for cold spots, which indicate poor insulation. Upgrading insulation keeps your camper comfortable and energy efficient during trips.
Write down every issue you find, no matter how small. This list becomes the base for your project plan and helps you prioritize work. What repairs are critical to safe use? Which upgrades will improve your camper’s comfort the most?
Setting Realistic Goals and Budget
Start by picking a few key improvements that matter most to you. Trying to fix everything at once often leads to delays and overspending. Choose high-impact projects like fixing leaks, improving insulation, or restoring the floor first. This focus gives you a clear path forward.
Estimate costs by researching parts and materials online or visiting local stores. Factor in any tools you may need to buy. Setting a firm budget helps you make decisions that fit your means and avoids unexpected expenses.
Create a timeline that matches your availability and the work involved. Break your remodel into stages, and set deadlines for each. This structure keeps you moving confidently toward your final goal without feeling overwhelmed by the full scope of the project.
Updating Electrical and Plumbing Systems
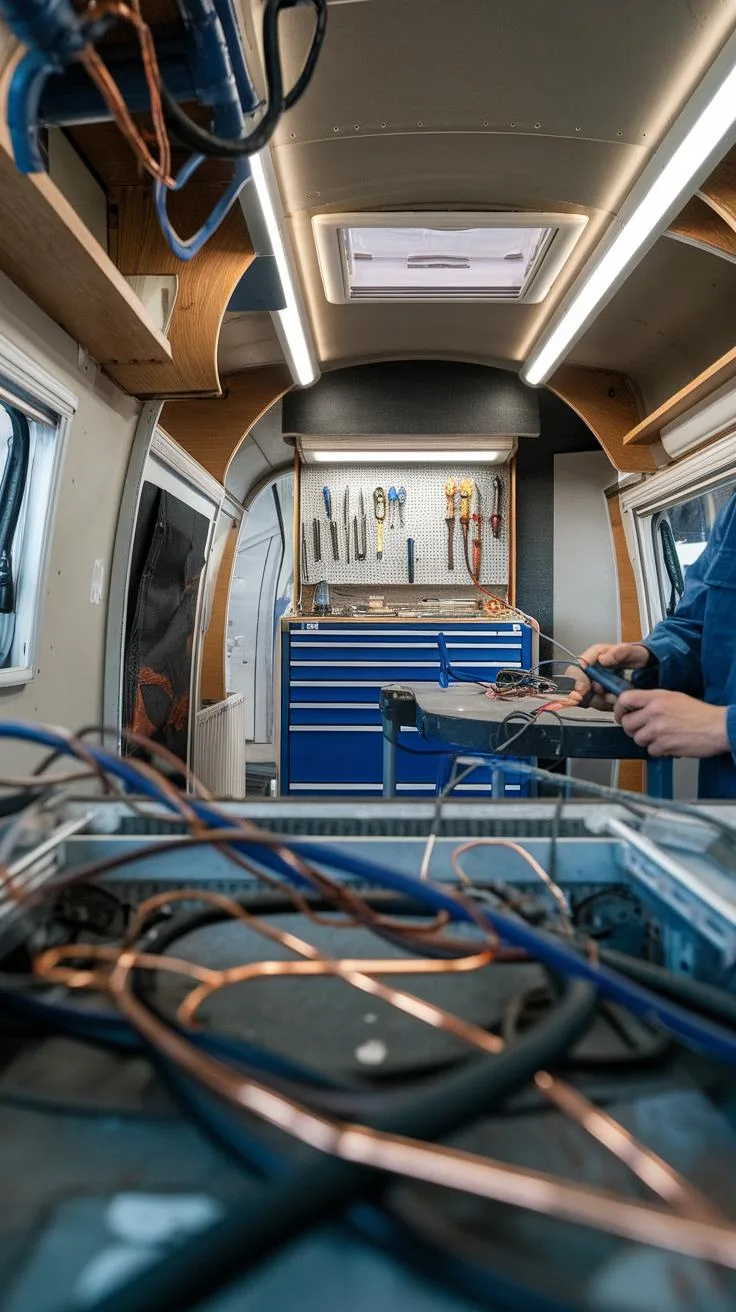
When you remodel a vintage camper, updating the electrical and plumbing systems improves safety and everyday comfort. Old wiring may not handle modern devices, increasing fire risk. Replacing it with new wiring rated for today’s power loads protects your camper and allows you to use appliances like microwaves, chargers, and LED lighting without worry.
Plumbing in vintage campers often lacks the reliability and convenience needed now. Installing new water tanks, pumps, and fixtures keeps water flowing cleanly and efficiently. Modern systems minimize leaks and make daily tasks easier, such as washing dishes or showering after a day outside. Can your camper’s current setup meet your travel and living needs?
Upgrading these systems involves planning and careful installation, but the benefits outweigh the effort. You gain peace of mind, improved functionality, and a camper that fits your lifestyle rather than limits it.
Modern Electrical Systems for Efficiency
Installing new wiring helps your camper safely support modern gadgets and appliances. Replace old cloth-insulated wires with insulated copper wiring designed for RV use. This reduces fire risks while allowing you to add outlets and USB charging ports where you need them.
Energy-efficient LED lights use less power and generate less heat than original bulbs. You can install dimmer switches or motion sensors for convenience and added control. Upgrading your breaker panel to a modern one offers better protection from overload.
Consider your daily device use. How many outlets do you need? Are you using solar panels or inverter systems? Planning your electrical layout around real habits prevents frustration later and keeps power flowing safely.
Improving Plumbing for Comfort
Old plumbing parts often corrode or clog, making water delivery unreliable. Installing updated water tanks made of corrosion-resistant materials protects water quality. New pumps ensure steady water pressure, improving your ability to cook, clean, and bathe comfortably.
Replacing dated fixtures with efficient faucets and low-flow showerheads reduces water waste. Easy-to-clean materials help maintain hygiene, which is important in a small, shared space. Adding hot water heaters designed for campers can also raise comfort levels during colder trips.
Think about your water use. Does your current setup limit how long you can stay off-grid? Upgrading plumbing can extend your camper’s usefulness and enhance your travel freedom through better water management.
Preserving and Restoring the Exterior
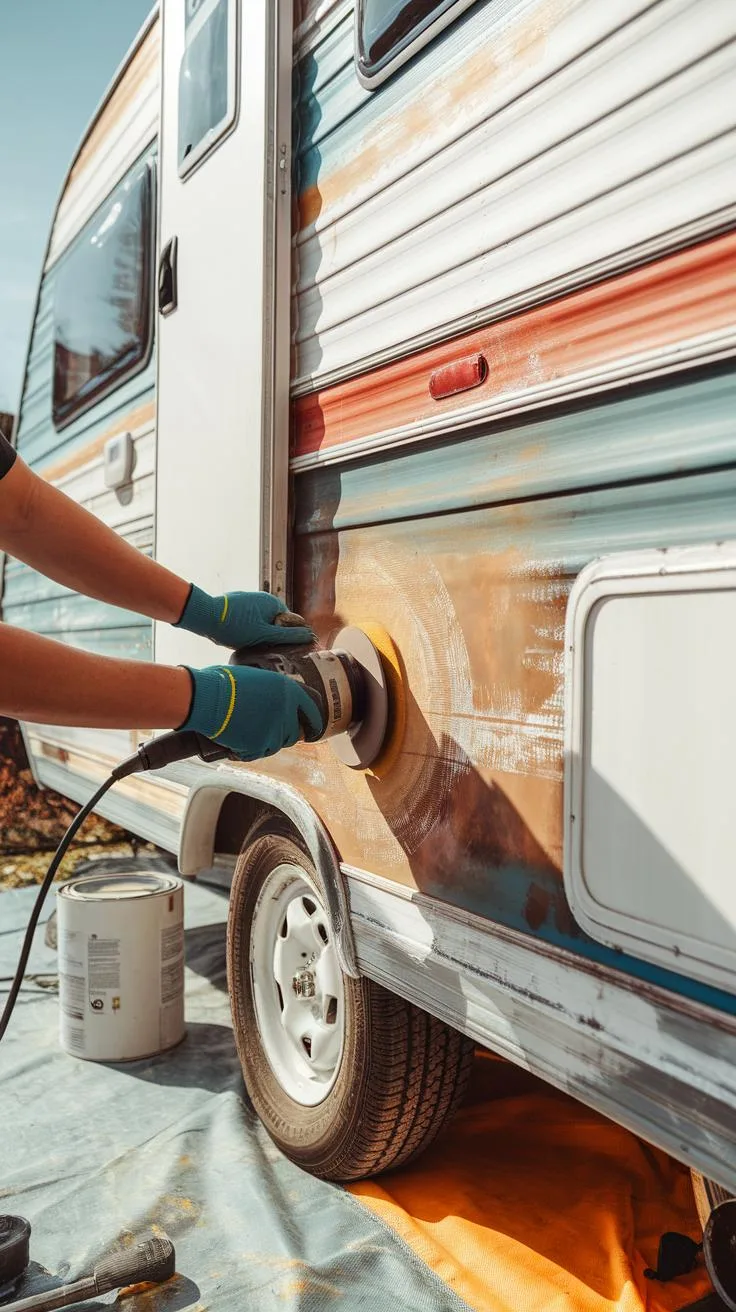
Your vintage camper’s exterior tells a story through its aluminum or metal shell. Keeping that story clear means cleaning and fixing it carefully. Start by washing the surface with a gentle cleaner made for metal. Avoid harsh chemicals that can eat away the finish. To remove oxidation, use a specialized aluminum polish and a soft cloth. Buff the area in small sections until the metal regains its shine. If dents or small dings appear, try a suction dent puller or softly tap from behind with a rubber mallet. Work patiently so you don’t deform the metal or remove original shapes and details.
Once the surface looks sound, paint choices become important. You want paint that protects against weather and rust, yet matches the vintage style you love. Look for paints labeled for metal and outdoor use that come in classic colors like cream, pastel green, or retro turquoise. Sealants that block UV rays help your camper keep its charm longer. Think about your camper’s original look—do you want solid colors or two-tone patterns common in older models? This decision shapes how well your camper wears outdoor elements while holding its classic appeal.
Cleaning and Repairing Aluminum Surfaces
Oxidation dulls aluminum, but you can restore it without damaging your camper. Wet the surface first, then apply a foam or cream aluminum cleaner gently. Use a microfiber cloth to rub in circles, focusing on small areas at a time. Don’t rush; slow work protects the original finish. Avoid abrasive pads or steel wool—they scratch and harm the metal’s integrity.
Dents can reduce the charm and value of your classic camper. Try pulling dents with a dent removal kit designed for fragile aluminum. If the dent is stubborn, remove interior panels to access the back and gently reshape it. This method avoids the need for heavy bodywork that changes the camper’s authentic lines. Does your camper have areas with flaking metal or tiny holes? Use a metal filler to patch spots before sanding smooth for paint touch-up. These careful repairs keep your camper strong and true to its vintage design.
Choosing Paint and Finishes
Choosing paint means balancing durability with authenticity. Acrylic enamel paints work well on metal camper shells, offering a good, lasting finish. Select satin or semi-gloss sheens—they reflect light like original paint but hide minor scratches and weathering effectively. Applying a rust-inhibiting primer before painting protects bare metal and prevents future damage.
Sealants add an extra layer of defense. Clear polyurethane coatings avoid yellowing and seal in color. Look for spray or brush-on options safe for aluminum. Consider a UV-resistant topcoat especially if you spend many days outdoors. If you want to retain classic two-tone designs, tape off clean lines before painting. Are you keeping vintage metal trims? Polish them regularly and use protective wax to prevent fading for years to come.
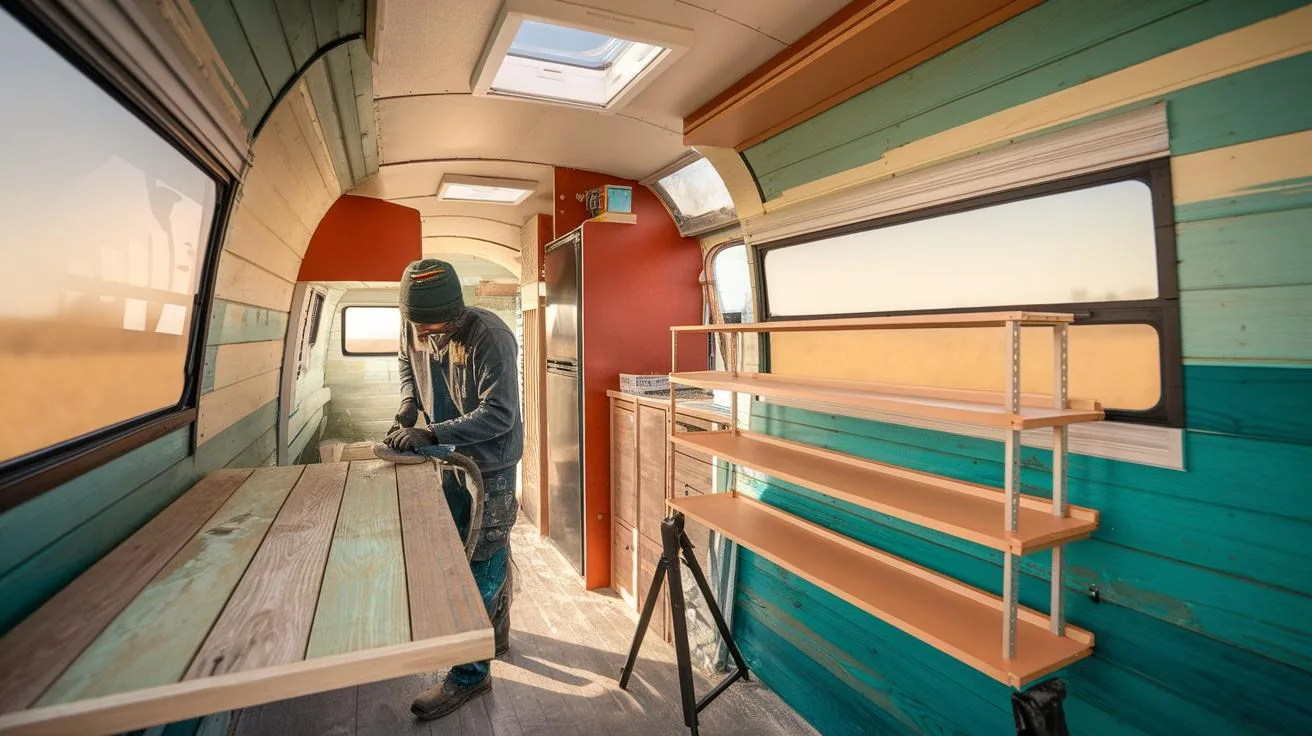
Designing a VintageInspired Interior

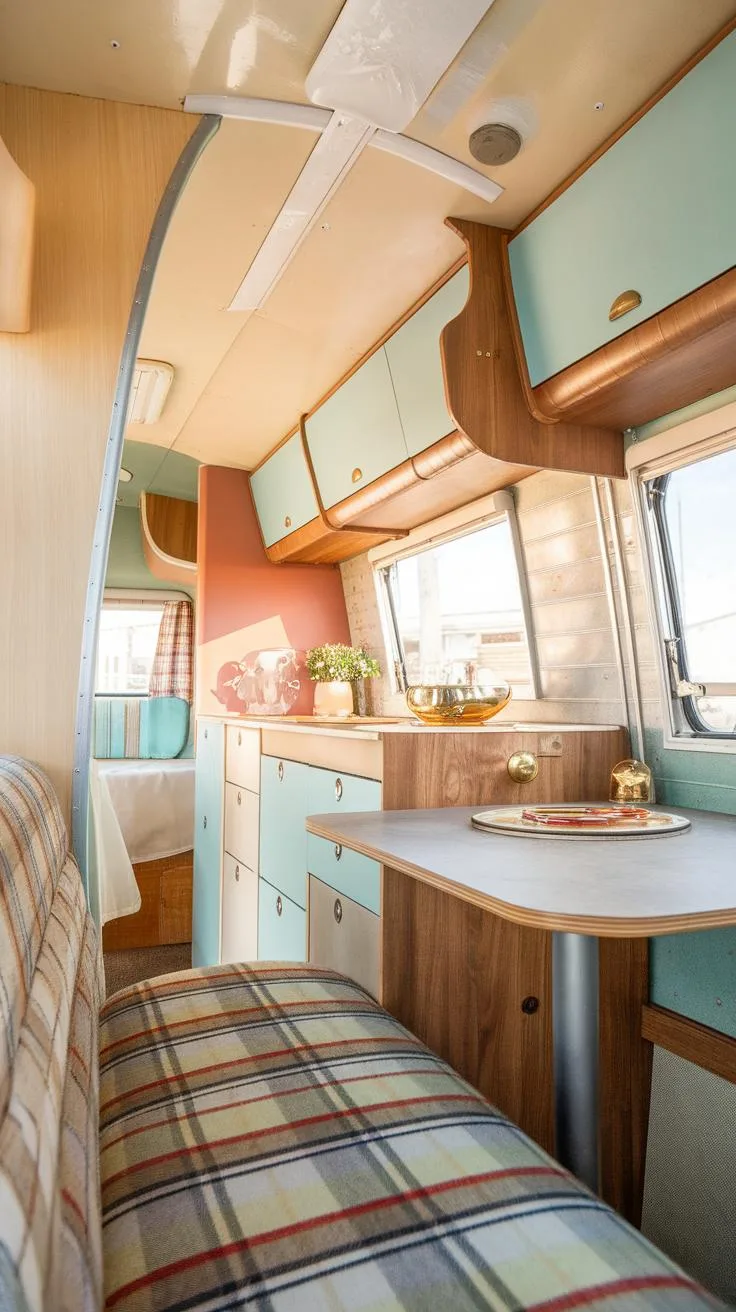
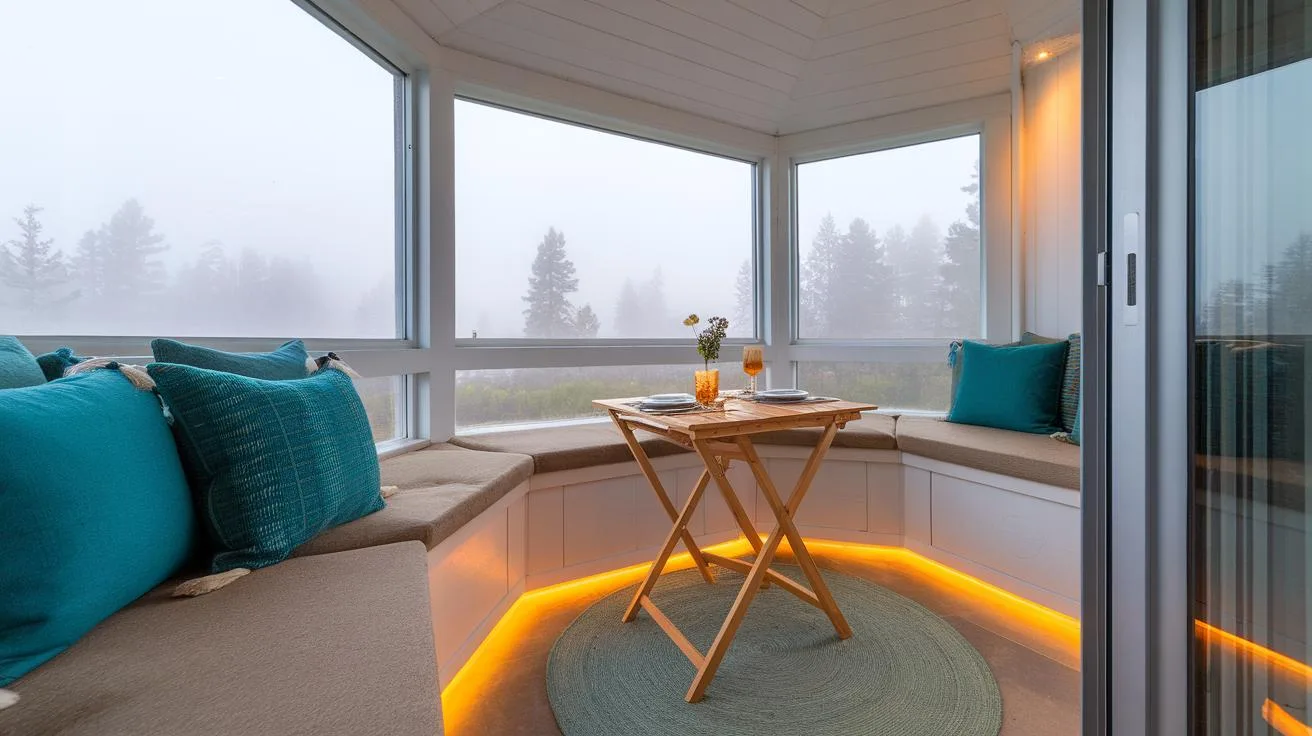
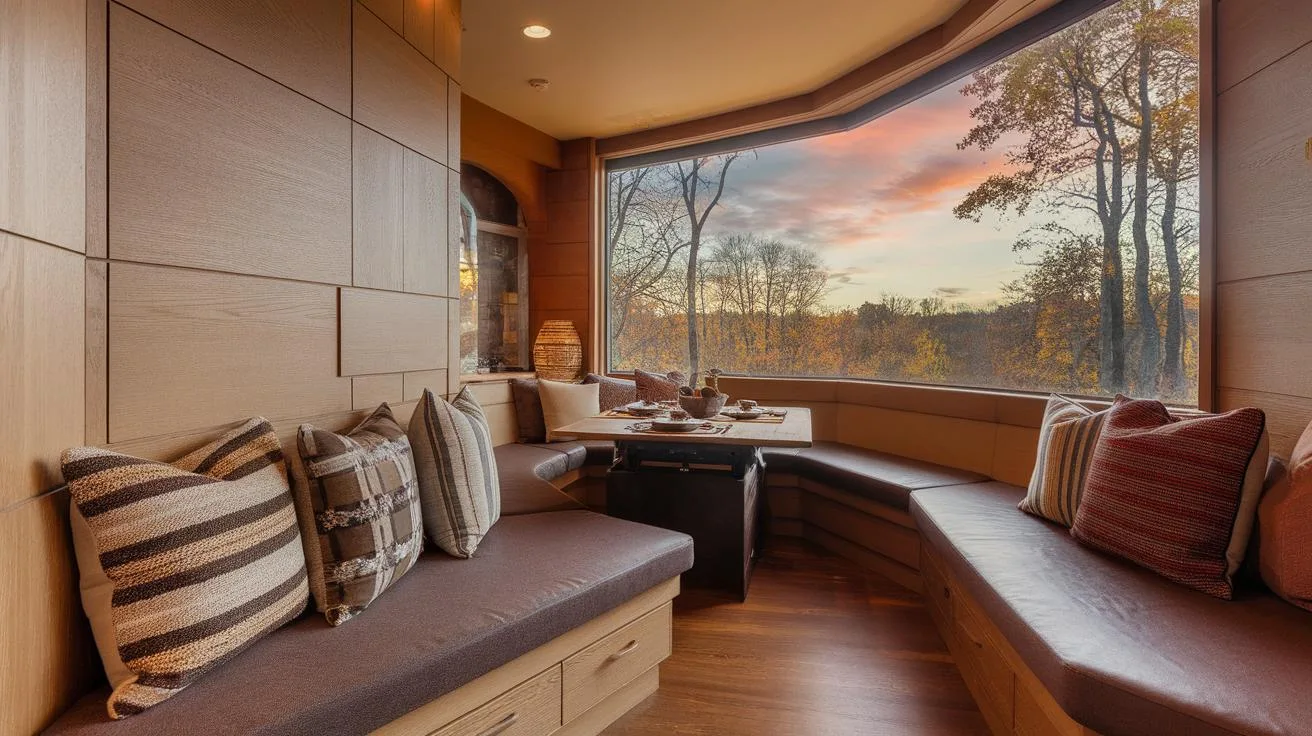
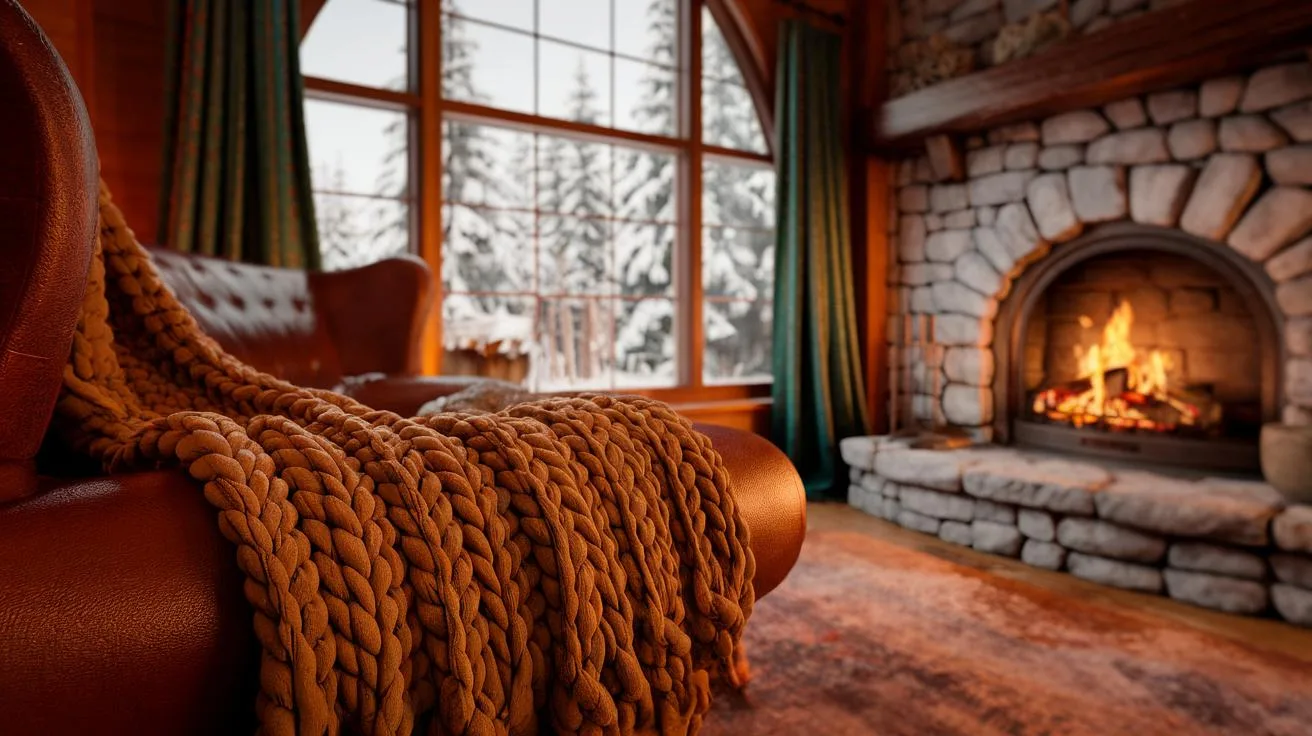
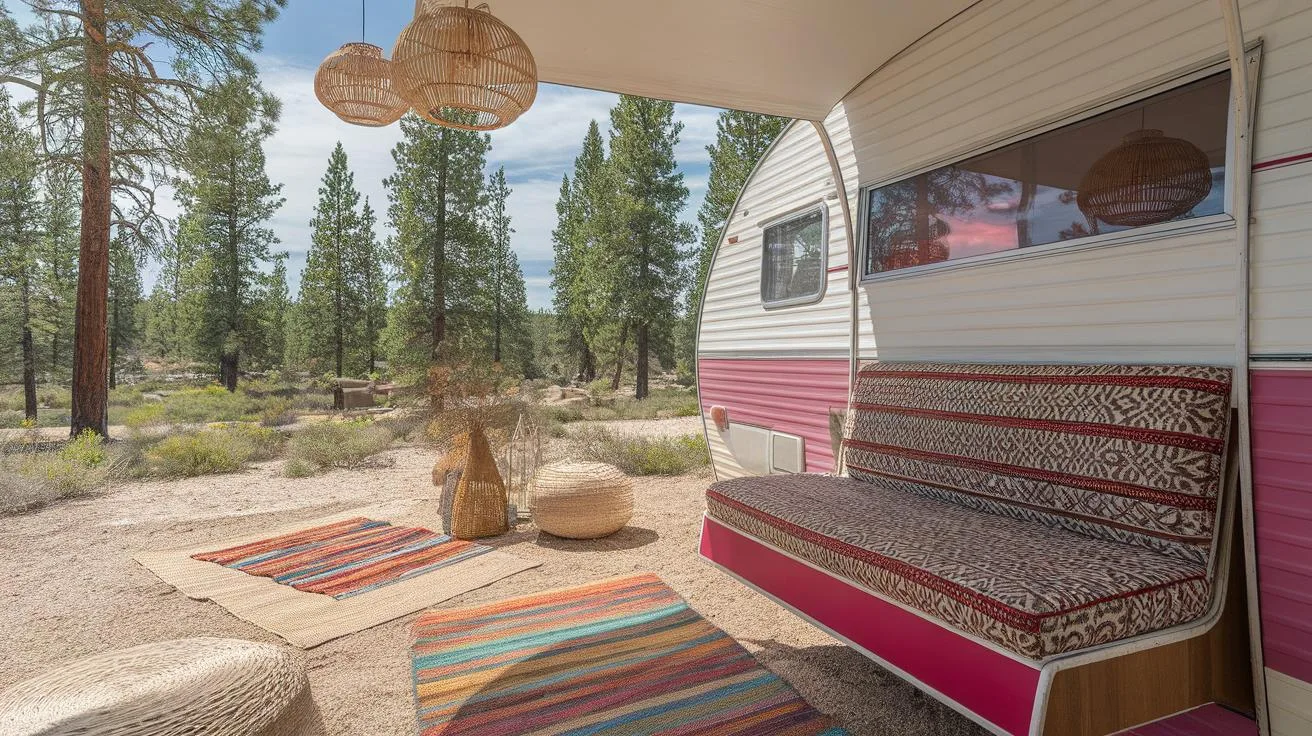
Your vintage camper’s interior offers a chance to bring back classic charm while meeting modern needs. Choosing the right fabrics and colors sets the tone for authenticity. Imagine soft patterns reminiscent of the 1950s or 1960s welcoming you inside. Curtains, cushions, and seat covers in checked or floral prints capture that retro spirit without overwhelming the small space.
Opt for warm colors like mustard yellow, teal, or burnt orange paired with neutrals. These tones keep the design cozy and inviting. Fixtures such as rounded cabinet handles, chrome light fixtures, and retro-style switches reinforce the vintage vibe. Incorporate practical lighting that fits the period but offers energy efficiency.
How do you balance staying true to the vintage feel while making your camper livable every day? Consider modern pieces with vintage flair. A streamlined refrigerator or a compact induction cooktop with retro styling blends old and new effectively. This approach ensures your camper stays functional without losing its charm.
Selecting Vintage Fabrics and Colors
Choose fabrics that were popular during the era your camper comes from. Bold florals, polka dots, and gingham often appeared in vintage camper interiors and work well on cushions or upholstery. Cotton or linen blends offer durability and breathability, perfect for travel use.
Colors rooted in mid-century design include deep turquoise, coral red, avocado green, and sunny yellow. These shades bring life without clashing. Pair strong colors with soft neutrals like cream and beige to avoid overwhelming small spaces. You might start with patterned curtains and balance them with solid cushions in coordinating shades.
Ask yourself which colors and patterns make you feel at home. Would your camper’s personality shine brighter with playful prints or with more muted tones? Test fabric samples in natural light to see how they change throughout the day inside your camper.
Mixing Retro Style with Modern Comforts
Incorporate furniture that reflects vintage lines but meets today’s comfort standards. Look for compact furniture with simple shapes and wooden finishes similar to originals. Adding foam cushions with modern fabrics can improve comfort while preserving style.
Kitchen appliances can maintain retro looks yet offer efficiency. Retro refrigerators, stoves, or microwaves exist with updated technology, helping you cook meals without sacrificing style. Lighting fixtures shaped like vintage lamps can hold LED bulbs for better energy use.
Think about adding hidden modern touches too—USB ports inside drawers or under cabinets keep devices charged without clutter. Can you update the interior with thoughtful upgrades that won’t disrupt the vintage atmosphere? This balance keeps your camper both charming and practical for road trips or weekend stays.
Maximizing Space and Storage Solutions
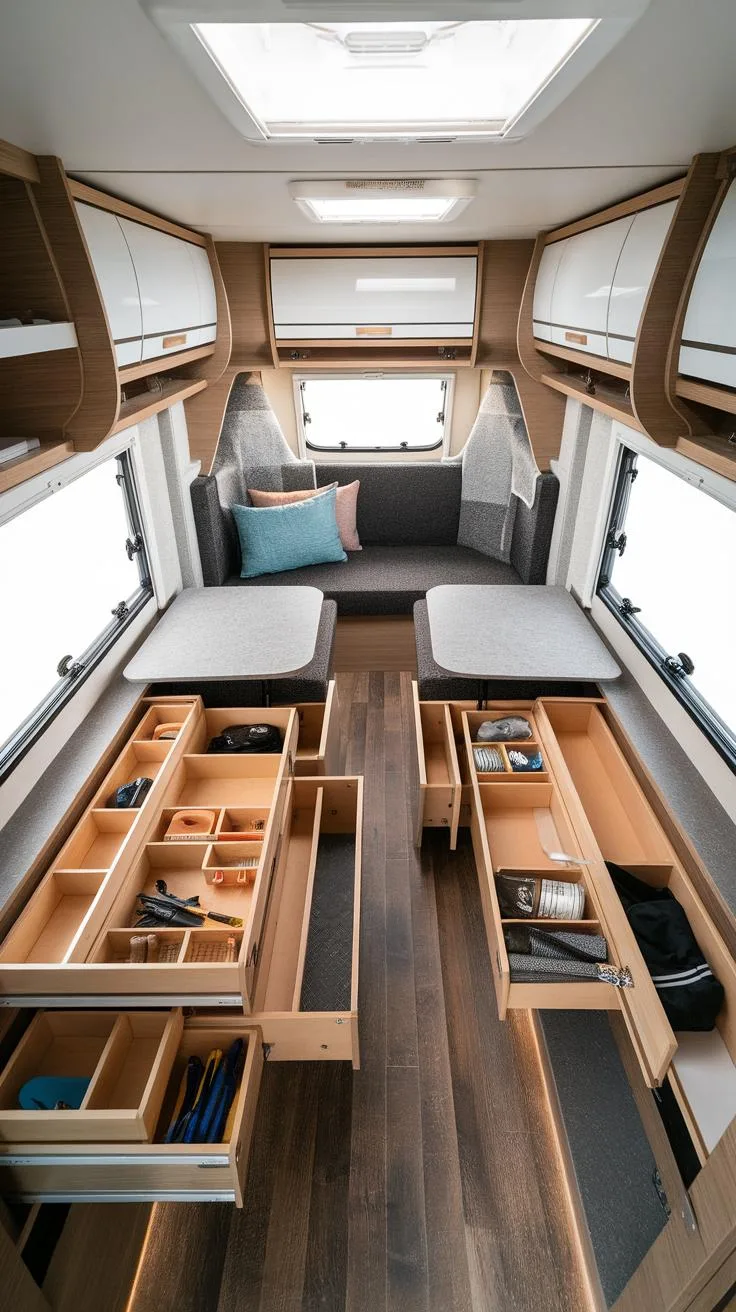
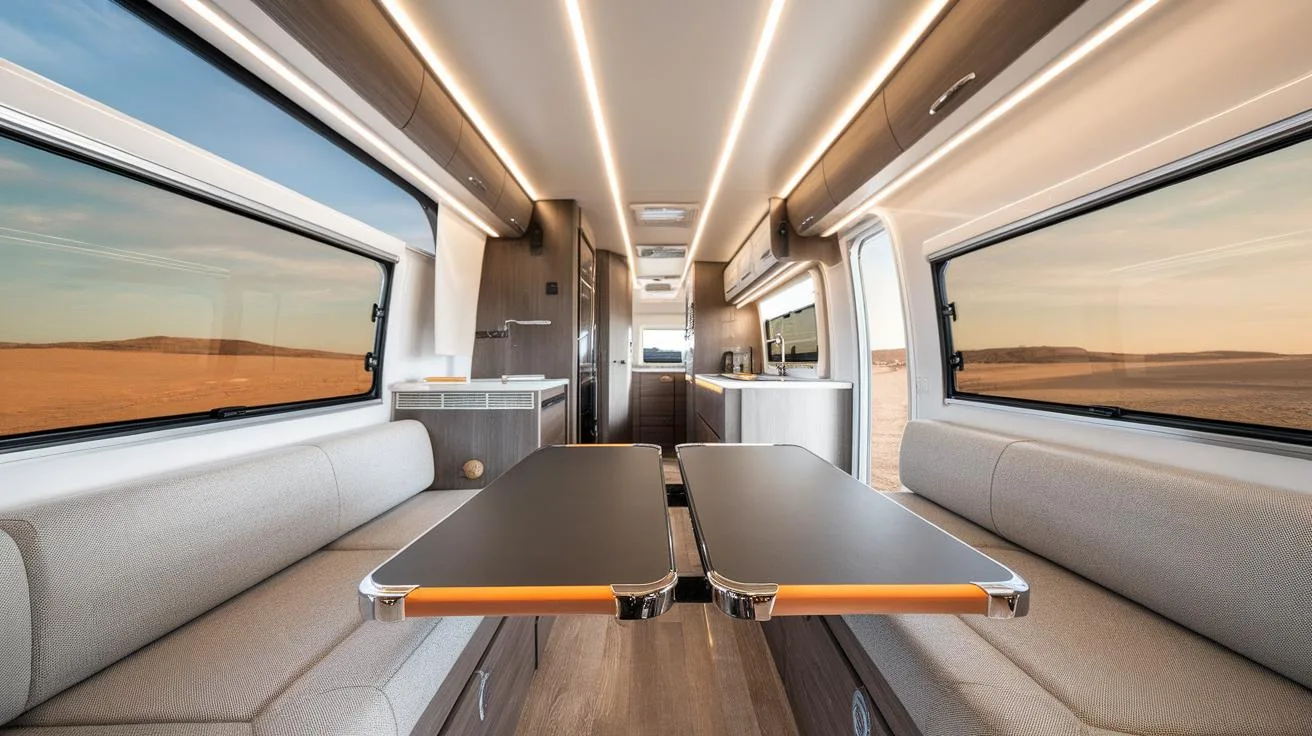
Space in vintage campers is limited, making smart use of every inch crucial. You can increase living comfort by choosing furniture that serves more than one purpose. Think about how a fold-out bed can transform a seating area into a sleeping space without taking extra room during the day.
Tables that fold down when not in use free up floor space for moving around or storing gear. Some campers have benches where the seats lift up to reveal hidden storage for blankets or kitchen supplies. When selecting furniture, ask yourself whether it can change function or hide items easily.
Smart organization also keeps your camper tidy and practical. Use clear storage bins under beds or install narrow shelves along walls. Hooks and magnetic strips work well for hanging utensils or small tools. Consider drawer dividers to avoid clutter in kitchen drawers. If you customize storage, think about your daily activities and what items need quick access.
Utilizing Multifunctional Furniture
Furniture that does double duty helps make small camper spaces feel larger. A fold-out bed allows your seating area to serve as a guest room overnight. Some vintage campers had tables with drop-leaves; these can be restored or replaced with modern, collapsible designs for flexibility.
Choose ottomans with storage inside to tuck away blankets or shoes. A bench that doubles as a storage trunk adds seating and hides bulky items. Even a simple coffee table that lifts to reveal a workspace or storage can improve usability. What furniture in your camper could get an upgrade for extra function?
Smart Storage Ideas for Vintage Campers
Clear bins, stackable containers, or vacuum-sealed bags help keep belongings visible and compressed. Wall-mounted racks can organize spices, maps, or small cookware. Use tension rods inside cabinets to hang cleaning supplies or cutlery.
Adding shelves above windows or doors maximizes vertical space. Consider custom-fit baskets or drawers for odd-shaped corners. Magnetic strips on walls or inside cabinet doors hold metal items neatly. Label storage containers to find items quickly. How could you rearrange storage to avoid daily frustration and find what you need fast?
Incorporating Modern Appliances and Technology
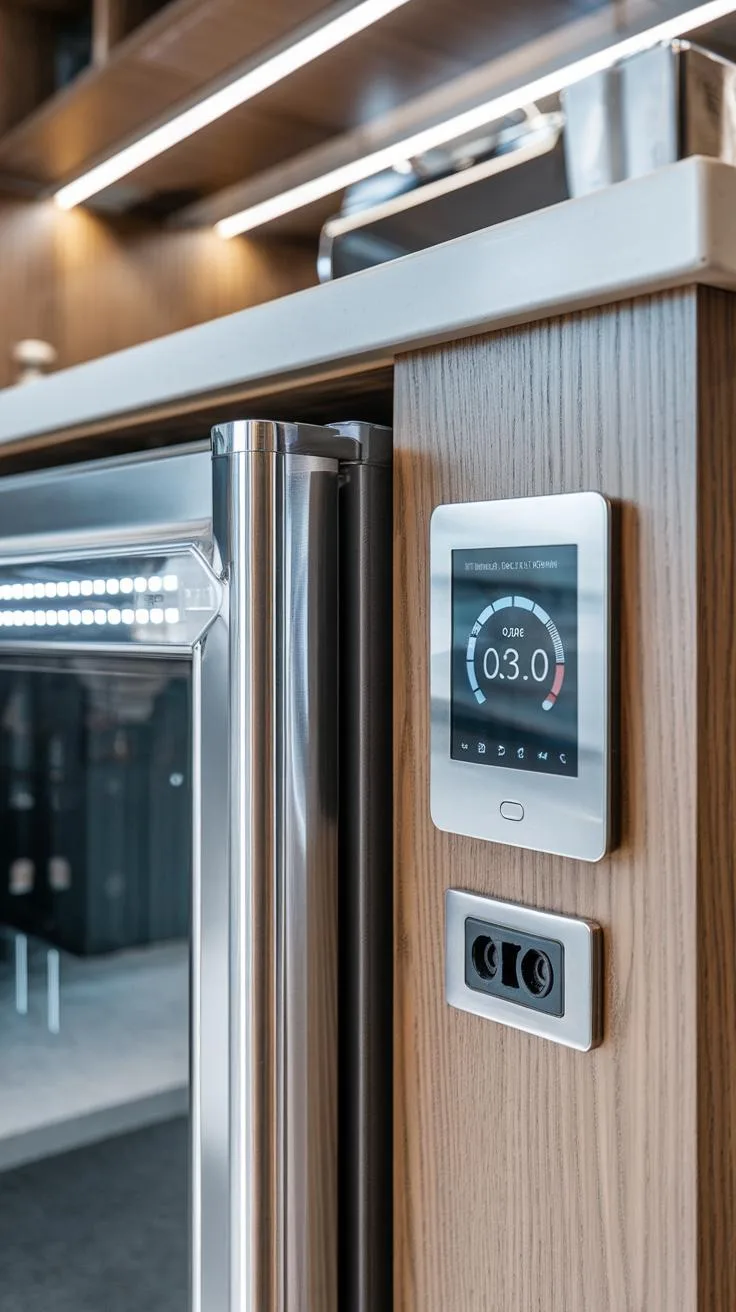
Choosing compact, energy-efficient appliances can make your vintage camper both practical and comfortable. Look for refrigerators designed for small spaces, such as 1.7 to 3 cubic feet models. These use less power and fit well in tight areas. Electric or propane cooktops work well, with induction cooktops offering quicker heating and better energy use. Portable heaters that run on propane or electricity can keep your camper warm without taking up much room.
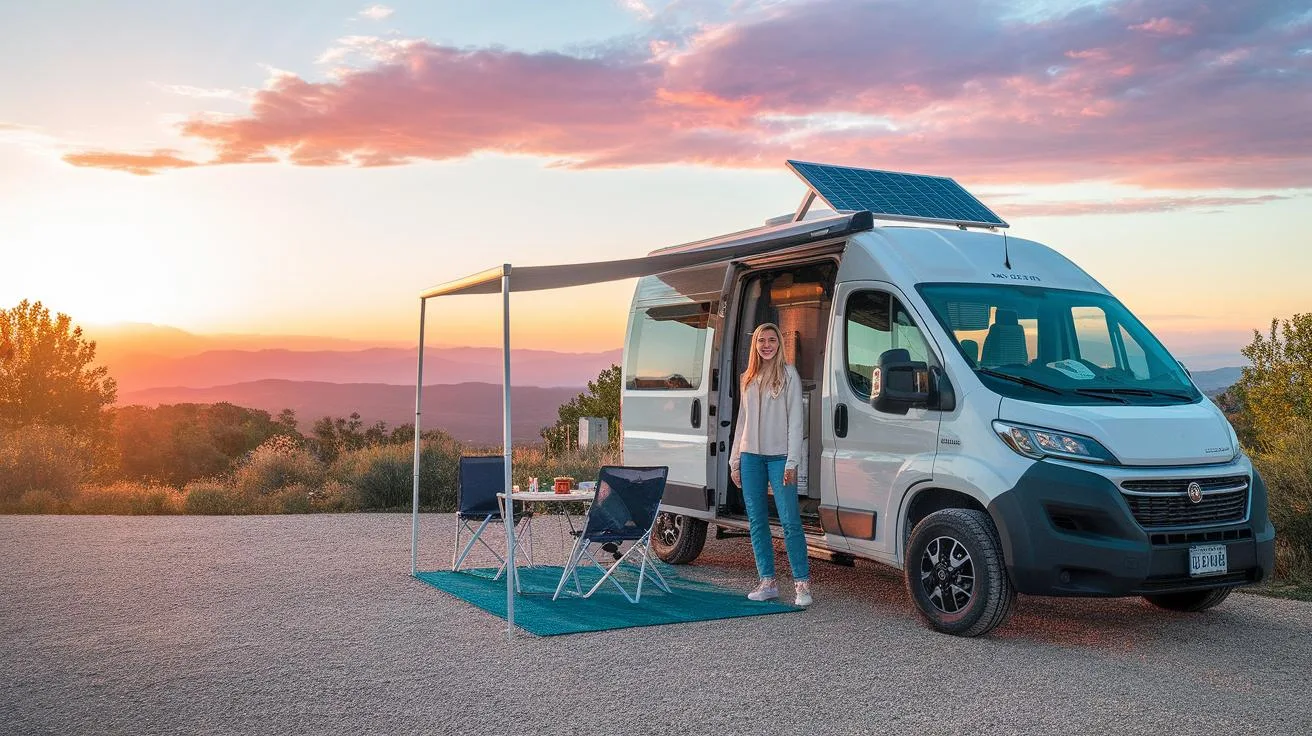
Solar panels bring independence by providing power off-grid. A flexible solar setup on your camper’s roof can charge batteries during the day. Pair this with a solar charge controller and deep-cycle batteries for reliable energy storage. Adding a Wi-Fi booster or mobile hotspot helps keep you connected in remote areas. This tech allows you to work or relax online without needing campsites with strong Wi-Fi. How would staying connected and powered up change your camper adventures?
Choosing Efficient Appliances
Your camper needs appliances that fit its size and power limits. Compact refrigerators with low power consumption, like those by Dometic or Norcold, keep food fresh without draining batteries. Electric induction cooktops heat fast and clean easily but require an adequate power source. For heating, propane heaters such as the Mr. Heater Buddy provide warmth and safety in small spaces. Choose models designed for RV or marine use to meet safety standards. Think about what appliances suit your cooking and heating routines to avoid overspending on power.
Adding Solar Panels and Connectivity
Installing solar panels on your camper’s roof starts with measuring available space and assessing your power needs. Flexible or rigid panels are options; flexible panels bend to curved surfaces but cost more. Connect panels to a charge controller that prevents battery overcharge and damage. Use deep-cycle AGM or lithium batteries to store solar energy. Enhance your internet signal by mounting a Wi-Fi booster or using a cellular hotspot. These systems improve your freedom on the road by reducing reliance on campground hookups. What spots would you explore if your camper powered itself completely?
Maintaining Safety and Comfort Features
Safety Upgrades to Protect Your Camper
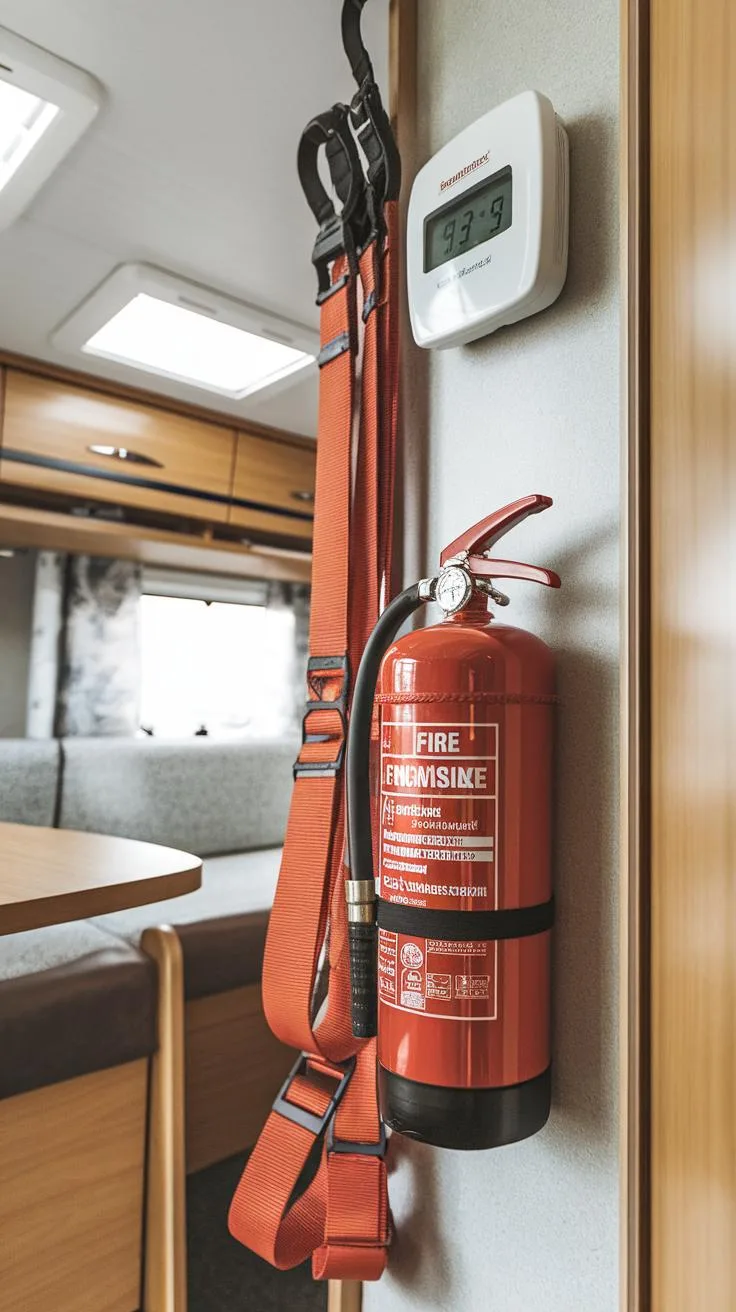
Before hitting the road in your vintage camper, update key safety features. Install smoke and carbon monoxide detectors to alert you to potential dangers. These devices offer peace of mind and can save lives.
Replace old door locks with secure, modern ones. This keeps your camper safe overnight or when you leave it unattended. Check and upgrade window latches to prevent accidental openings during travel.
Consider adding a fire extinguisher and a first aid kit in an easy-to-reach spot. Test your electrical system for frayed wires or outdated components. Do these upgrades make you feel more confident about your camper’s safety?
Improving Ventilation and Insulation
Proper airflow keeps your camper comfortable in all seasons. Install roof vents or small fans to help remove humidity and stale air. Ventilation reduces mold risks and keeps the space fresh.
Improve insulation by adding foam boards or spray foam between the walls and under the floor. Good insulation prevents heat loss in winter and keeps the camper cool in summer. It also cuts down noise from outside.
Check seals around windows and doors to stop drafts. Would you consider lightweight thermal curtains or removable insulation panels? Maintaining comfort means you can enjoy your camper no matter the weather outside.
Planning Your First Trip in Your Remodeled Camper
After finishing your vintage camper remodel, taking it on the road for the first time is a special moment. You need to pack smart to avoid clutter and leave room for essentials. Bring tools and spare parts you might need for quick fixes. Think about what meals you want to prepare and pack accordingly, using space-saving containers.
Check the weather and plan your route with stops that suit your camper’s size and capabilities. Choose campsites that match your electrical and water needs. Bring entertainment that suits cozy camper life, like board games or books.
Planning your trip carefully helps you enjoy your vintage camper without surprises. What experiences do you want to remember on this trip? The answers will guide your planning and packing choices.
Pre-Trip Maintenance Checks
Begin with tire pressure. Use a gauge to make sure tires meet recommended levels. Check tire tread for wear or damage. Test brakes before you hit the road by driving slowly and pressing them firmly.
Inspect the water system. Fill the fresh water tank and check for leaks. Make sure your pump and faucets work well. If your camper has a sewer hookup, verify hoses and connections.
Verify lights, signals, and battery charge. Check propane tanks for leaks and level. Tighten any loose screws or fittings inside your camper. Completing these checks early prevents breakdowns far from help.
Making the Most of Your Vintage Camper
Plan trips that show off your camper’s unique style and comfort features. Pick locations that match your camper’s size and off-grid capabilities, like quiet lakes or scenic state parks with RV hookups.
Create routines to relax inside your camper, such as morning coffee on the fold-out table or evening storytelling under lantern light. Invite friends or family who appreciate classic charm for memorable moments.
Think about what makes your camper special and design trips around those features. How can your space inspire connection and enjoyment? Use your camper to create experiences you can’t get anywhere else.
Conclusions
Remodeling your vintage camper is a chance to blend old and new. Preserving the exterior helps maintain its iconic look. Meanwhile, interior updates make life on the road comfortable and easier. Each step in the remodel can highlight the camper’s unique traits and give it a fresh feel. Your choices in materials and finishes influence the outcome. Keeping it simple and functional focuses on what you value most. Whether it’s adding cozy seating or efficient storage, the end goal is a camper you enjoy for many trips. How will your new camper reflect your tastes and needs? This reflection makes the process personal and rewarding.
Embracing the vintage camper remodel process offers both challenges and rewards. Some repairs may require specialist help, while design choices can spark creativity. The final product stands as a testament to your effort and style. Your camper becomes a mobile space rich with character and convenience. Every journey in your freshly remodeled camper will remind you of its lasting charm. With thoughtful planning and care, your vintage camper can serve your adventures for years ahead, blending past appeal with present-day comfort.