Introduction
Vintage campers hold special value for many enthusiasts, combining nostalgia with the joy of travel and adventure. Restoring these beautiful machines brings a unique satisfaction, allowing you to experience the charm and style of past decades on your own terms. You may wonder how to approach such a restoration project effectively. This guide addresses the essential steps, from assessing the condition to selecting the right materials and tools to ensure your camper shines again. Whether your camper is a classic Airstream or another iconic model, understanding the basics of restoration will prove vital. You’ll learn how to evaluate the work needed, plan accordingly, and make smart decisions for durable and attractive outcomes.
Starting a vintage camper restoration can seem overwhelming. Each camper has its own story and specific needs, such as bodywork, plumbing, electrical systems, and interior refurbishment. The key is to break down the project into manageable stages and follow a logical workflow. This article outlines a structured approach to help you avoid common mistakes and maximize your results. Reflect on what you hope to achieve. Do you want a full original restoration or a functional update? By clarifying your goals and understanding practical restoration techniques, you’ll be ready to transform your vintage camper into a reliable and eye-catching vehicle for many journeys to come.
Restoring Your Vintage Camper To Retro Glory
Understanding the History and Value of Vintage Campers
Vintage campers carry a story that dates back to the early 20th century. These campers began as handcrafted travel trailers designed for families wanting freedom on the road. Models like the Airstream, introduced in the 1930s, revolutionized the idea of mobile living with their sleek, aerodynamic shapes and shiny aluminum shells.
Restoring these vintage campers brings back more than just the physical structure. You revive a piece of travel history and craftsmanship that modern designs lack. Restored campers hold strong value for collectors and travelers who appreciate the charm and simplicity of older models. They also offer a unique travel experience that connects you with the past while enjoying the outdoors.
What does your vintage camper say about the era it was built in? How will restoring it add to its journey and yours?
Origins and Popular Models
Vintage campers often remind people of the iconic Airstream. Its distinctive rounded, aluminum body was inspired by aircraft design. Other notable models include the Shasta with its iconic “wings,” and the Spartan Manor with a sturdier, boxier shape.
These designs focused on lightweight travel, efficiency, and style. The Airstream’s streamlined shape reduced drag and increased fuel economy, influencing camper culture by blending function and fashion. Travel trailers became symbols of adventure and freedom in the mid-1900s.
If you look closely, these classic forms shape many modern camper styles. Recognizing these features can help you appreciate the unique character of each model and why restoring them preserves more than just a vehicle—it preserves a lifestyle.
Why Restoration Matters
Restoring a vintage camper means preserving history and craftsmanship. When you bring an old camper back to life, you save original features and classic designs that you won’t find in new trailers. This keeps the story of past travel alive for future generations.
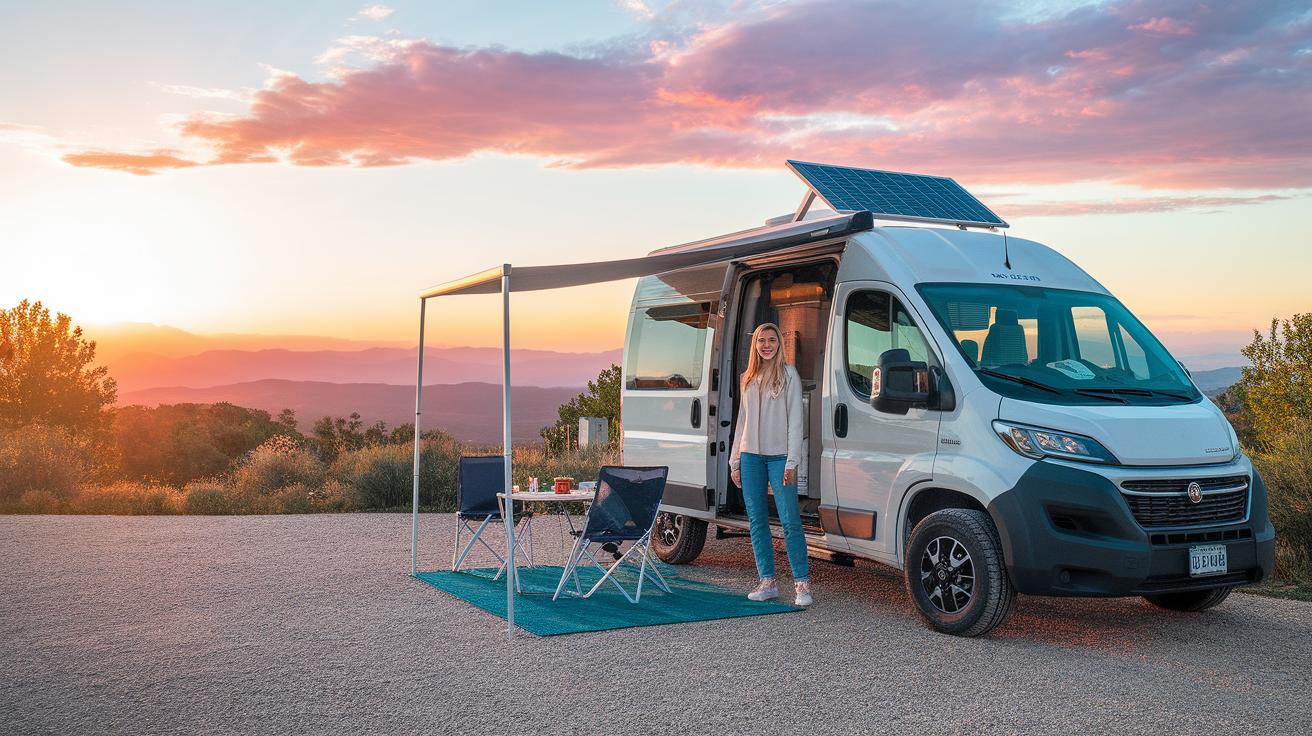
Restoration also turns forgotten campers into functional, usable homes on wheels. Traveling in a restored vintage camper offers the chance to connect with simpler times and enjoy the unique style and comfort built decades ago. Many owners find pride in restoring campers because it turns a personal project into a piece of living history.
Think about what draws you to restore your camper. Is it the chance to own a piece of history? To travel in style? Or to create something truly your own?
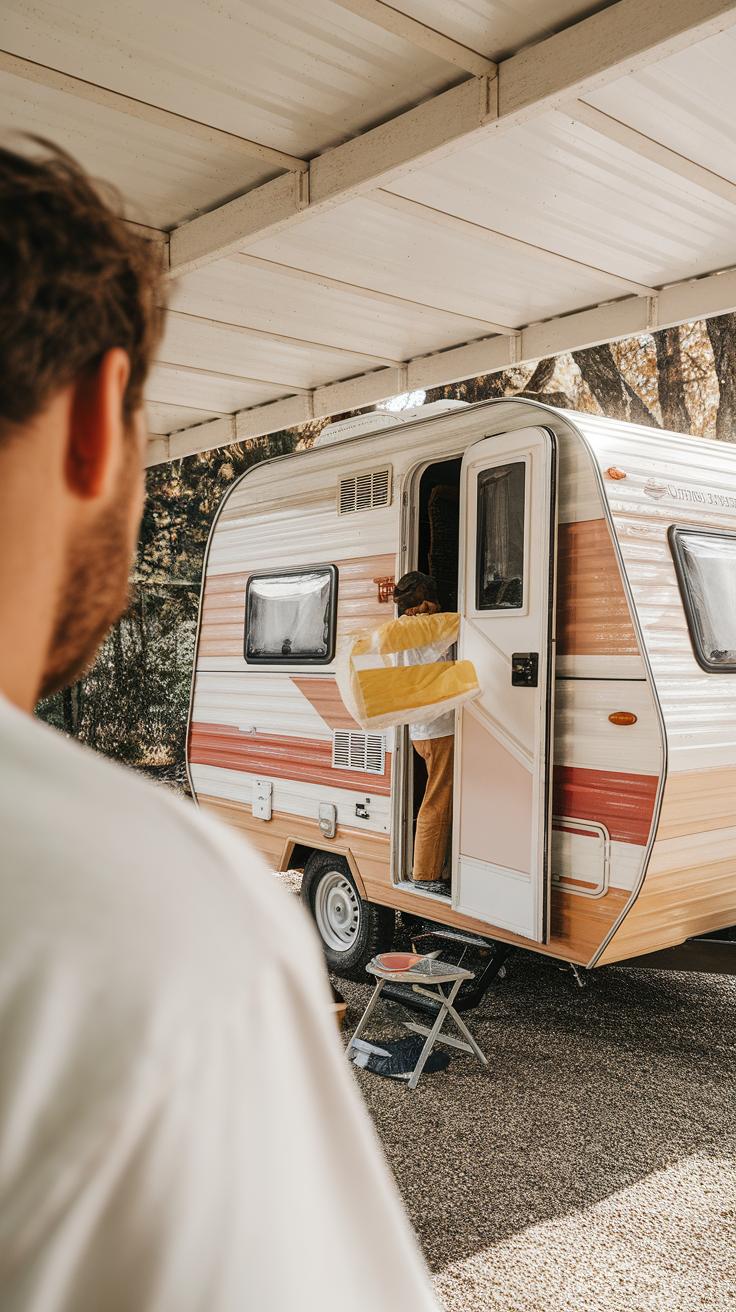
Initial Assessment and Planning Your Restoration
Start your restoration by examining every inch of your camper. Look for rust, leaks, rot, and broken parts. Check the frame, body, plumbing, and wiring. Taking clear photos helps record the camper’s current state.
Write down all issues you find, even small ones. This gives you a full picture of what needs work. Prioritize repairs by safety, then structural needs, then cosmetic updates. Decide what parts you can fix yourself and when to call a professional.
Planning saves time and money. Ask yourself: Which repairs must happen first? Which updates will bring the most value or enjoyment? Setting a clear plan guides your progress and keeps the project manageable.
Initial Assessment and Planning Your Restoration
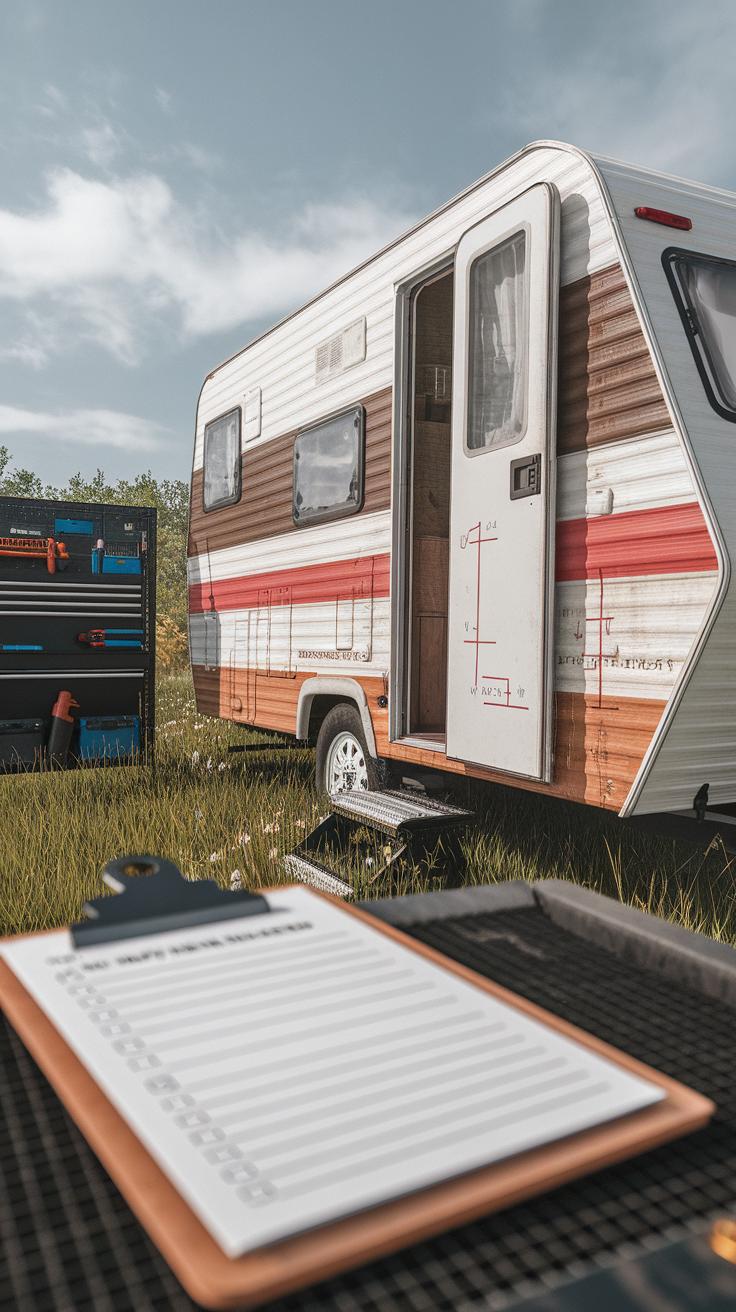
Start by examining your camper carefully to understand its current state. Look beyond the surface to spot rust, leaks, or signs of past repairs. Focus on structural elements like the frame and body to ensure they are sound. Check mechanical parts including wiring and plumbing for wear or outdated systems. Document every issue you find with photos and detailed notes. This record will help you avoid overlooking problems later.
After gathering information, prioritize repairs based on safety and function. Will fixing the roof be more urgent than updating the electrical system? Which tasks can wait until later? Defining priorities keeps your work focused. You might find some features worth preserving exactly as they are, while others clearly need replacement. This balance shapes your plan for restoration.
Conducting a Thorough Inspection
Begin outside with a close look at the camper’s exterior. Check the frame for rust or bending. Inspect the body panels for dents, cracks, or holes. Inside, test plumbing for leaks by running water through sinks, showers, and tanks. Examine electrical wiring by turning on lights and outlets to spot faulty circuits or wiring that does not meet today’s standards. Open cabinets and drawers to assess their condition and hardware.
Doors and windows should seal tightly without gaps. Check cushions and fabrics for mildew or rot. Take thorough notes about areas needing repair or replacement. You may want to use a checklist to ensure you cover every part. What is the worst damage you discover? What can you fix yourself, and what might require professional help?
Setting Goals and Budget
Decide what your restoration aims to achieve. Do you want to return the camper to its original look and specs? Or is it better to upgrade some parts for safety and comfort while retaining a retro feel? Your choice will influence materials and work needed. Think about how you plan to use the camper—weekend trips or full-time living.
Set a budget that covers materials, tools, labor, and a buffer for unexpected expenses. Costs for parts can add up quickly, especially if you seek authentic components. Consider sourcing used or refurbished parts to save money. How much time and money are you willing to invest? Writing down your goals and limits will keep your project realistic and manageable.
Preparing Your Workspace and Gathering Tools
Organizing Your Workspace
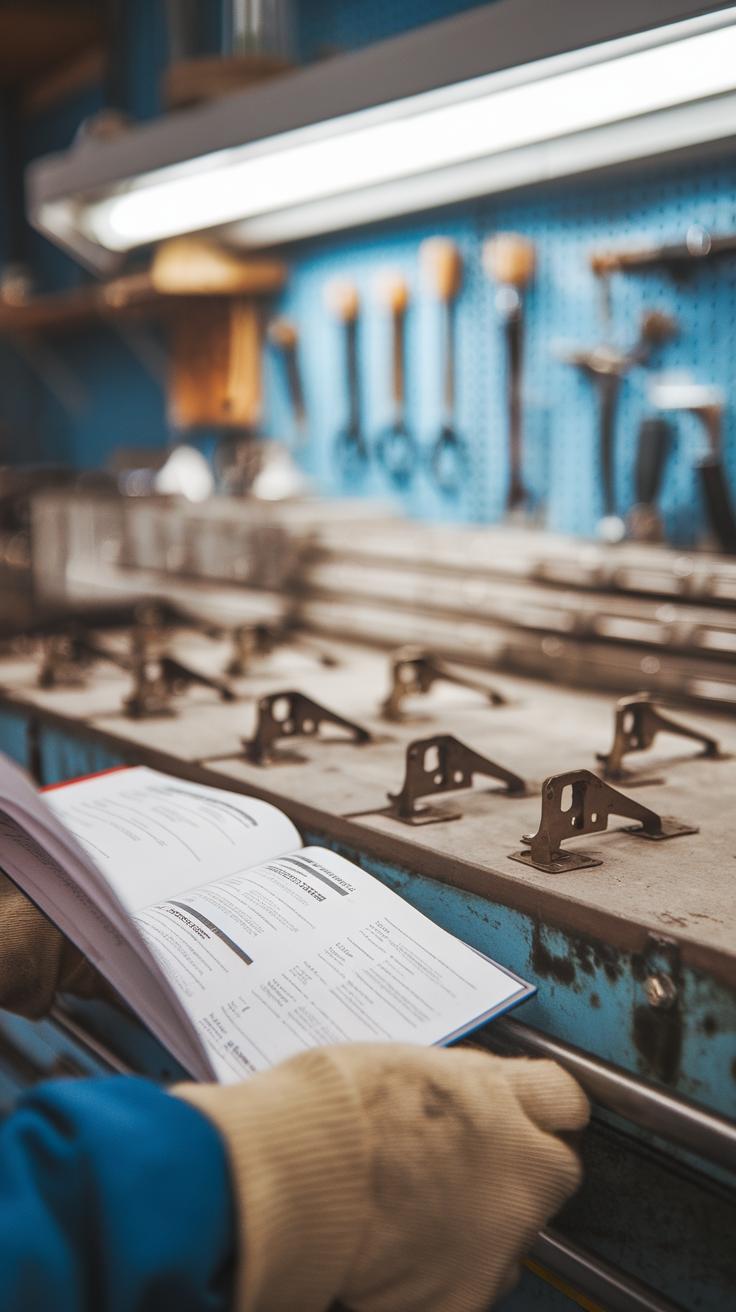
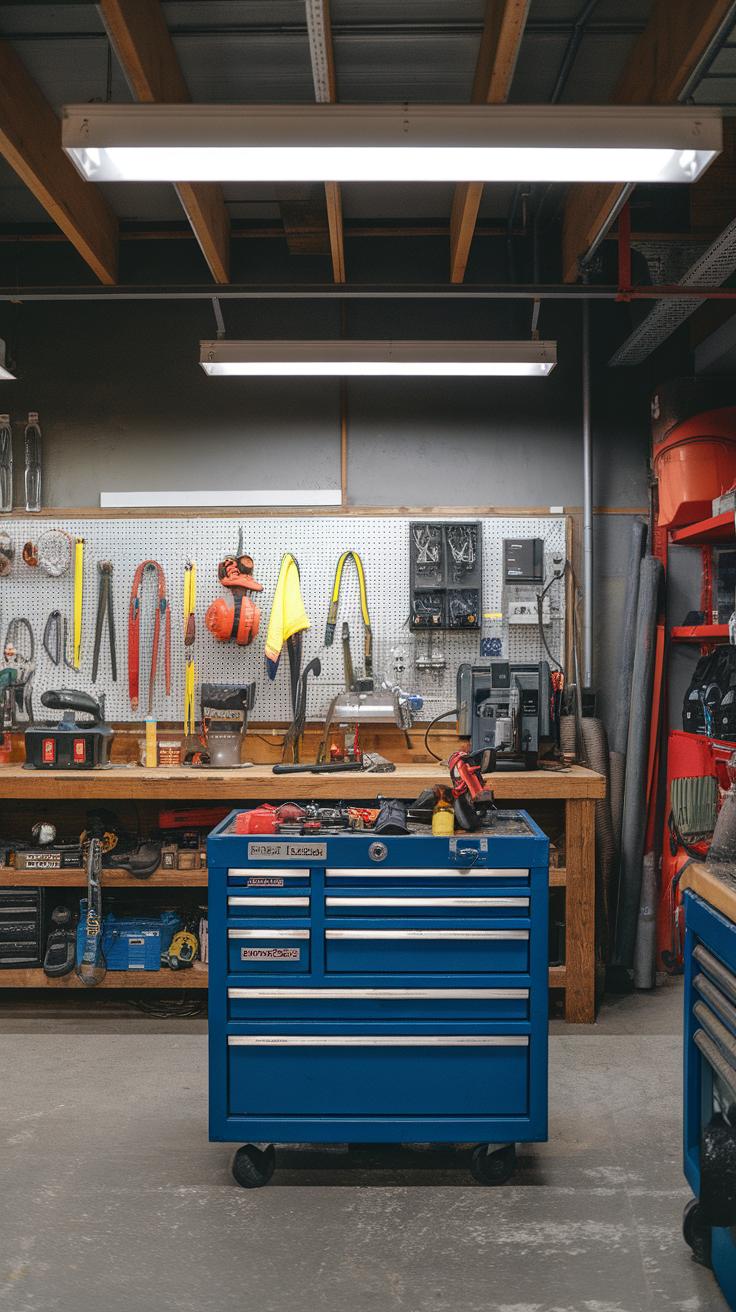
Your workspace shapes the success of your restoration. Arrange tools and parts where you can reach them quickly to save time and reduce frustration. Use shelves, pegboards, or bins to keep items visible and tidy.
Good lighting helps you spot details like cracks or rust. Natural light plus bright LED lamps work well. Ventilation matters because paint fumes and dust can build up. Open windows or use fans to keep air moving.
Create separate zones for different jobs. For example, have one table for sanding and another for wiring. This setup cuts down cross-contamination and keeps your workspace clean. A comfortable chair and some padding underfoot reduce fatigue during long sessions.
Essential Tools and Supplies
Start with a few basic tools: orbital sanders, wire testers, screwdrivers, and wrenches. You will also need paint brushes, spray guns, and quality paints made for metal and wood. Replacement parts like seals, bolts, and trim pieces are crucial for authenticity.
Look for suppliers specializing in vintage camper parts. Online forums and Facebook groups often share trusted sources. Consider salvage yards for original parts that fit perfectly. If sourcing parts proves tough, some companies offer custom reproductions.
Keep your tools in good shape. Clean sandpaper regularly and check wiring testers before each use. Gathering everything beforehand saves you from disrupting your flow later. What tools do you already have, and what will you need to find? Organizing this early sets a steady pace for your entire project.
Structural Repairs and Exterior Restoration
Frame and Body Repairs
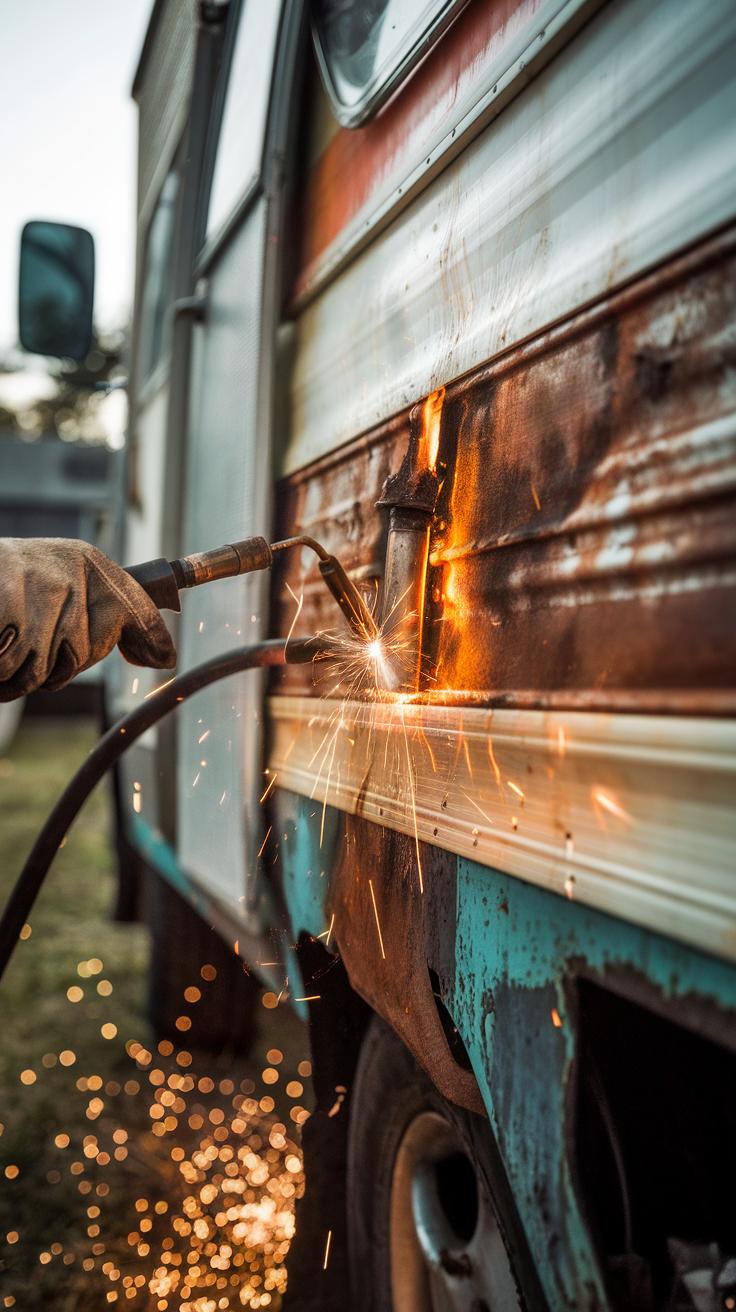
Your vintage camper’s frame often shows wear first. Start by inspecting for dents, rust spots, and weak areas on aluminum or steel parts. Use a wire brush or grinder to remove rust completely. Leaving any behind lets corrosion spread. For small holes, patch metal sheets cut to size using rivets or welding. Larger structural damage might require cutting out sections and welding in new pieces. Make sure your welds are solid to keep the frame strong and safe. When reinforcing areas, add metal brackets or plates for extra support in spots prone to bending or cracked welds. Have you checked if your camper’s frame has hidden rust under trim or inside corners? These spots often hide damage and need cleaning before sealing. Properly repairing the frame protects your camper from future damage and prepares it for a fresh exterior.
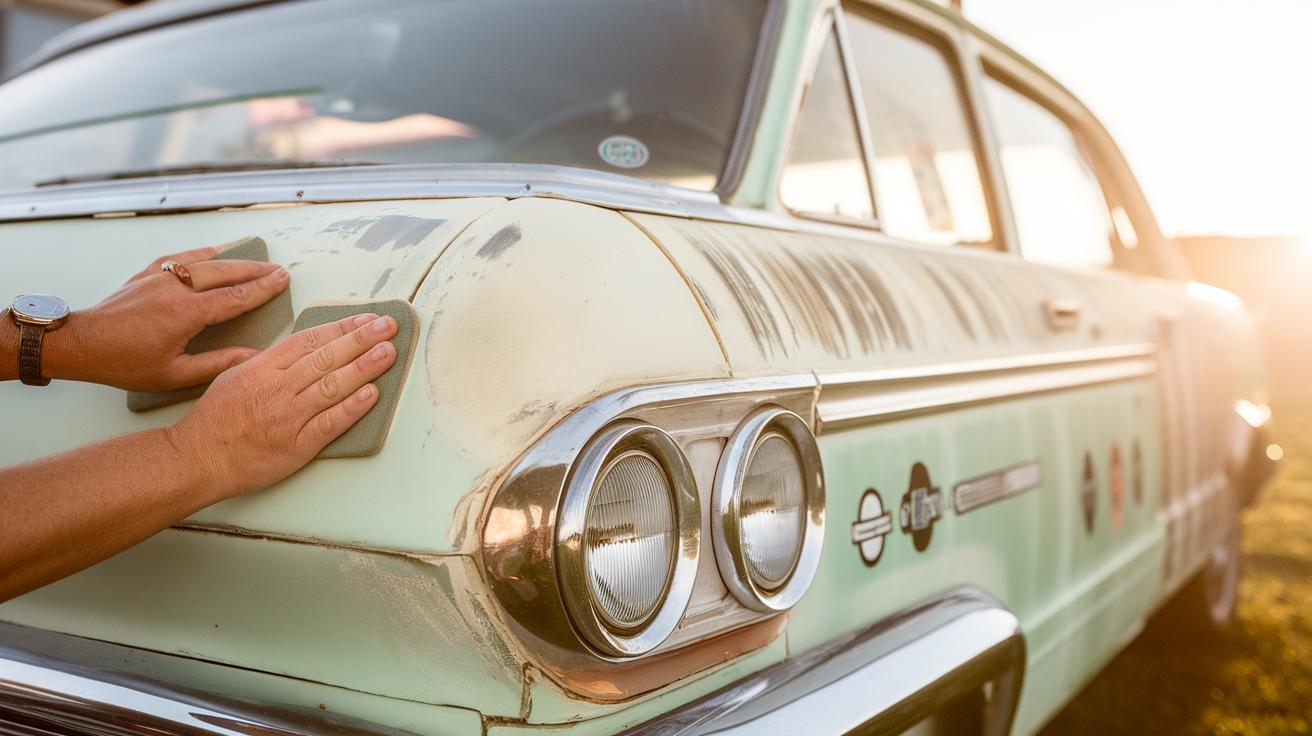
Refinishing Exterior Surfaces
Begin by sanding the camper’s outer panels down to bare metal or old paint, depending on condition. Use medium-grit sandpaper followed by fine grit to smooth the surface. Remove dust with a clean cloth before applying primer. Primer bonds the new paint and prevents rust. Pick a primer suitable for metal surfaces. After priming, choose paint that matches the original camper color or opt for a modern finish with strong UV and weather resistance. Spray paint gives an even coat, but brush-on paints work on smaller areas. Polishing aluminum or metal panels after painting restores shine and protects them. Have you considered finishing with a clear coat to boost durability and maintain the vintage look? This step will keep your camper looking great on your next road trip.
Electrical and Plumbing Systems Refurbishment

Restoring your vintage camper means making sure electrical and plumbing systems work safely and reliably. Old wiring often becomes brittle or frayed over time, which can cause shorts or fires. Start by inspecting all electrical cables for cracks, corrosion, or damage. Replace any wiring that looks outdated or worn with modern, heat-resistant cables. Install circuit breakers instead of old fuses to protect your camper from electrical overloads. These breakers are easier to reset and improve safety.
Look at your lighting carefully. You can keep the retro look while switching to energy-efficient LED fixtures. LEDs draw less power, last longer, and generate less heat. Think about adding dimmer switches for adjustable lighting, which adds comfort and saves energy. Check your outlets for grounding and replace any that don’t meet today’s safety standards. Will you keep the vintage bulbs, or upgrade to something more efficient? Your choices affect functionality and style.
Rewiring and Lighting
Start rewiring by turning off all power. Test existing circuits with a voltage detector for safety. Remove damaged wires and replace them with new, properly rated wire. Use modern connectors and secure wiring along wall studs to prevent movement. Add a main circuit breaker panel near the power source for easy control.
Swap out old lighting fixtures with LED versions that match the vintage style. Position new lights in corners and task areas. Replace light switches if they’re stiff or unreliable. Label circuit breakers clearly to avoid confusion. Checking every outlet with a tester ensures safe operation before you reconnect power. How will your lighting plan improve your camping experience?
Plumbing Checks and Repairs
Start plumbing inspection by turning on your fresh water system and checking for leaks or low pressure. Run water through all taps and look under sinks for drips. Any cracked or corroded pipes should be cut out and replaced with durable PEX tubing or copper pipe, which resists freezing and damage.
Test the water pump for proper pressure and flow. Older pumps might need cleaning or replacement for reliable performance. Waste management is vital. Inspect holding tanks for cracks or leaks. Clean out drains and vents to prevent clogs and odors. Upgrade valves or seals as needed to avoid leaks. Does your camper’s plumbing handle waste efficiently and keep the interior fresh?
Maintaining these systems keeps your vintage camper working and lets you enjoy many safe trips on the road.
Interior Restoration and Design Choices

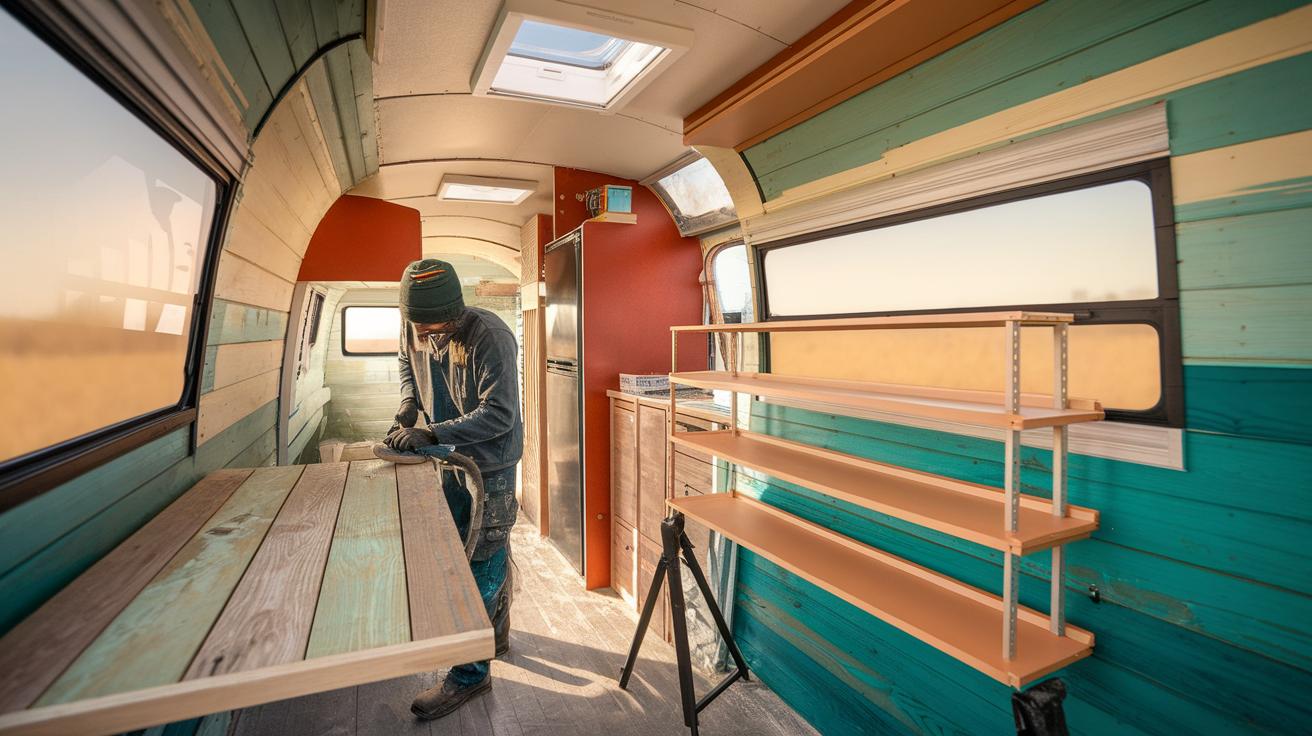
Refinishing Wood and Fixtures
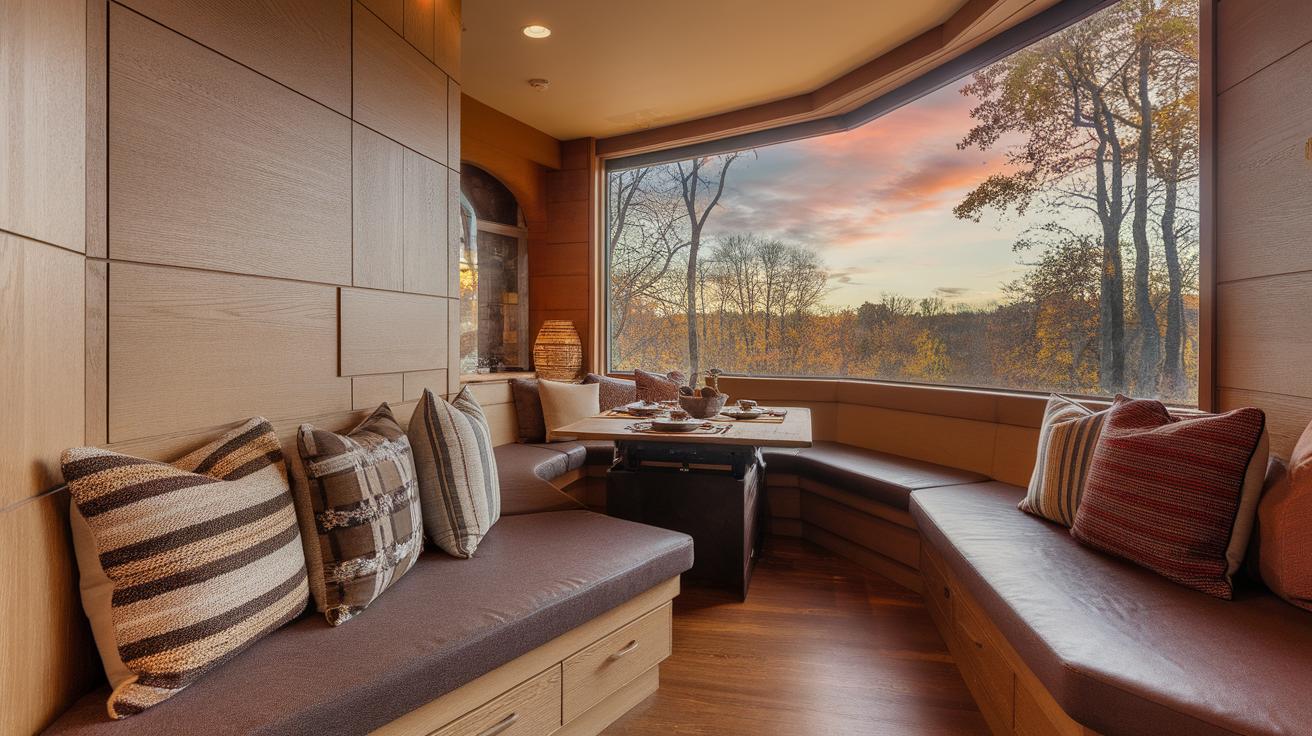
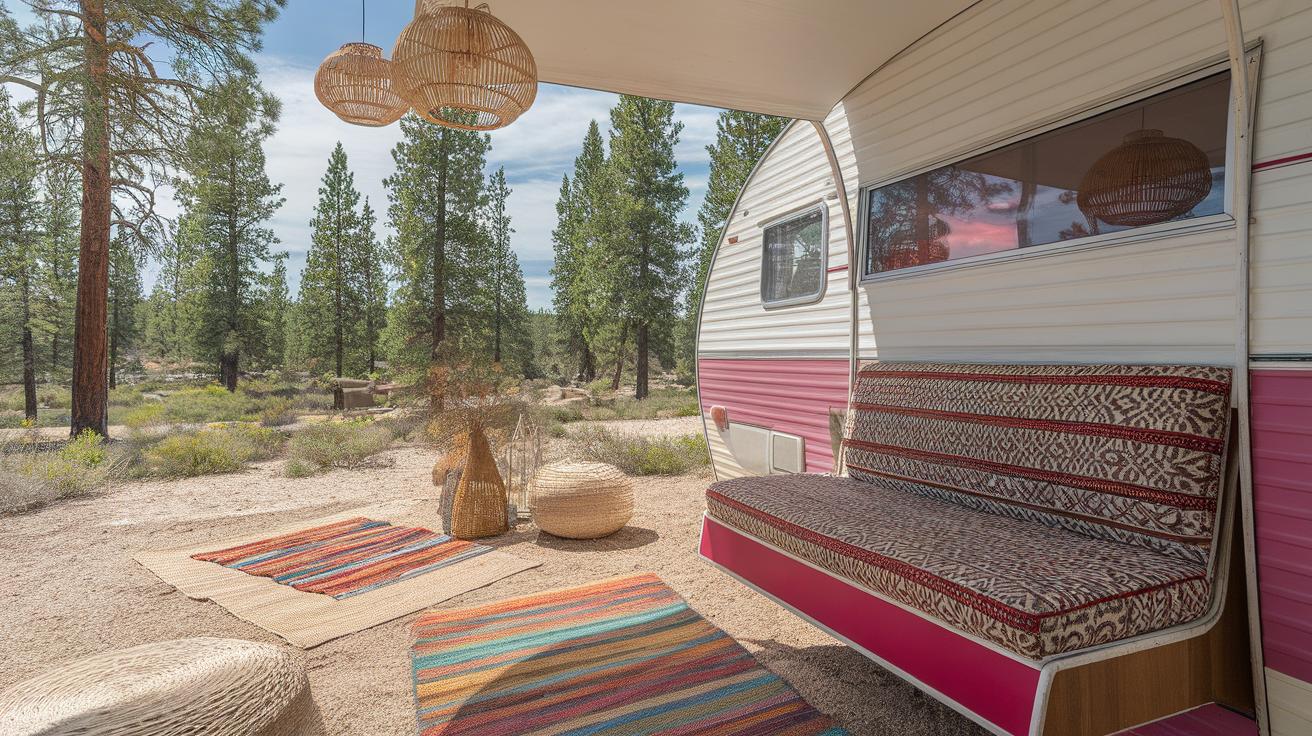
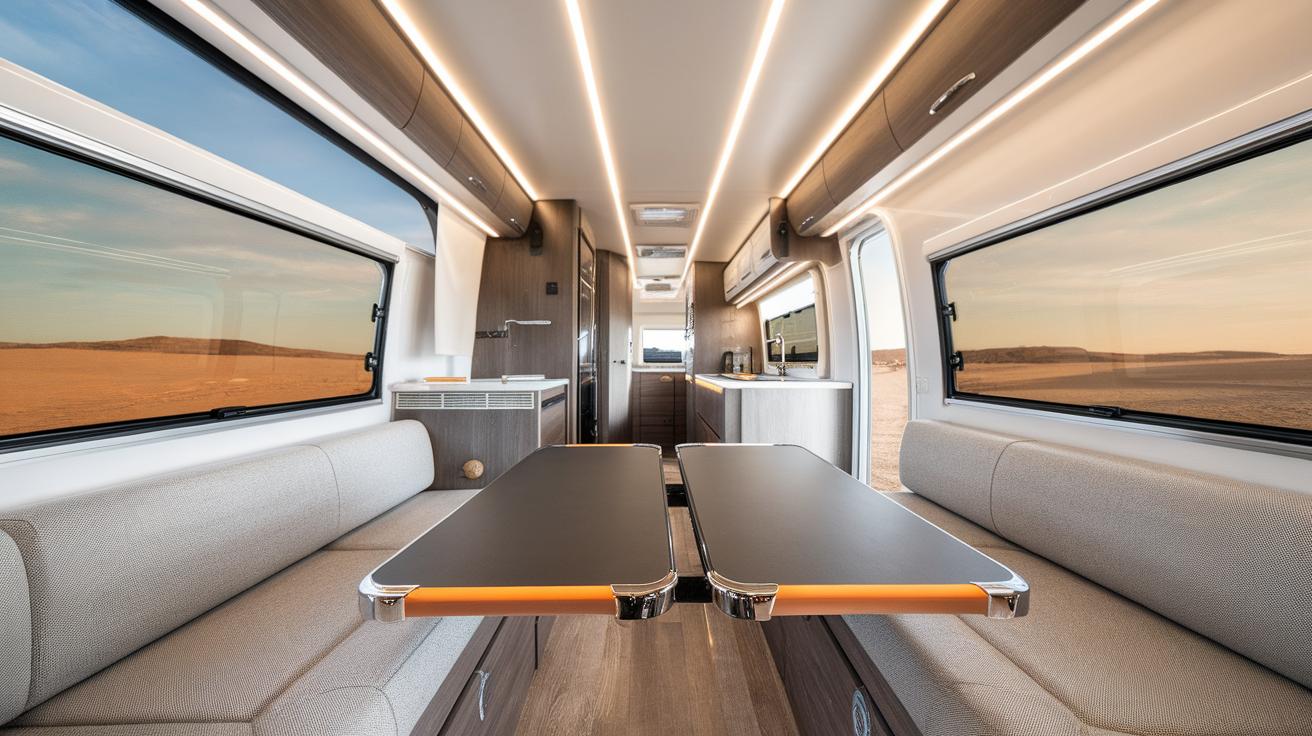
Woodwork forms the heart of most vintage campers. Start by gently sanding surfaces to remove old varnish without damaging the grain. If you find cracks or chips, use wood filler designed for light repairs before sanding again. Pick stains that echo the era of your camper, such as warm honey or deep walnut tones. You might decide to strip damaged cabinetry and either restore originals or swap them for period-correct replacements. For countertops, laminates with retro patterns work well and offer durability. Upholstery is another crucial area. Choose fabrics that resist fading and wear while keeping classic prints and color palettes. Perhaps replace foam cushions with denser, modern alternatives for better comfort but wrap them in vintage-style fabric to maintain the classic look.
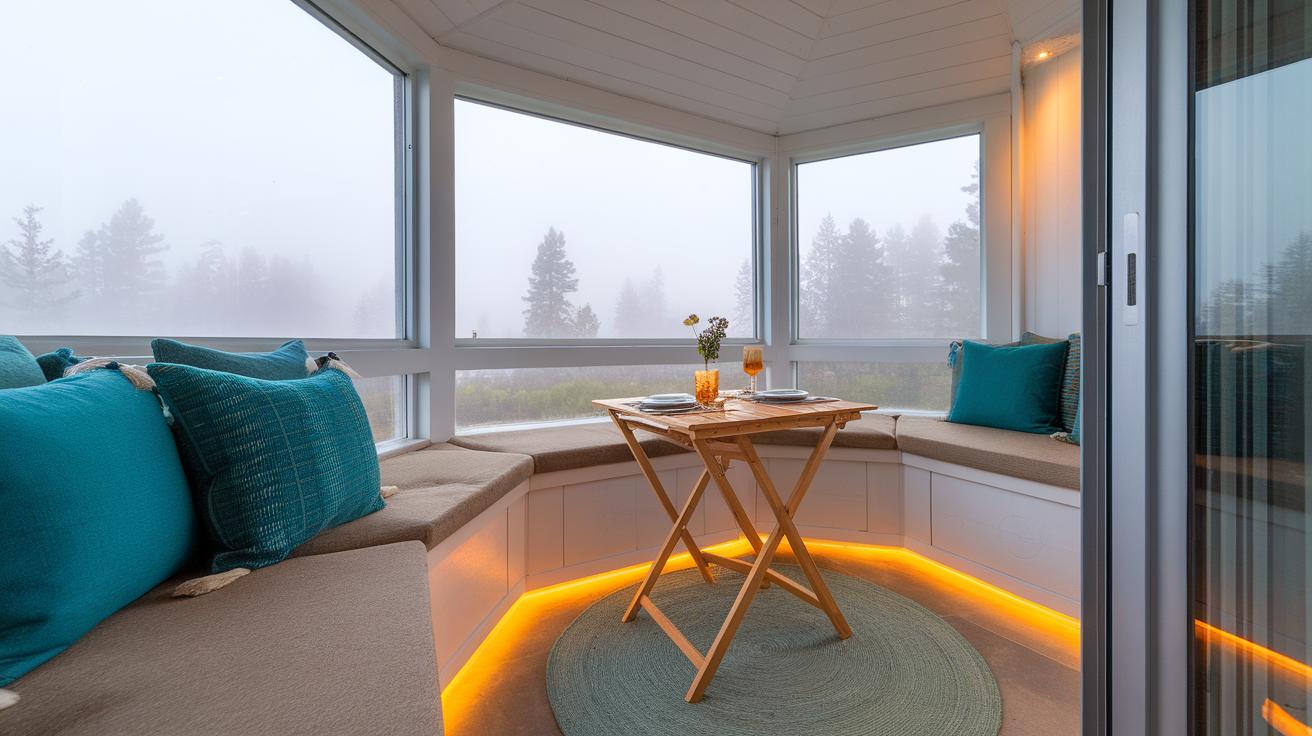
Choosing Materials and Colors
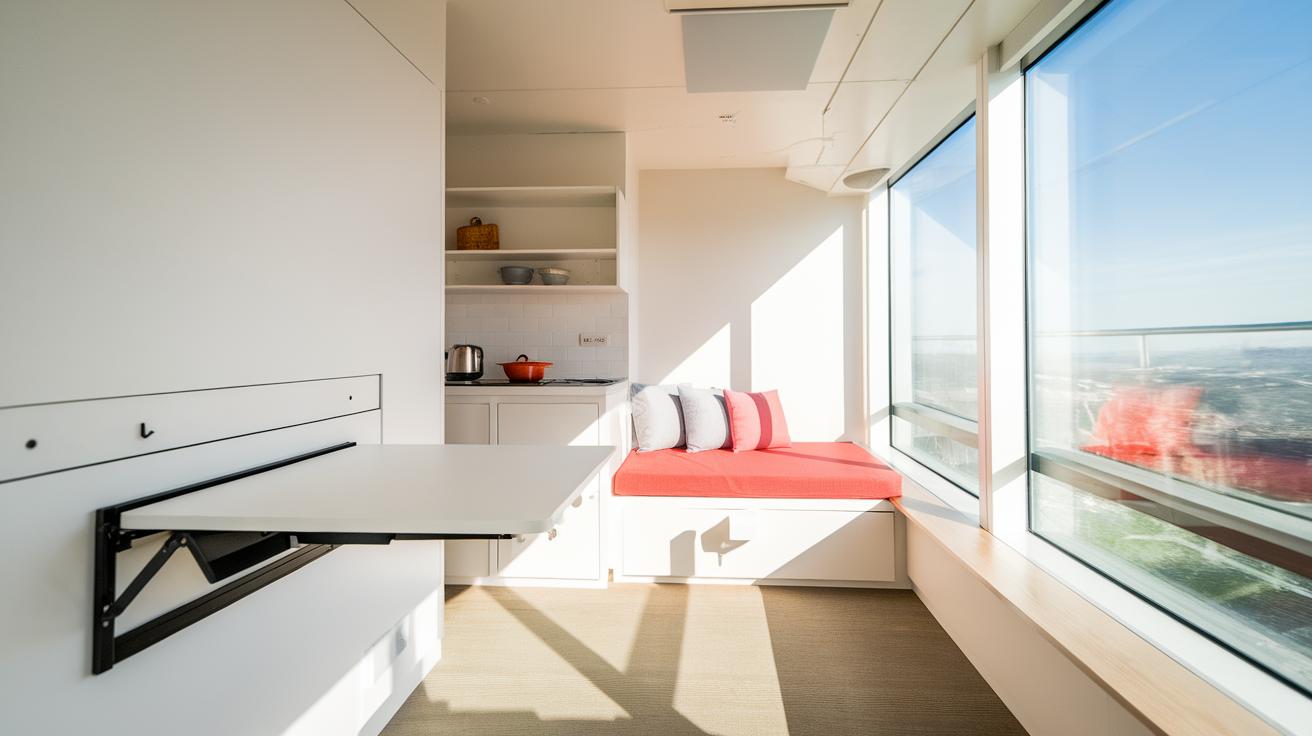
Considering fabrics, vinyl and woven cotton blends balance durability and style. Look for patterns popular in your camper’s decade, like plaid or florals, to keep the vintage feel. Flooring deserves attention too. Linoleum or vinyl sheets with simple geometric patterns provide resilience and easy cleaning, matching the retro vibe. Softening the space with vintage-style curtains and cushions can add comfort without breaking the classic design. How can you blend old and new? Try mixing retro hues like teal, mustard, or burnt orange with neutral tone walls. These colors highlight character while preventing the interior from feeling outdated. Choose materials that handle camping conditions but remain true to your camper’s original charm.
Upgrading Appliances and Safety Features
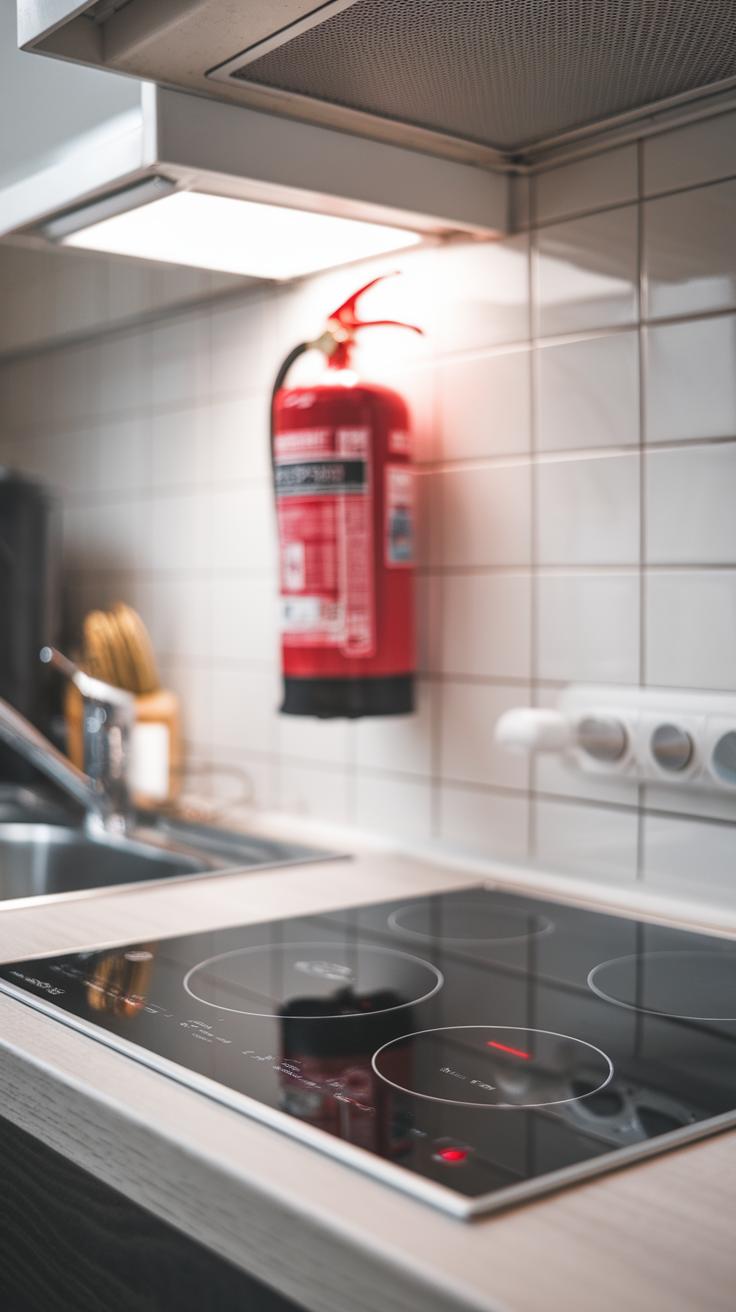
When restoring your vintage camper, upgrading appliances for cooking, heating, and refrigeration can make a big difference. Choose compact, energy-efficient models designed for small spaces. For cooking, a propane stove or a modern electric induction cooktop works well. Heating options include low-profile propane heaters that offer warmth without taking up much room.
Ensure appliances match your camper’s electrical system. Proper wiring and ventilation prevent hazards and improve efficiency. Installing vents near cooking areas reduces moisture and smoke buildup.
Safety updates are critical for your peace of mind. Installing smoke detectors and carbon monoxide alarms protects you from unseen dangers. Place smoke detectors near sleeping areas and the kitchen. Carbon monoxide alarms should sit close to heaters and cooking devices.
Check fire extinguishers for expiration dates and replace them if needed. Make sure all appliances have secure connections and comply with local safety rules. Your camper should be a safe, cozy place to enjoy your travels and rest well at night.
Modern Appliance Installation
Select appliances designed for camper living. Small refrigerators with low power needs and propane or electric cookers are good choices. Compact heaters with built-in safety features can provide reliable warmth.
Plan the electrical setup carefully. Use appropriate circuit breakers and wiring rated for the appliance’s power consumption. Proper grounding is essential to prevent shocks. Include ventilation fans near stoves and heaters to keep air fresh and reduce moisture.
Think about future upgrades. Install wiring that allows easy addition of solar panels or battery systems. How much power do your appliances need? Will you use propane, electricity, or both? Answering these questions early will smooth the installation.
Safety Enhancements
Installing smoke and gas detectors is a vital step in camper restoration. Place smoke alarms in sleeping zones and near cooking areas. Install carbon monoxide detectors close to fuel-burning appliances to monitor dangerous gases.
Update fire extinguishers by choosing ones labeled for multiple fire types. Mount them where they are easy to reach in emergencies. Check their pressure levels regularly.
Inspect gas lines, valves, and connections for leaks using approved testing methods. Replace any old or damaged tubing. Ensure propane systems include shut-off valves accessible from outside the camper.
Does your camper meet current safety standards? Reviewing these rules keeps you compliant and protects everyone using the camper. Safety improvements help you enjoy your vintage RV with confidence on every trip.
Maintaining Your Restored Camper for LongTerm Use
Keeping your vintage camper in good shape takes dedication every time you use it. Start with regular washing of the exterior to prevent dirt and grime buildup. Use gentle soap and soft brushes to protect the paint and decals. Avoid harsh chemicals that could damage surfaces.
Inside, vacuum floors and wipe down cabinets and upholstery frequently. Check for cracks or soft spots on walls and flooring. These could signal moisture damage that worsens over time. Spotting problems early saves costly repairs later.
Do you inspect your camper after each trip? Look carefully at seals around windows and doors. Small gaps can let water inside and cause rot. Replace or reseal these areas when you find issues to maintain a dry interior.
Regular Cleaning and Inspection
Wash your camper’s exterior every few weeks during the season to remove road grime and prevent mold. Use a ladder to reach the roof and clean off leaves or dirt that block drainage. Inside, keep surfaces dust-free and clean fabrics with mild cleaners suited for vintage materials.
Perform a quick inspection before and after every trip. Check tires for cracking or low pressure. Test lights and electrical connections. Are faucets or plumbing dripping? Catching these signs early avoids breakdowns on the road.
Inspect the frame, hitch, and undercarriage for rust or damage. Rust can weaken key parts and cause safety issues. Early treatment with rust remover and protective paint extends the life of steel components.
Seasonal and Storage Care
Before storing your camper, drain all water tanks completely. This prevents pipes from freezing and bursting. Remove food and clean cupboards thoroughly to avoid attracting pests. Leave cabinet doors open to improve airflow and reduce moisture buildup.
Cover your camper with a breathable tarp designed for RVs to protect it from rain, snow, and UV rays. Choose a ventilated storage space or use moisture absorbers inside to cut down on humidity. Check on your camper every few weeks if stored outside.
Winterize your camper by adding antifreeze to plumbing if you live in cold areas. Disconnect batteries and recharge them monthly to keep them healthy. Taking these steps helps your camper stay ready for your next adventure.
Connecting with Vintage Camper Communities
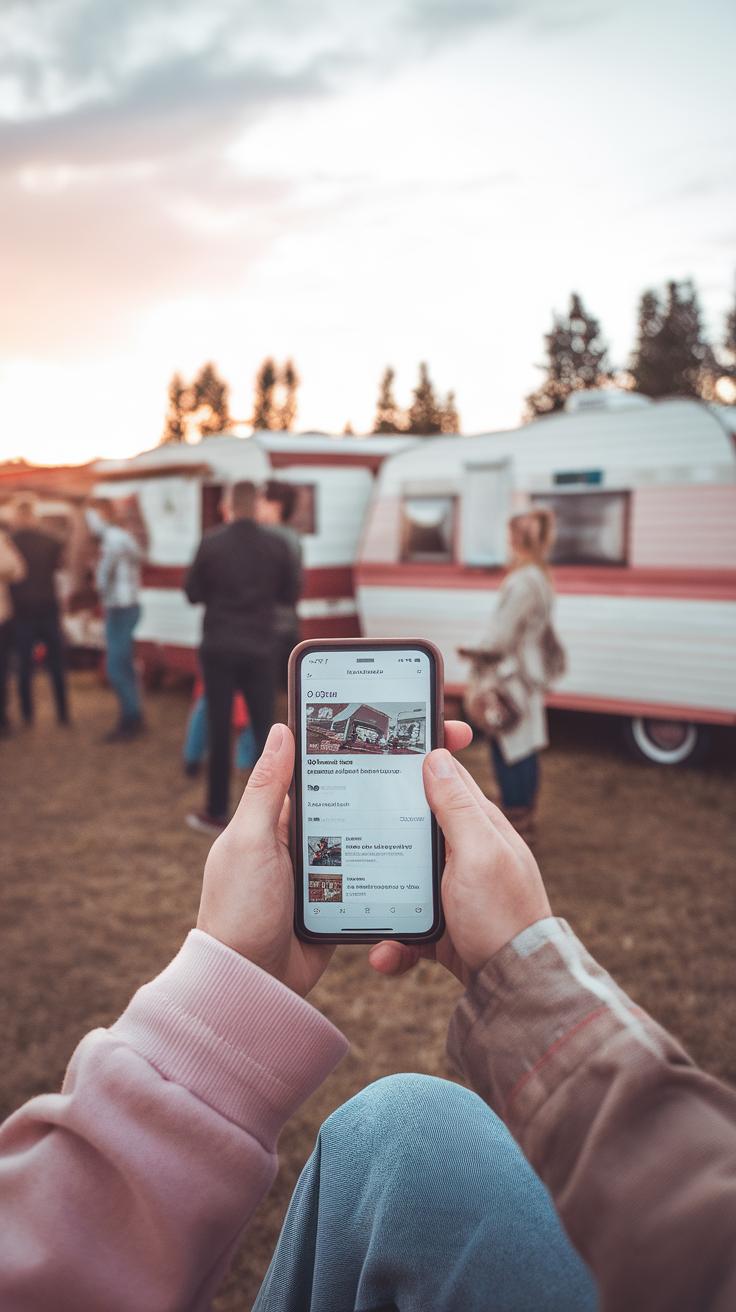
Your vintage camper restoration gains depth when you connect with others who share the same passion. Online and local groups of vintage camper enthusiasts provide a space to swap ideas and advice. These communities offer real-world knowledge that accelerates your learning curve and helps you avoid common restoration errors.
Do you need a rare part or want to find trusted mechanics familiar with older models? These networks often have leads on resources you wouldn’t find on your own. Sharing your progress invites feedback that can improve your techniques. The encouragement you get from fellow restorers keeps motivation high during tough phases.
Have you ever wondered how others handle tricky repairs or where they find unique decor? Engagement in these groups reveals practical solutions and opens doors to friendships that extend beyond the restoration project. Your camper’s revival becomes part of a larger story shared by people who understand the work behind it.
Finding Support Networks
You can start by searching for websites dedicated to vintage campers, like Vintage Camper Trailers or Classic Camper Club. Forums on these sites allow owners to post questions, share photos, and trade restoration tips regularly. Many clubs also organize regional meet-ups or annual events where members caravan together, exchanging hands-on knowledge face to face.
Local chapters often hold workshops covering basics like wiring, plumbing, or bodywork. These events can help you gain confidence handling tasks you haven’t tried before. Have you checked if your state or region has a vintage camper club with an active online page? Such groups connect you with experienced owners nearby who can offer advice specific to your camper’s make and model.
Benefits of Community Involvement
Joining gatherings and online discussions sharpens your skills and makes restoration more enjoyable. Learning from others’ successes and setbacks guides you in making better decisions for your camper. These conversations push you to try new approaches and keep up with tools or methods that improve results.
Being part of a community adds a social side to what might otherwise feel like a solo job. Are you missing support when you hit a wall? Posting your challenge to a forum often draws helpful, detailed responses within hours. Meeting fellow enthusiasts at rallies can build lasting friendships, turning restoration into a shared adventure.
Community involvement feeds inspiration and keeps your enthusiasm alive long after the initial excitement fades. How does your camper reflect your personality and experiences? Sharing stories about your project helps others see your work in a new light and strengthens your connection to the vintage camper world.
Conclusions
Your vintage camper restoration journey offers more than just a renewed vehicle; it’s an opportunity to reconnect with history and create personal memories. By evaluating your camper’s condition, gathering the right tools, and approaching each step methodically, you can bring impressive results within your reach. Remember to stay realistic about time and budget to avoid frustration during the process. Each improvement, from structural repairs to aesthetic touches, adds value and enjoyment to your camper. Enjoy the progress and celebrate small wins as you see your vision come to life.
Consider your restored camper as both a functional home on wheels and a piece of classic craftsmanship. It can open doors to new travel experiences and social connections with fellow enthusiasts. Your careful attention to detail ensures the preservation of vintage charm matched with modern usability. Take pride in your work and keep learning from the vibrant community around vintage RV restoration. Your camper is now ready to hit the road, offering comfort and style, all thanks to your dedicated effort and the practical guidance shared in this article.