Introduction
Remodeling a camper can seem overwhelming, but it is within your reach. With practical steps and focused efforts, you can convert your camper into a personalized space suited for your weekend adventures. Tackling a DIY camper remodel allows you to customize your living space on wheels without depending on expensive professionals. It opens the door to creativity and practical problem-solving that suits your needs and style.
You might wonder where to start or how to manage space effectively. This guide offers clear advice on prioritizing tasks, selecting materials, and using smart storage solutions. It targets those ready to invest their weekends into a project that brings both enjoyment and functionality to camping life. Through the following chapters, you will discover ways to improve your camper’s comfort and utility while keeping the process manageable and rewarding.
Planning Your Camper Remodel

Start by assessing your camper’s current condition. Check for any damage in the structure, walls, and floor. Look for leaks, rust, or soft spots that may need repair. Test the electrical system to see if all lights, outlets, and controls work. Inspect plumbing for leaks or clogs. Note any issues that could affect safety or comfort.
Take photos and detailed notes of these problem areas. This record will help you track progress and plan repairs. Think about how you use your camper. What works well, and what feels cramped or outdated? This reflection guides your remodel goals.
Define clear objectives based on your weekend warrior schedule. You might want one major upgrade per weekend, like replacing cabinets or fixing floor panels. Setting small, achievable tasks helps avoid overwhelm. Staying realistic keeps your project on track. How much time can you really spend each weekend? What results matter most to you?
Create a budget aligned with your goals. Estimate costs for materials, tools, and unexpected repairs. Prioritize spending on areas that improve safety and comfort first. Build in a buffer for extra expenses. Keeping finances organized stops surprises and stress.
Plan a timeline that fits your routine. Spread the work over weeks or months, focusing on one task at a time. Clear planning prevents rushed jobs or half-finished projects. Setting milestones also motivates you to keep going.
Assessing Your Camper’s Condition
Begin by looking over your camper’s frame and floor. Tap on walls and floors to spot soft spots or water damage. Check if doors and windows open smoothly and seal tightly. Look for signs of rust or corrosion on metal parts. These can weaken structure over time.
Switch on all electrical components. Do lights flicker or outlets fail? Take note of any broken switches or frayed wires. Plumbing needs a close look too—turn faucets and flush toilets. Watch for leaks, low water pressure, or slow drainage. Testing tanks and pumps helps identify hidden issues.
Review your camper’s usability. Is the kitchen convenient? Are sleeping areas comfortable? Identify cramped spaces or outdated fixtures. Use photos to track these points clearly. Detailed inspection now saves time and money during your remodel.
Setting Goals and Budget
Think about what your camper needs most. Focus on key improvements like new flooring, updated cabinetry, or better insulation. Include design changes that make your space feel more homey. Prioritize projects that will give you the best return for your effort and cost.
Estimate each task’s cost by checking prices online or at local stores. Remember to factor in tools you might need to buy or rent. Set a total budget that fits your finances and time. Break down expenses into categories like materials, hardware, and finishes.
Decide which upgrades to tackle first. Fixing leaks or electrical issues usually comes before cosmetic changes. Stick to your list to avoid impulsive purchases or expanding scope beyond weekend limits. Ask yourself: Will this project fit in your weekend schedule? How will it improve your camper’s comfort or function?
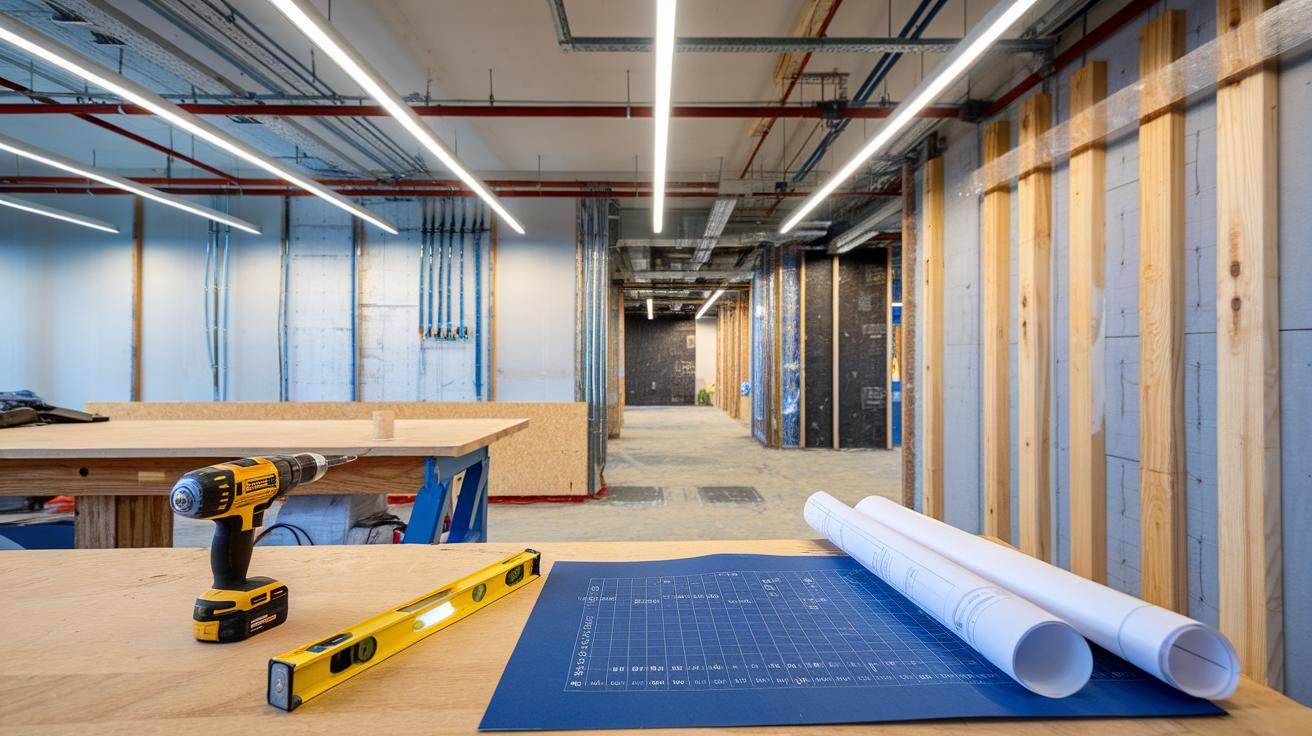
Essential Tools and Materials
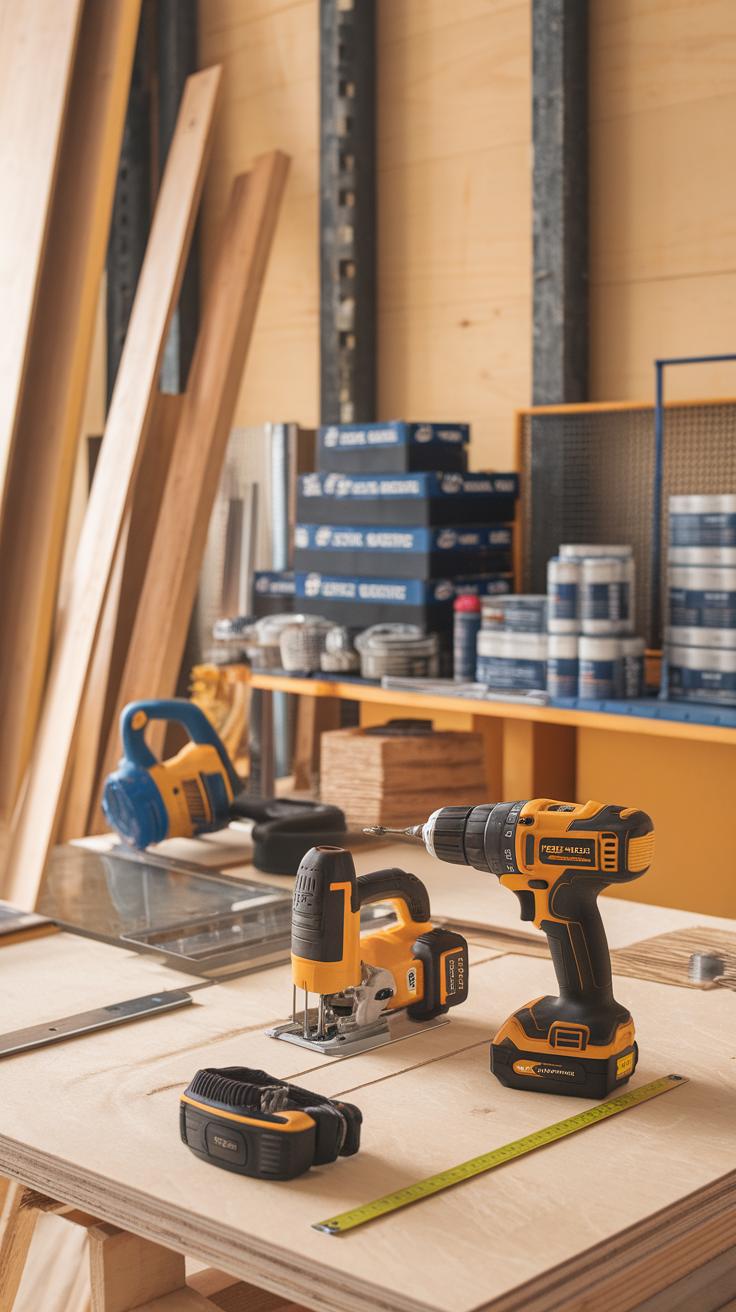
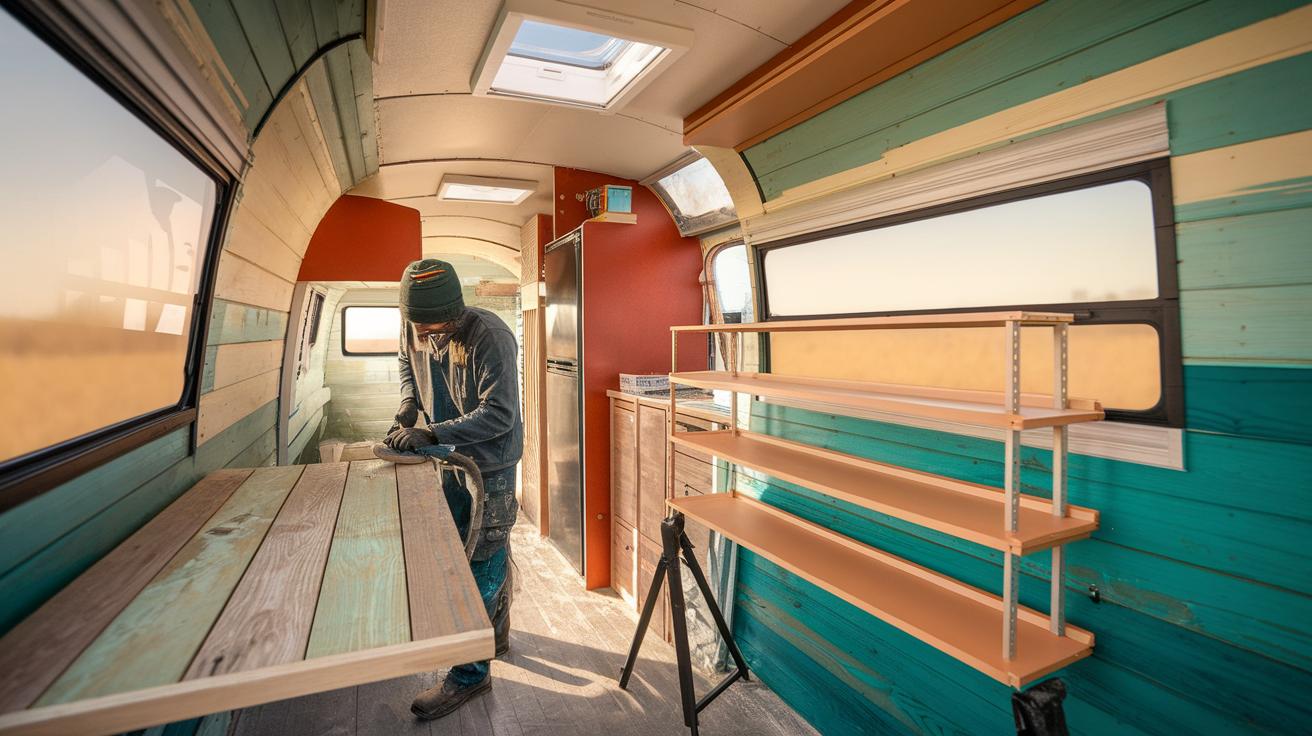
Your camper remodel will go smoother when you have the right tools and materials on hand. Working in tight spaces with limited time means you need gear that is easy to handle and reliable. Tools that serve multiple purposes reduce clutter and speed up your projects.
Think about a compact power drill that fits your hand well yet packs enough power to handle drilling, screwing, and even lightweight sanding tasks. Also, opt for lightweight saws, such as a cordless jigsaw, which help you make precise cuts without hauling bulky equipment around.
Choosing materials that balance strength and weight will keep your camper comfortable and efficient. Lightweight woods like plywood or pine save space and prevent your vehicle from becoming overloaded. Fabrics should withstand travel wear but also feel cozy and fresh.
Before you start, ask yourself how your tools and materials will support quick fixes and long-term durability. Are they easy to store? Will they handle unexpected repairs on the road? Your answers will guide smart choices that turn remodeling into a weekend-friendly mission.
Basic Tools for Every Remodel
Start with a measuring tape that locks firmly and shows both inches and centimeters. This tool is essential to avoid costly mistakes. Invest in a cordless power drill with multiple speed settings for drilling holes and driving screws efficiently.
Keep a set of basic screwdrivers handy, including flathead and Phillips styles. These fit most fasteners you’ll encounter. A compact jigsaw offers versatility for cutting curved and straight lines in wood or thin metal. Also, a handsaw helps with basic cuts without relying on power.
Safety equipment deserves careful attention. Protective eyewear, durable gloves, and a dust mask protect you during sanding and cutting. Look for quality that feels comfortable but doesn’t break the bank. These tools and gear form the foundation of every well-prepared renovation weekend.
Selecting Materials Wisely
Lightweight wood, such as plywood or poplar, offers strength without adding too much weight. These woods also handle screws and paint well, making them ideal for cabinets and shelving in your camper.
When choosing fabrics, pick durable, washable materials designed for heavy use and exposure to sunlight. Consider outdoor-grade fabrics for seating and curtains to ensure longevity on the road.
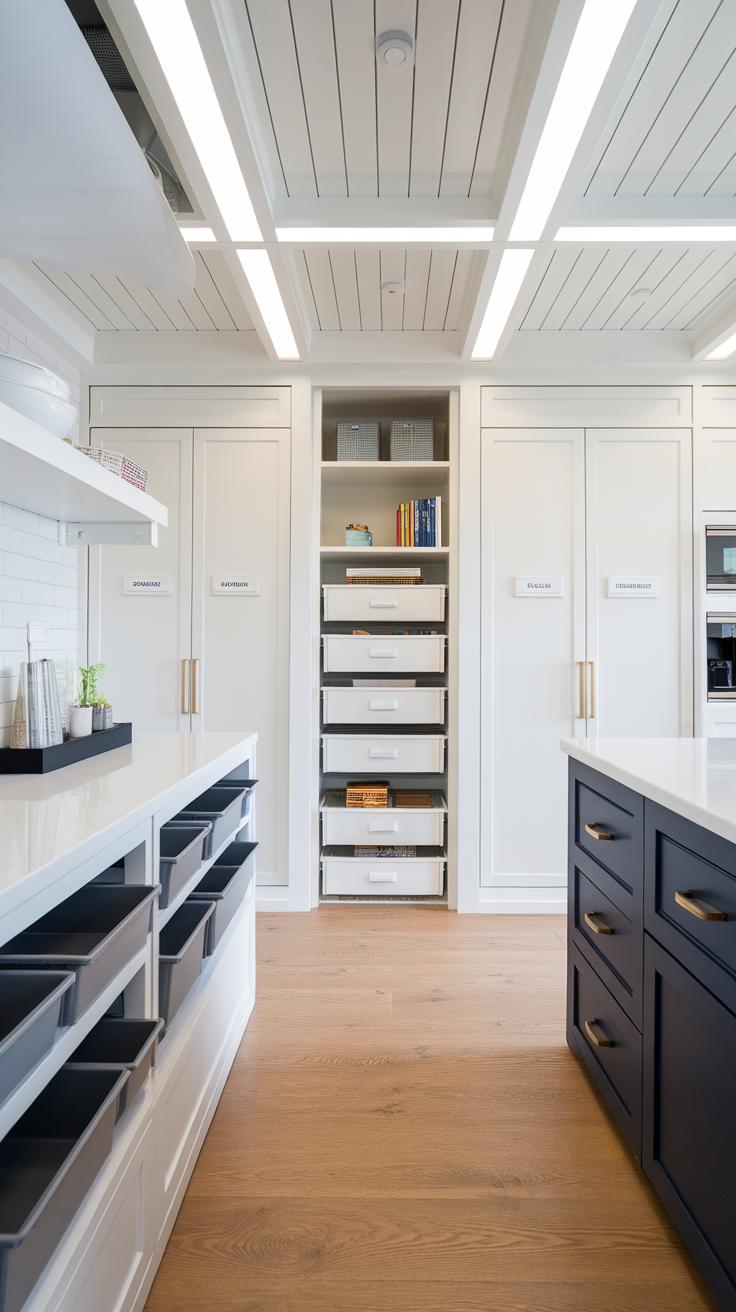
Storage units that fit compactly and serve multiple roles save space and keep the camper organized. Modular plastic bins and collapsible containers help you adapt storage as your needs evolve.
Focus on materials that won’t strain your camper’s weight limits but still resist wear and tear. How can your choices make your camper easier to maintain and more comfortable to live in? Finding this balance improves every weekend spent on the road.
Optimizing Space With Smart Storage Solutions
You can make your camper feel much bigger by using smart storage solutions. Start by thinking vertically. Installing shelves or hanging organizers on walls or doors frees up floor space. Use magnetic strips for small metal tools and hooks for cups or pans.
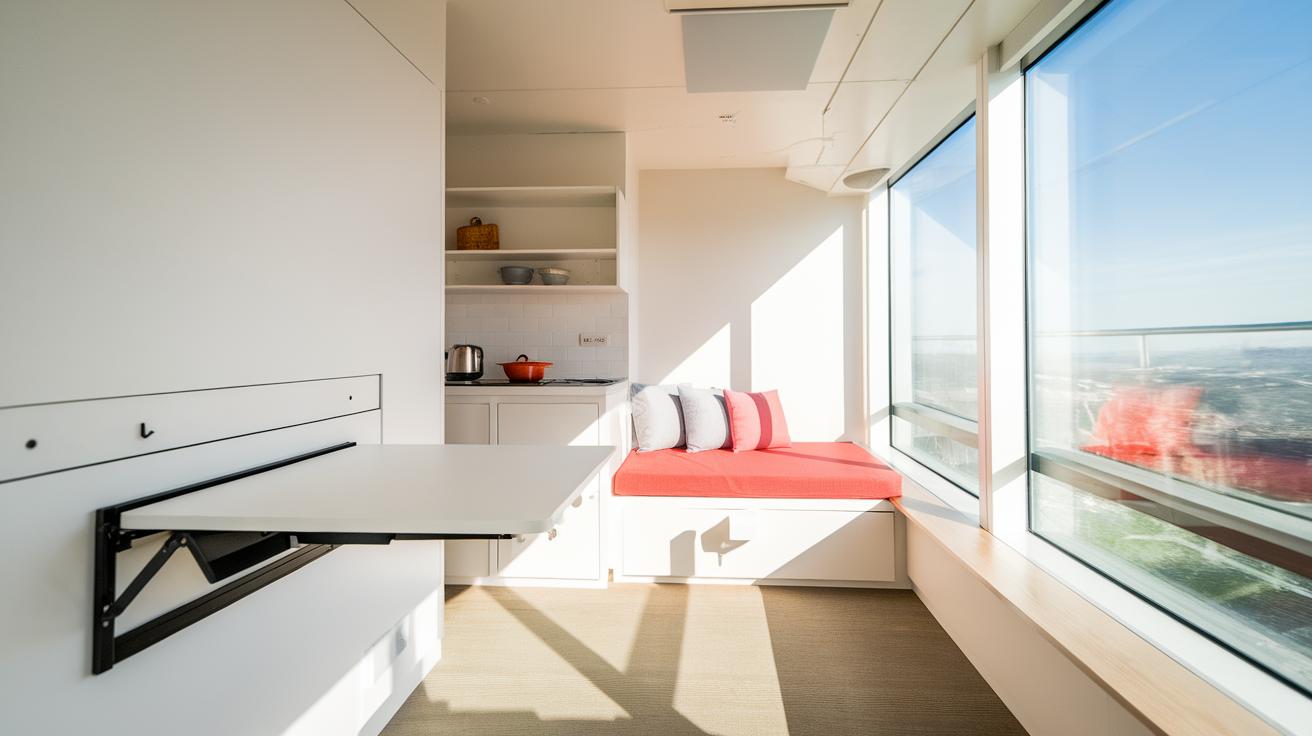
Multi-purpose furniture plays a big role in saving space. Choose pieces that combine storage with function, like benches with built-in bins or fold-down tables that tuck away when not in use. These options cut clutter and keep essentials close at hand.
Customized compartments help keep items organized and secure while on the road. Consider drawer dividers, cubbies, or removable containers tailored to fit your camper’s unique layout. How much extra space could you create by redesigning hidden spots?
Utilizing Every Inch
Look under seats and inside cabinets for space you might be ignoring. These often-overlooked areas work well for storing gear you don’t use every day but want to keep accessible. Adding pull-out baskets or sliding trays can make retrieval easier.
Overhead compartments provide room for lightweight items like jackets or linens. Use soft bins or mesh pouches to organize these spaces without adding bulk.
Before installing new storage, clear out what you don’t need. Decluttering lets you plan storage that matches your actual belongings, not just what you think you might store.
Furniture That Multitasks
Folding beds or convertible sofas turn your camper’s sleeping area into a living room by day. This switch gives you room to move without extra bulk.
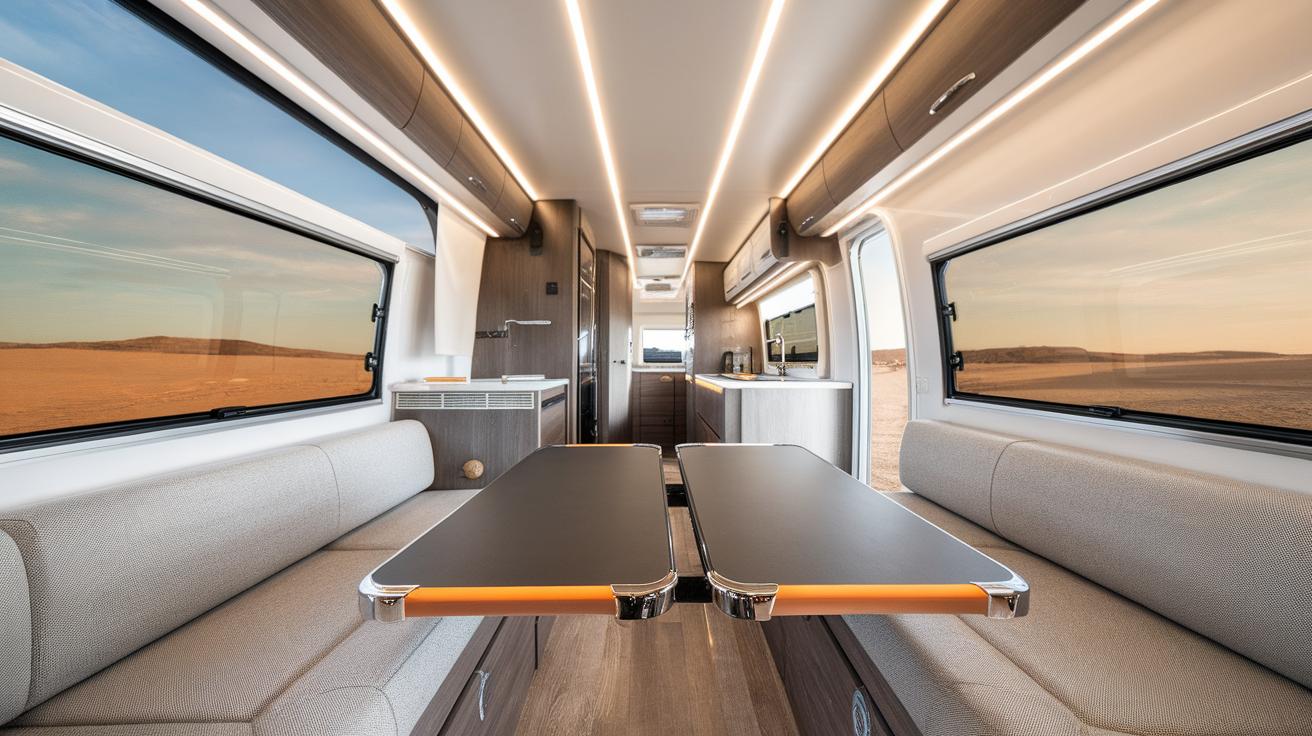
Tables with built-in storage or drop-leaf designs offer surfaces when needed but disappear when you want more space. Convertible seating areas can expand or shrink, giving you seating for guests or space for activities.
Would your camper benefit from furniture that changes with your needs? Choosing multi-use pieces can cut down on clutter and make your space more flexible for different weekend adventures.
Upgrading Electrical and Plumbing Systems
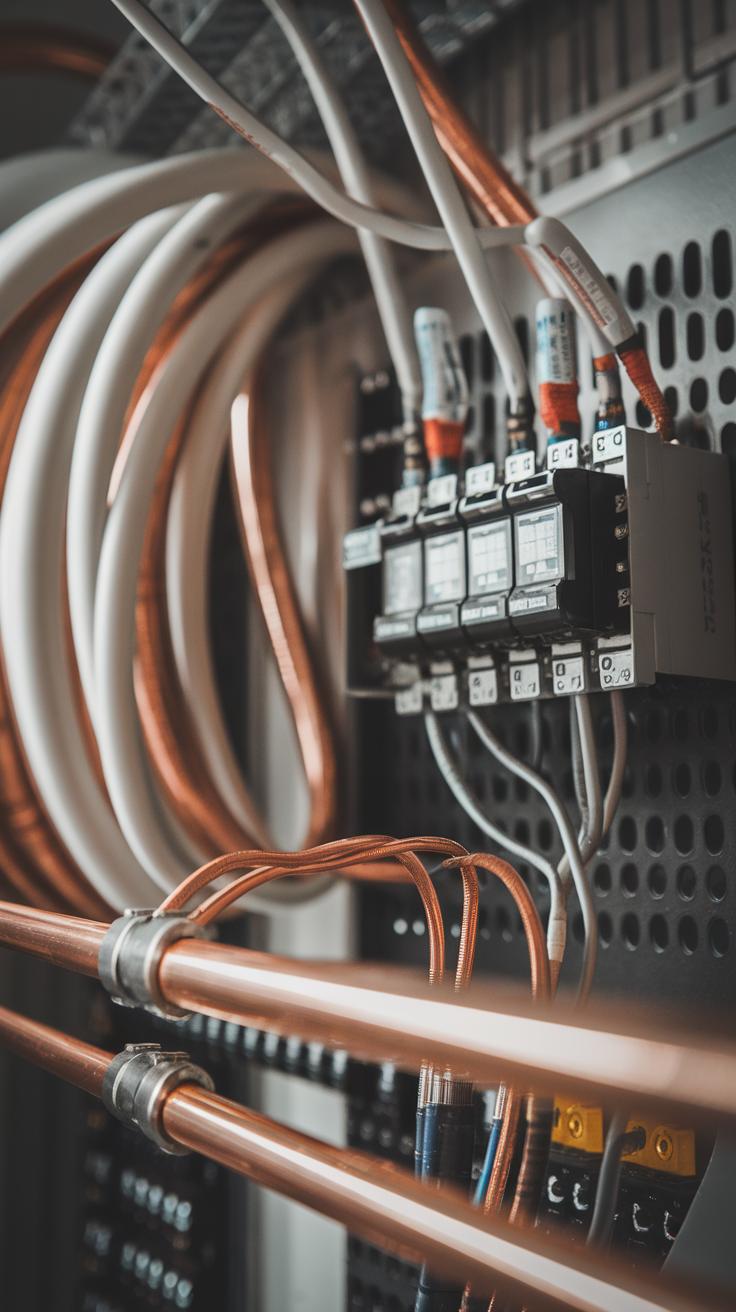
Updating your camper’s electrical and plumbing systems can boost comfort and reliability on your trips. Start with manageable improvements that fit your skill level. Focusing on basic upgrades lets you avoid costly repairs later and makes your camper feel more like home.
Think about what you really need. Do you want brighter, longer-lasting lighting? More power outlets for charging devices? Or better water flow without wasting space? Small changes can make a big difference in how you enjoy your camper.
You don’t have to rewire everything or replace all plumbing pipes. Instead, fix leaks, add new fixtures, and install energy-saving lighting. These efforts improve safety and function without overwhelming your weekend project time. Which system needs the most attention in your camper right now? Prioritize that first to keep things manageable and effective.
Simple Electrical Enhancements
Switching to LED lighting improves brightness and cuts power use. LED fixtures generate less heat and last much longer than old bulbs. Installing a few new LED lights in key spots changes how cozy your camper feels after dark.
Adding extra power outlets lets you plug in phones, laptops, or small appliances without unplugging other devices. You can install USB outlets too for convenience. Look for outlet kits made for campers or RVs to keep safety in mind.
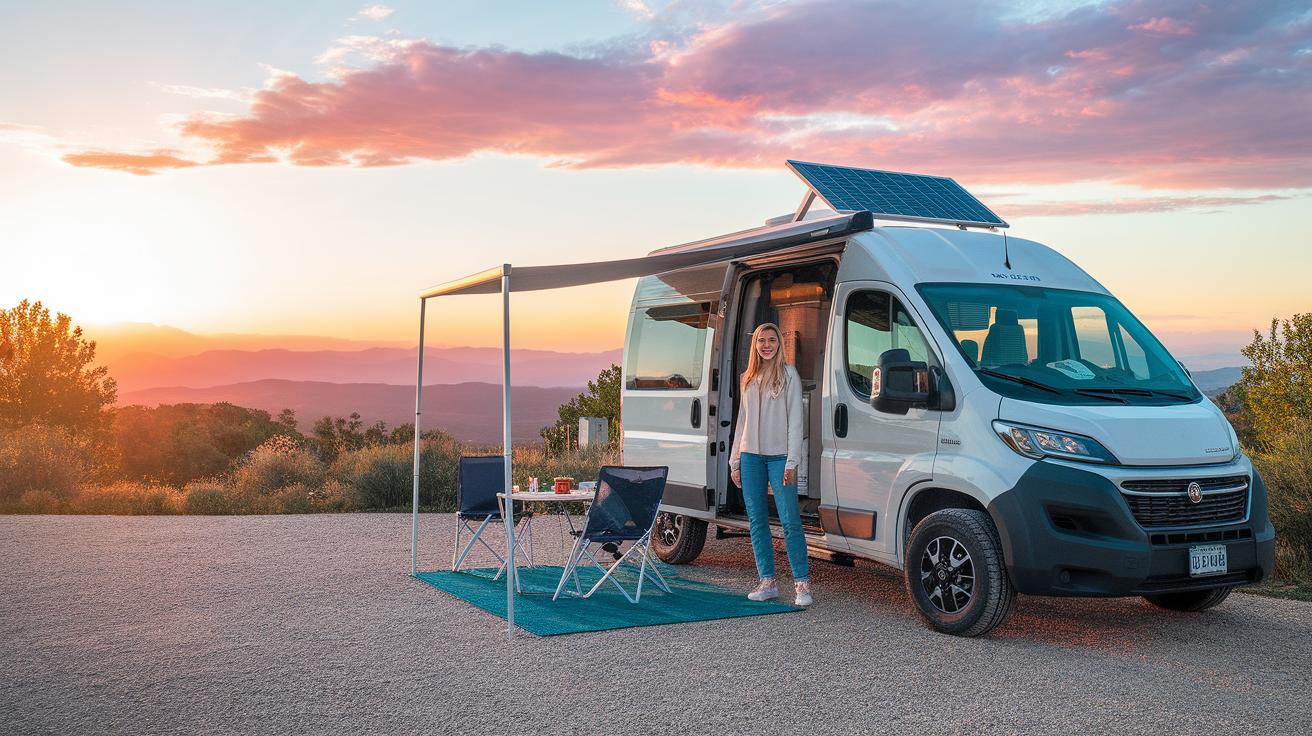
Solar panels offer a beginner-friendly way to keep batteries charged. Small, portable panels work well for weekend users. Pair them with a basic charge controller so you don’t have to worry about overcharging your battery bank. Have you thought about how much power you need before picking solar gear? Start with just enough for your lights and devices to keep it simple.
Plumbing Tips for DIY Campers
Tackling plumbing doesn’t mean replacing the whole system. Fix dripping faucets or leaking pipes with simple washers or new seals. These fixes stop water waste and prevent damage.
Compact water tanks fit into tight spaces and hold enough water for short trips. Installing one under a seat or inside a cabinet maximizes space while providing reliable fresh water. Check tank sizes that suit your camper size.
Improving water flow helps with showers and sinks. Adding low-flow faucets conserves water without reducing pressure. You might also consider a small, energy-efficient pump to boost water delivery if your gravity feed feels weak. What plumbing problem bothers you most during camping? Start there to improve comfort and ease.
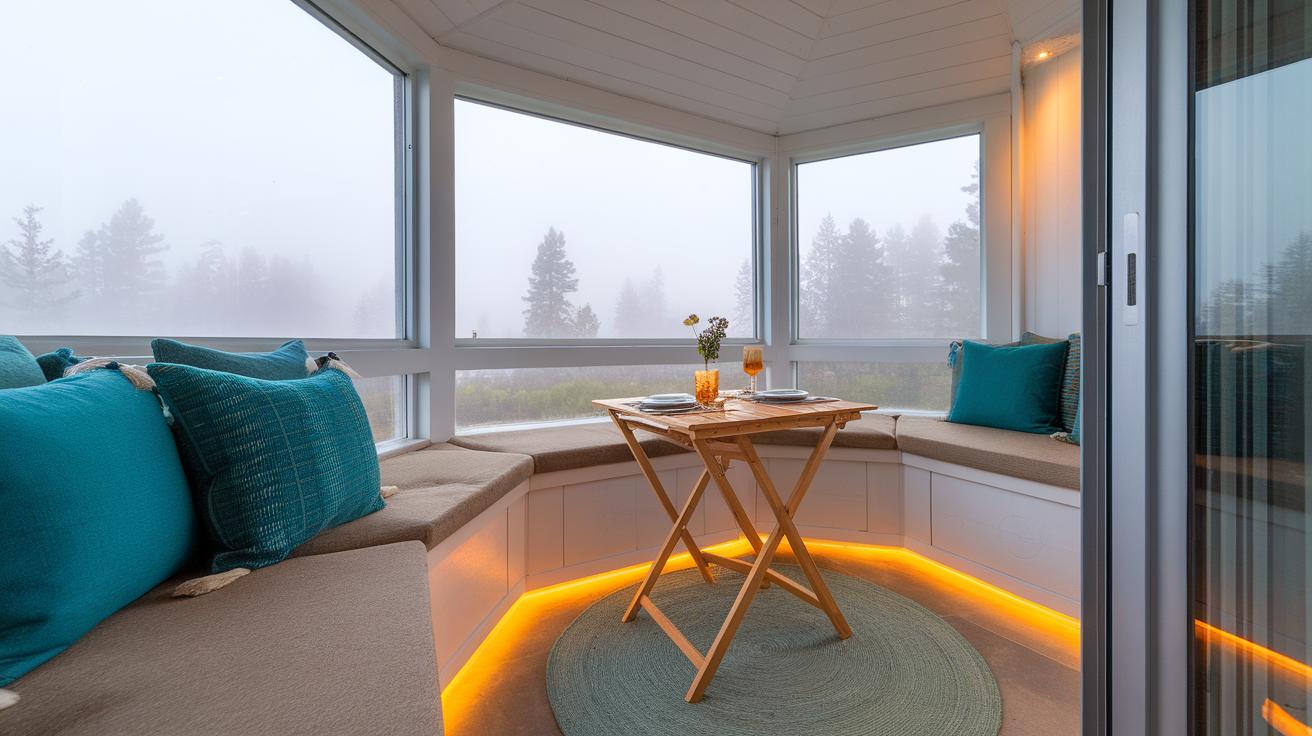
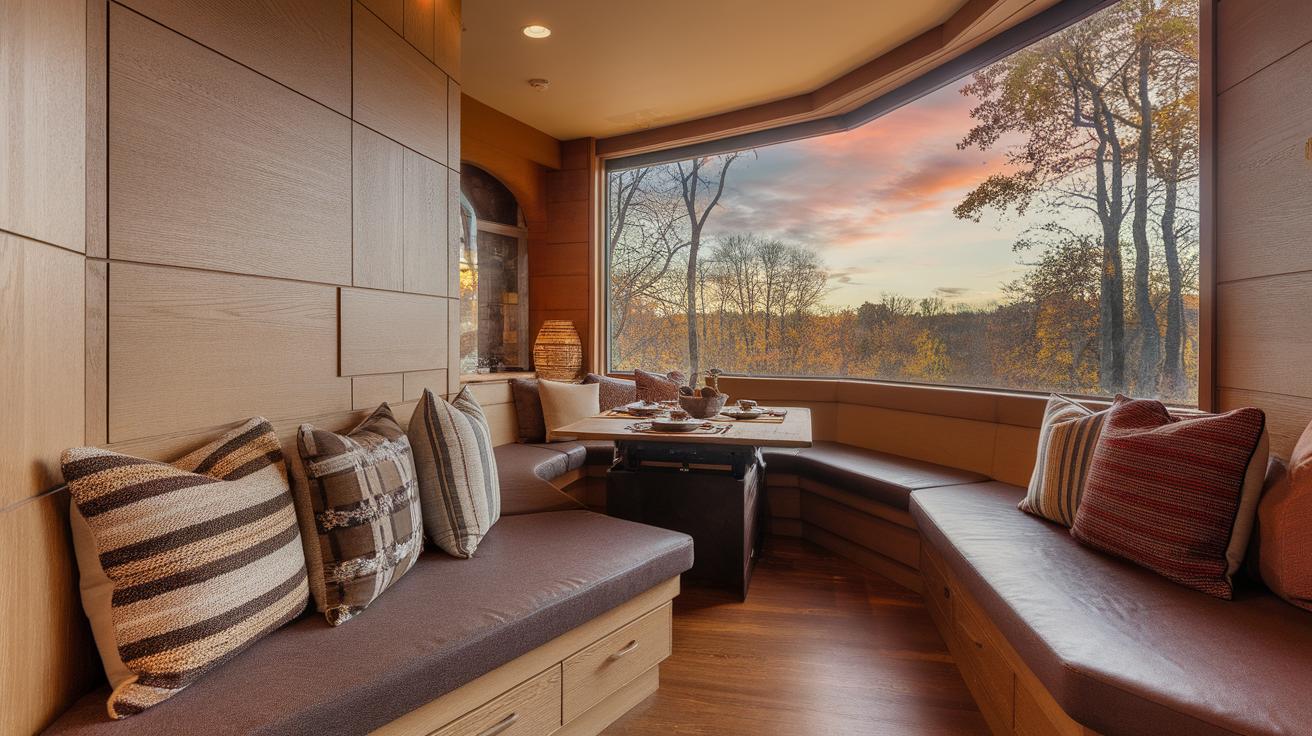
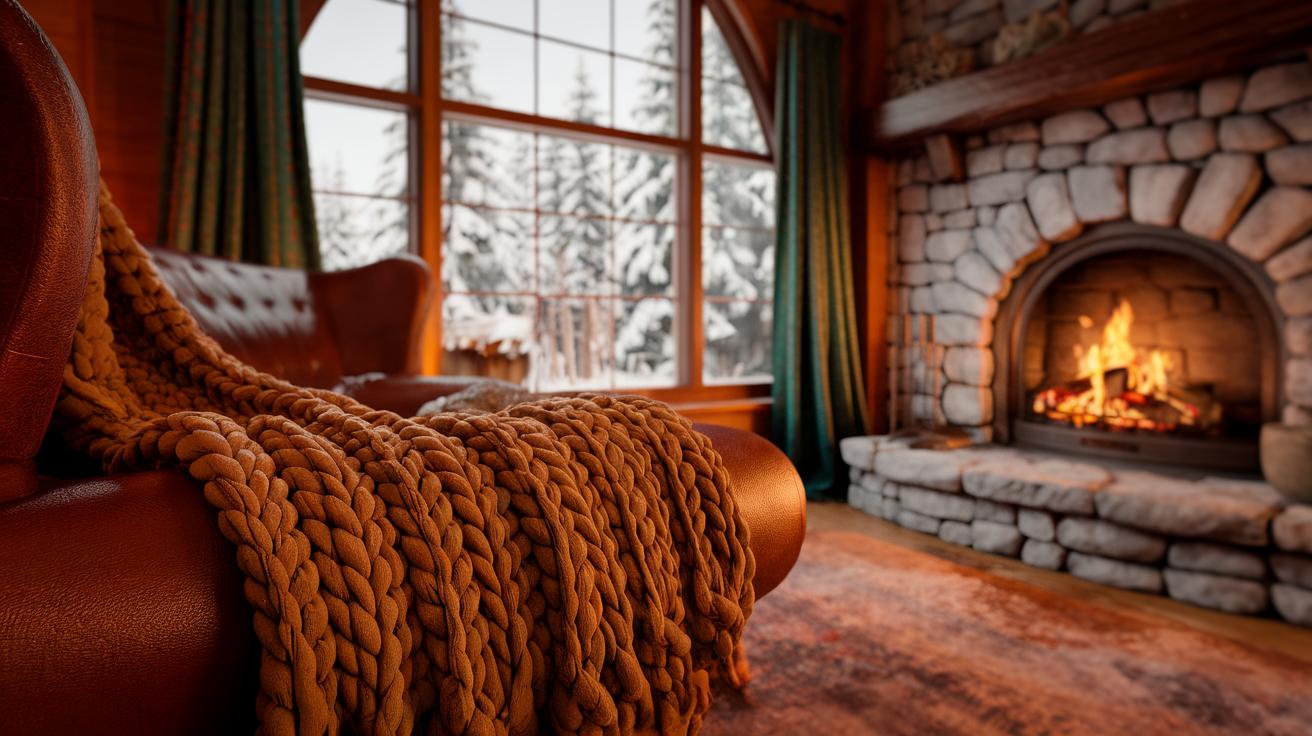
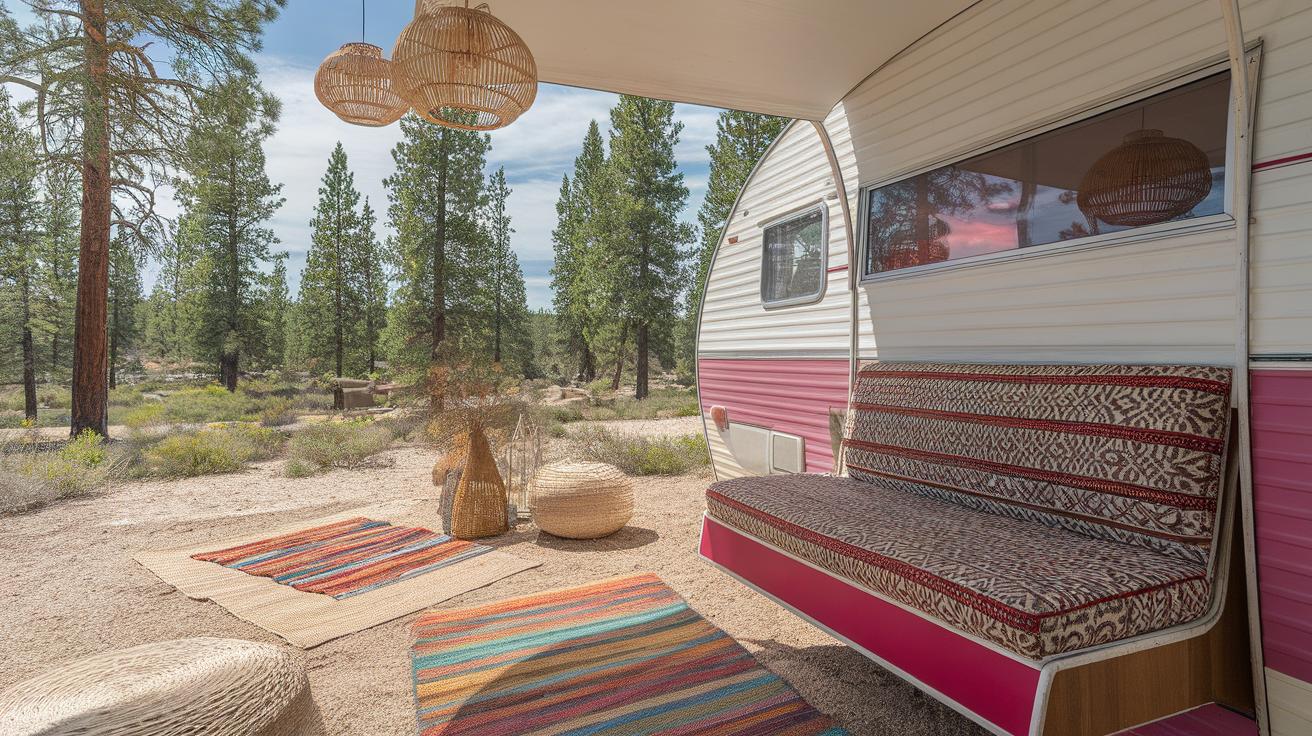
Creating Comfortable Living Areas
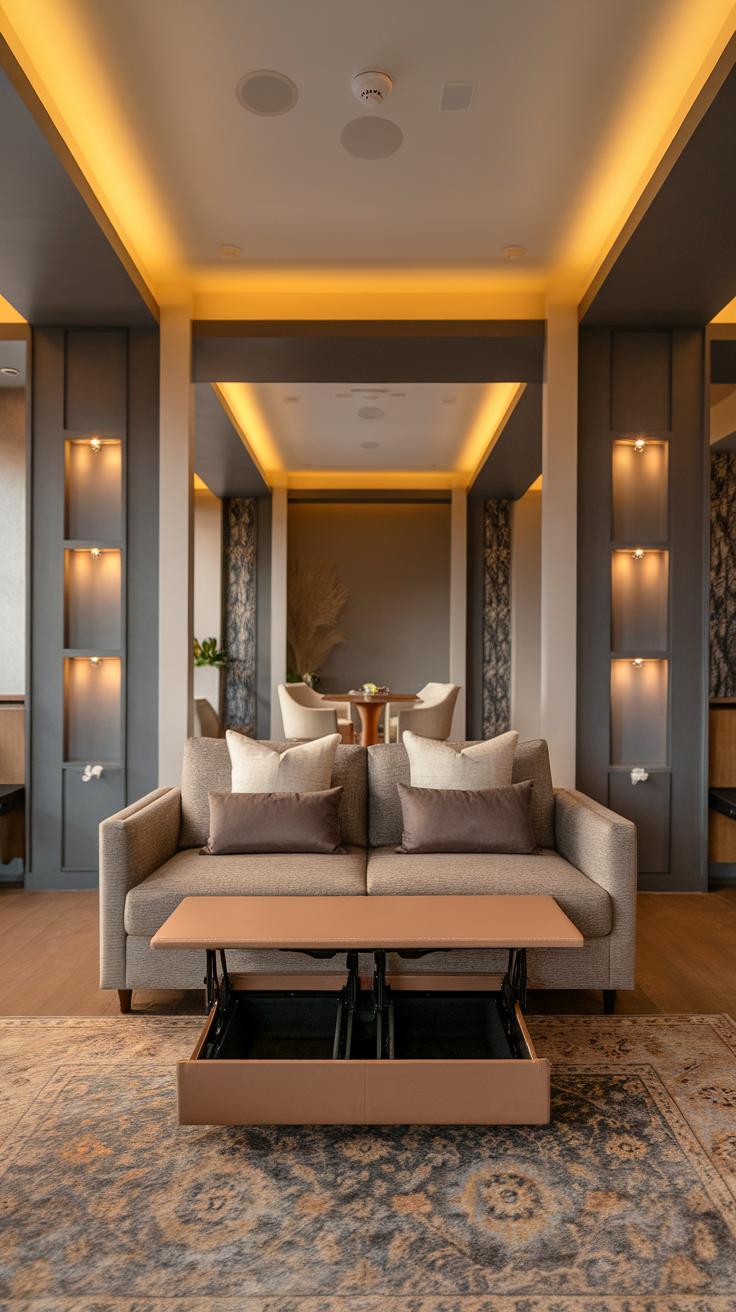
Making your camper feel like home starts with the right setup. Choose cushions that add support and softness to seating areas. Foam cushions with removable, washable covers work great. Think about curtains that block sunlight during the day and provide privacy at night—lightweight fabrics let in light without overheating the space. Use window coverings with simple patterns or solid colors to keep the space calm.
Lighting should be layered for different needs. Combine overhead LED lights with small reading lamps or string lights for a welcoming atmosphere. Try to avoid bulky decor. Instead, use wall-mounted shelves or hooks to keep decorations and essentials off surfaces. What personal touches could make your camper reflect your style without clutter? Small touches like framed photos or travel trinkets can do this while staying functional.
Choosing Comfort-focused Materials
Select fabrics that hold up to outdoor conditions and easy cleaning. Synthetic blends like polyester or nylon work well since they resist stains and dry quickly. For bedding, consider materials with moisture-wicking properties to keep you comfortable as temperatures change. Adding a few thermal blankets can help control warmth during cool nights without taking up much space.
For seating, use cushions with washable covers and quick-dry foam inside. This is practical if you often face muddy shoes or spills. Think about how different materials feel against your skin in varying heat. Could natural fibers mixed with synthetics offer a good balance between comfort and durability? Being thoughtful about fabrics protects your investment and boosts your enjoyment.
Lighting and Decoration Ideas
Energy-efficient LED bulbs offer good brightness without draining batteries. Opt for dimmable lights to adjust mood and save power when full brightness is unnecessary. String lights or puck lights mounted under cabinets add soft ambient light without bulky fixtures.
Keep decoration simple to avoid crowding the limited space. Use multi-purpose items like decorative baskets that also store gear. Choose wall art that lies flat or removable decals instead of heavy frames. Could you repurpose items from around your home to bring a personal touch without extra weight? These choices keep your camper inviting but clear enough to move freely.
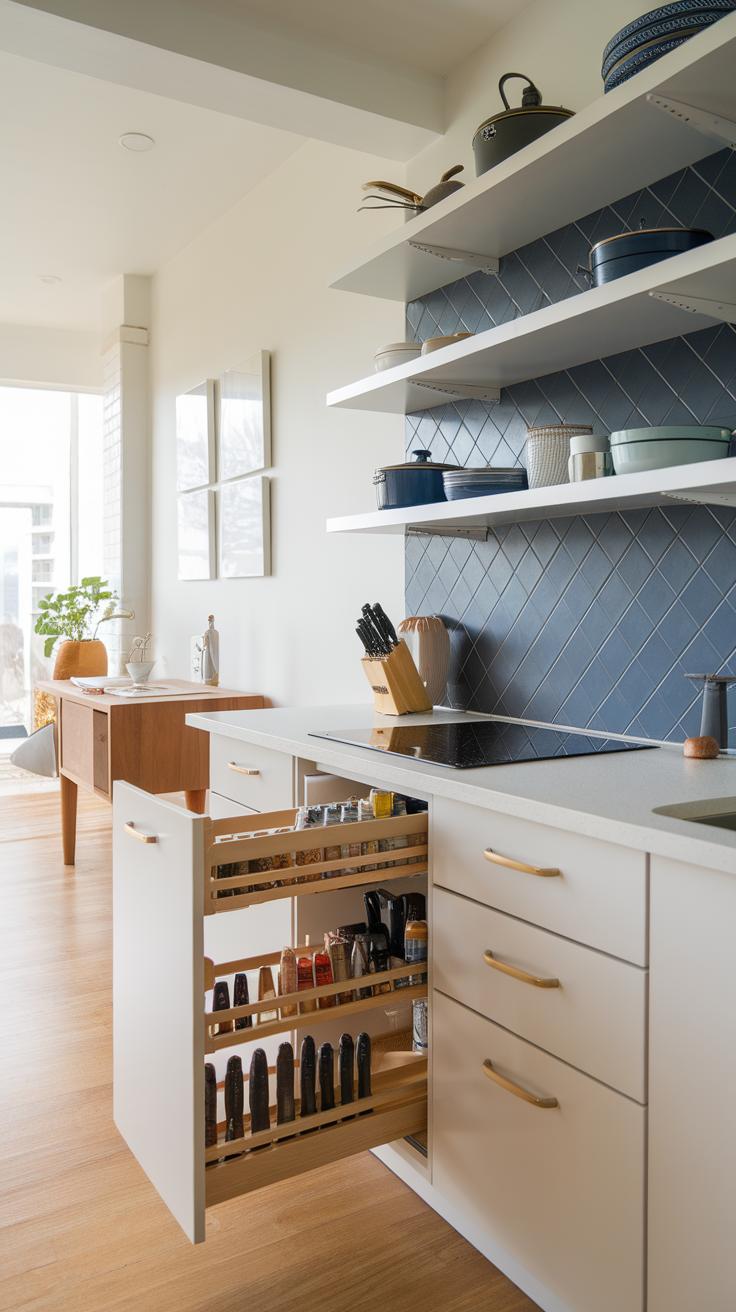
Maximizing Kitchen and Cooking Areas
Your camper kitchen should support quick, easy meal prep without clutter. Focus on creating work surfaces that stay clear by storing items smartly and choosing appliances that match your space and power limits.
Start by assessing your cooking style: do you grill outside or cook mostly inside? This difference guides how much kitchen setup you need inside your camper. If you tend to prepare simple meals, prioritize space for chopping and plating over large appliances.
Consider installing pull-out shelves or fold-down counters to expand your workspace only when needed. Magnetic strips or hooks can keep utensils within reach but off the counters. Also, choose cookware that nests or stacks well. Smaller pots that serve multiple functions help save room.
Safety matters when working in tight kitchens. Secure loose items to prevent accidents during travel. Make sure your cooking area has good ventilation to avoid buildup of smoke or gas while you prepare meals. What’s one change you could make today to improve your kitchen space?
Space-saving Kitchen Storage
Maximize your kitchen space by organizing utensils, pots, and food carefully. Use drawer organizers or small containers to separate spoons, knives, and forks so you can find them quickly without mess.
Try vertical storage where possible. Mount racks on walls or inside cabinet doors to hold spices or cleaning supplies. Store lids upright in a basket to save horizontal space. Stackable containers keep pantry staples neat and visible.
Think about keeping everyday items within easy reach and stowing away extras. This keeps your counters open and ready for cooking. Could using simple storage solutions reduce your kitchen clutter?
Choosing Efficient Appliances
Selecting appliances built for small spaces can transform your camper kitchen. Look for low-wattage options to avoid draining your power supply quickly. Portable stoves with one or two burners offer flexible cooking without bulky setups.
Compact refrigerators designed for RVs or camping keep food fresh without hogging storage. Consider appliance combos, like a microwave with convection features, to cover more tasks with one unit.
Energy-efficient appliances not only save power but also produce less heat, making your camper more comfortable in warm weather. Which small appliance could make your cooking faster or easier without crowding your space?
Maintaining Safety Throughout the Remodel
Your safety matters when working on your camper remodel. You need to take precautions every step of the way to avoid injuries and damage.
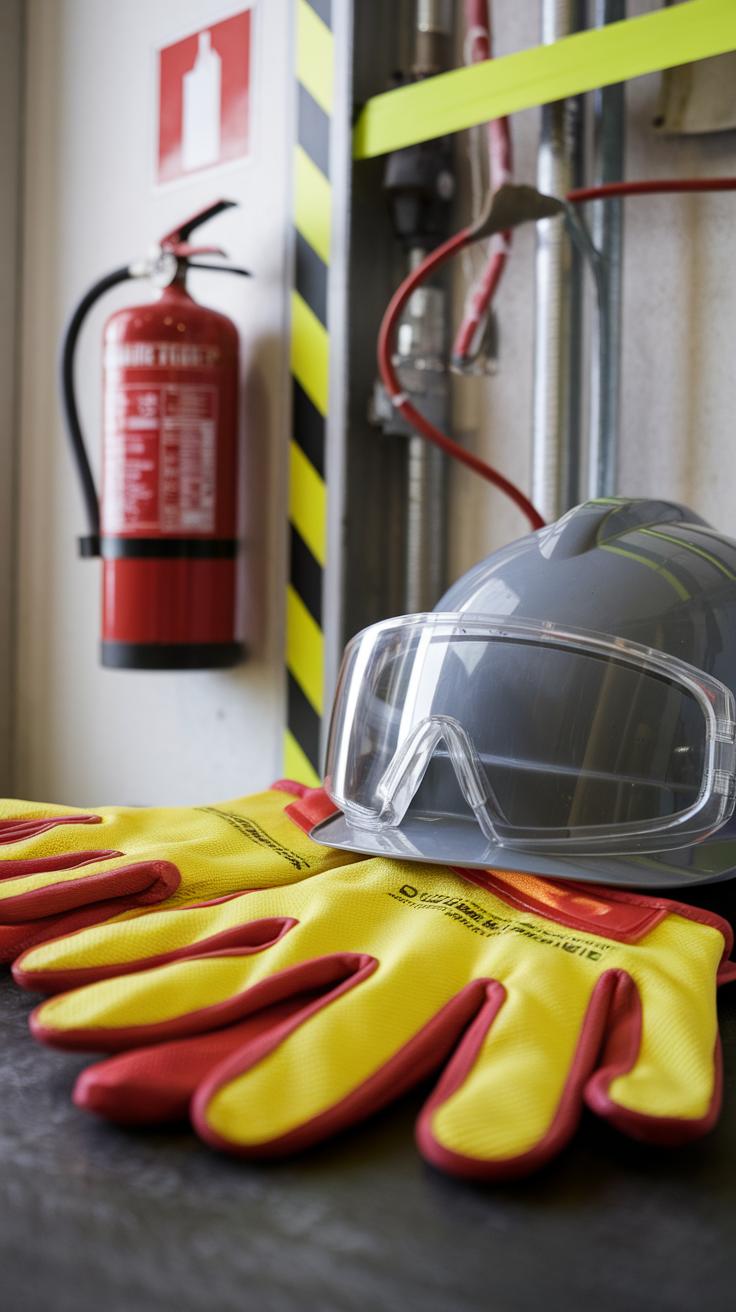
Personal safety means wearing the right gear for the job. Gloves protect your hands from cuts. Safety glasses shield your eyes from dust and debris. A mask helps if you’re sanding or painting. Think about sturdy shoes to protect your feet from falling tools or sharp objects.
Tool handling requires focus. Always inspect your tools before use. Keep blades sharp and handles secure. Don’t use a tool in ways it wasn’t designed for. When working with power tools, keep cords away from wet areas and don’t rush your work. Slow and steady reduces accidents.
Checking structural integrity prevents future problems. Examine your camper’s frame for cracks, rust, or soft spots. Test cabinets and fixtures to make sure they are firmly attached. Ask yourself: “Could this part fail under normal use?” If yes, fix or reinforce it now, before it becomes unsafe on the road.
Personal Safety Tips
Consider what protective gear suits your tasks. Use gloves when cutting or handling rough materials to protect your skin. Safety glasses stop flying particles from reaching your eyes. For dusty or chemical tasks, wear a mask or respirator to protect your lungs.
Prevent common injuries like cuts, scrapes, and burns. Keep your work area neat to avoid tripping. Store sharp tools safely when not in use. Take breaks to stay alert, especially if your project runs long. Avoid loose clothing that can get caught in equipment.
Think about signals your body sends. Stop working if you feel dizzy or tired. How often do you inspect your gear? Routine checks can spot worn gloves or cracked goggles before they fail.
Ensuring Structural Safety
Start by inspecting the camper’s frame closely. Look for rust spots or holes that weaken metal supports. Use a flashlight to check hidden areas under the floor and inside walls. Tap suspect spots with a screwdriver—does it feel solid or soft?
Fixtures like cabinets and shelves must be securely anchored. Loose cabinets can fall and cause injury. Reinforce mounting points with extra brackets or screws if needed. When installing appliances, make sure they sit firmly and won’t shift during travel.
Ask yourself if your camper can handle bumps on rough roads without damage. Fix any loose or weak parts early. Taking time now prevents accidents and costly repairs later down the road.
Finishing Touches for a Functional Camper
Your camper remodel is almost complete. Before you pack your bags, focus on sealing, painting, cleaning, and testing all systems. Proper sealing protects your camper from moisture, crucial for preventing damage on the road. Paint your interior and exterior surfaces to add a smooth finish and guard against wear. Choose products made for outdoor or marine use to ensure durability.
After painting, perform a thorough cleaning. Dust, dirt, and stray debris can interfere with how your camper feels and functions. Wipe down all surfaces and vacuum floors to create a fresh living space. Run tests on your electrical system by checking lights, outlets, and the battery. Inspect plumbing by running water through taps and checking for leaks or blockages. Organize your belongings before heading out to reduce clutter while traveling.
How confident are you that every system works as it should? Taking time now will save frustrations later and help your camper truly feel like home on wheels.
Sealing and Painting
Select paint designed to handle moisture and temperature changes. Marine-grade or exterior acrylic paint works well. These paints resist cracking and fading under sun and rain. Apply at least two coats for steady protection and a uniform look.
Seal seams, edges, and joints with a waterproof silicone or polyurethane sealant. These flexible sealants prevent water intrusion, which can cause rot and mold. Pay special attention to windows, roof edges, and door frames.
Allow sealant and paint to dry completely before handling or moving on. This creates a solid barrier against moisture. Consider using a primer on raw wood before painting to boost adhesion and durability.
Testing and Organization
Test your camper’s electrical system by turning on all lights, appliances, and outlets. Check your battery’s charge and inverter function. Confirm that wiring is secure and free of sparks or smells. Conduct a pressure check on your plumbing by running water at full flow and inspecting all visible pipes and connections for leaks.
Organize your gear thoughtfully. Use storage bins, hooks, and compartments to keep essentials accessible and secure. Pack items based on use frequency—daily items within easy reach, rarely used gear stowed away.
How will you keep your camper organized on busy weekends? Thoughtful setup reduces stress on the road and preserves your handiwork. Testing and organizing bring your camper remodel from a project to a practical home ready for adventure.
Conclusions
Completing a DIY camper remodel offers benefits beyond just a refreshed space. You gain valuable skills, a sense of accomplishment, and a mobile home tailored to your preferences. This journey requires thoughtful planning, patience, and practical choices concerning design and materials. The steps outlined throughout the article serve as a roadmap to navigate common challenges and make informed decisions.
Reflect on your priorities and available time as you approach your remodel. Let your individual needs shape your design and upgrades, keeping your camper functional and inviting. Weekend warriors can achieve impressive transformations by dedicating small time increments consistently. With determination and clear guidance, your camper will become a comfortable and efficient retreat for many journeys to come.