Introduction
Solo trips offer a unique chance to explore the world on your terms and capture moments that tell your story. Taking photos on a solo trip without help might seem tricky, but it opens a door to creativity when you learn the right poses and camera angles. Understanding these will help you take natural, aesthetic photos that truly reflect your adventure.
This article explores easy-to-follow solo trip aesthetic poses and the best angles to use without needing someone else’s assistance. You’ll discover practical tips for posing, setting up your camera, and using your surroundings to capture your travel memories beautifully.
Preparing Your Camera for Solo Shots
Taking great photos by yourself on a trip can feel tricky at first, but getting your camera set up right makes a world of difference. You don’t need anything too complicated—just a few helpful settings and tools that let you control the shot without needing an extra pair of hands.
Basic Camera Settings for Solo Photography
Start with the timer. Most cameras and phones have a 3- or 10-second delay, giving you just enough time to press the button and get into place. Sometimes, I find the 10-second timer works better because you have a moment to adjust, but it can also feel a little long if you’re eager to snap your photo. Try both and see what feels less awkward to you.
Burst mode deserves a mention too. When set, it takes a quick series of shots after you hit the shutter. It’s handy if you’re moving or unsure of your pose. You might catch a blink or odd face, sure, but among the batch, something will probably work.
Focus can be a bit tricky when you’re alone and not standing right behind the camera. Locking your focus on a specific spot where you plan to stand helps, so the image isn’t blurry or off-center. Some cameras let you tap to focus on the screen, which makes this easier. If your device allows, set manual focus before you start.
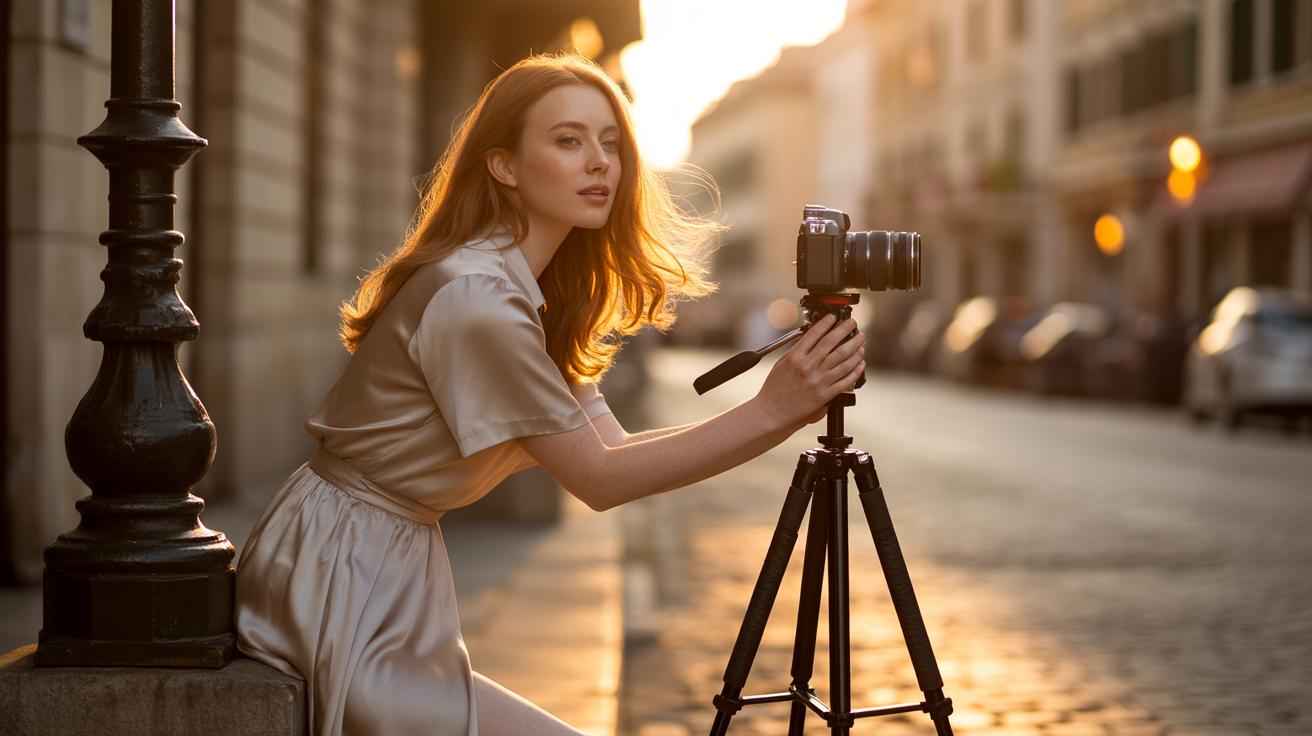
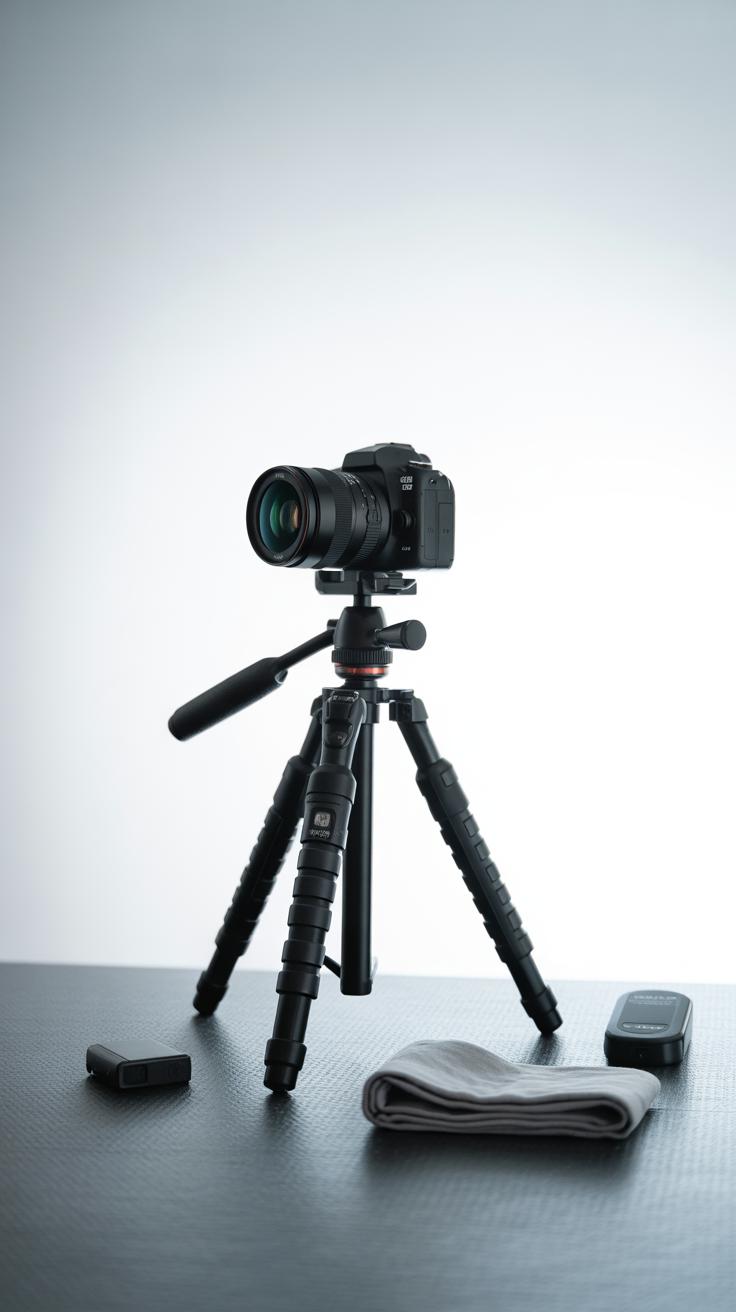
Using Tripods and Remote Shutters
A tripod isn’t just for professionals. It’s a friend you’ll want on trips with lots of solo shots. It stabilizes the camera and frees your hands. If you don’t have one, even propping your camera on a rock or ledge can work in a pinch, but the stability won’t be the same.
Remote shutters pair beautifully with tripods. Wireless remotes or apps on your phone let you snap photos without rushing back to the frame. This eliminates that awkward sprint you sometimes do, trying to beat the timer. Plus, holding a remote means fewer chances of shaking the camera.
You might notice your pictures become sharper and better composed when you add these tools to your solo photo routine. And don’t worry if the process feels slow at first. Setting up your shot intentionally often results in photos you really want to keep.
Easy Poses That Work for Solo Travelers
Standing Poses That Highlight Your Surroundings
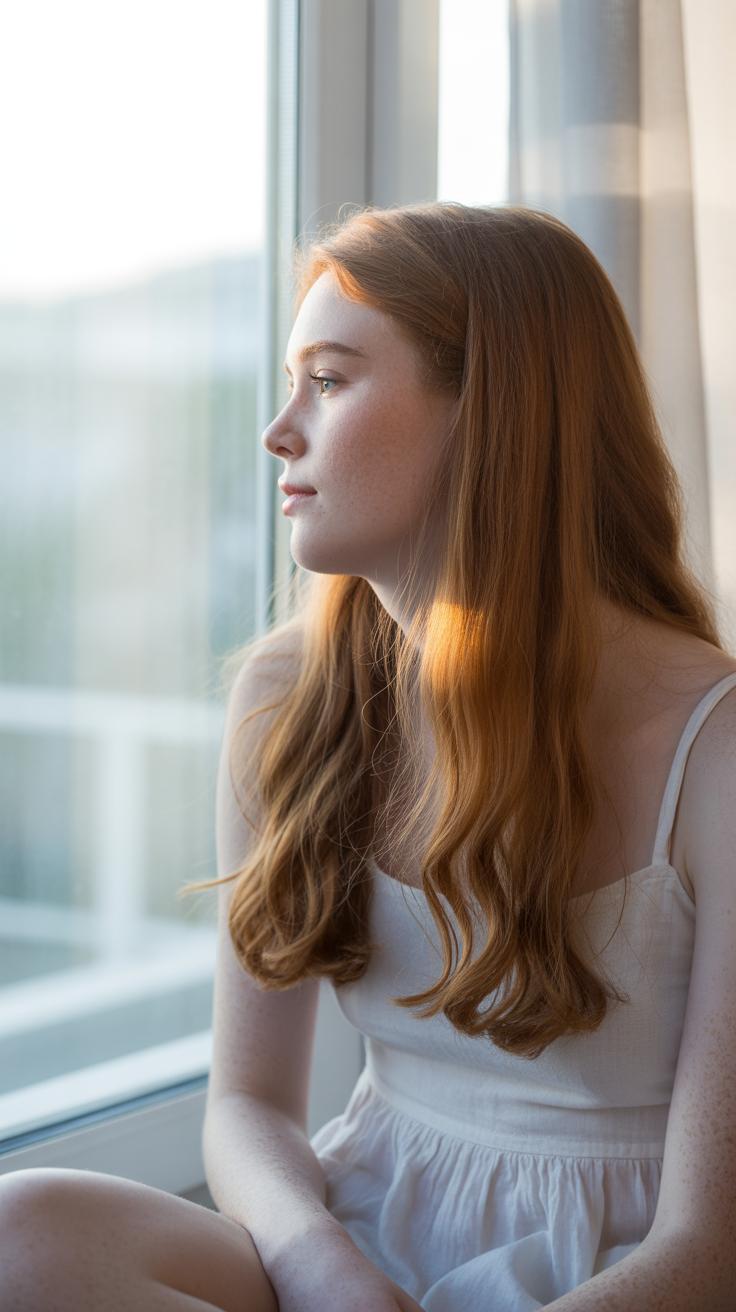
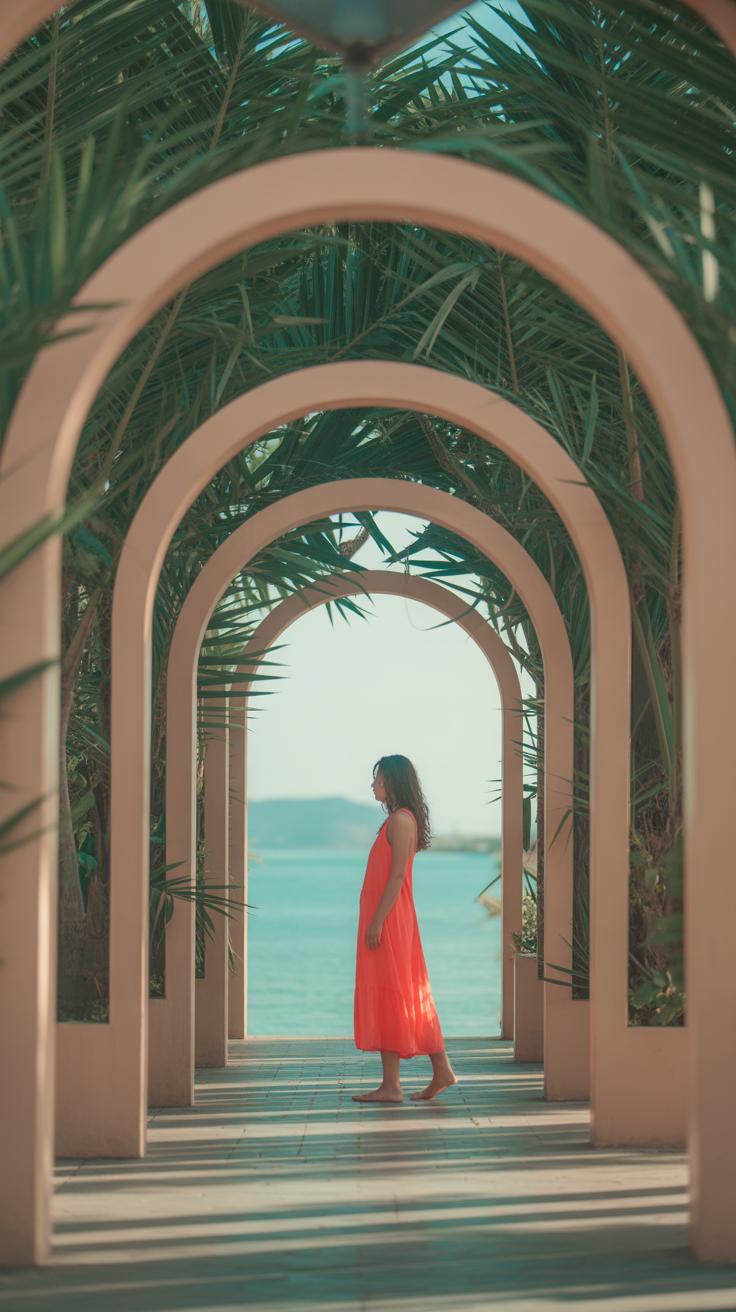
Standing alone might feel awkward at first, but it’s one of the best ways to connect with your environment in a photo. Try an open posture—arms relaxed by your sides or one hand gently touching a nearby object. It invites the space around you to play a role in the shot.
Don’t just face the camera; turn slightly, maybe look off into the distance. That subtle shift can make the picture feel less posed and more spontaneous, as if you’re caught in a moment rather than staged.
Imagine standing at the edge of a waterfront, with your body angled toward the water, weight shifted onto one leg. It draws the eye across the frame, showing your surroundings while keeping you natural. This pose also helps to avoid the stiff, “just-smiling-at-the-camera” look, which often feels forced when you’re solo.
One last thought: sometimes, just walking slowly and snapping a few shots while you move can give the best results. Don’t be afraid to try that, even if it feels a little silly.
Sitting and Relaxed Poses
Sitting poses bring a calmer vibe to your photos. Find a low wall, a rock, or even steps where you can settle in comfortably. Lean back slightly or lean forward with elbows resting on your knees. These natural positions suggest you’re lost in thought or enjoying a quiet moment.
Crossing your legs or resting your hands loosely on your lap also adds softness. The key is to avoid stiffness—try to keep your shoulders relaxed and your gaze subtle, not directly into the camera. Sometimes looking away, like you’re daydreaming or watching the world, makes the shot feel more authentic.
I often find that fiddling with small movements helps—tucking hair behind an ear or adjusting a bracelet—because it breaks up the pose and stops it from feeling too artificial. You might not realize it, but those tiny actions create life in the frame.
Creative Angles to Show Depth and Interest
Playing with camera angles can completely change the feel of your solo trip photos. Choosing how you place the camera isn’t just about framing your face—it’s about telling a story or highlighting a mood. Sometimes, shifting the angle adds layers to an otherwise simple shot.
For example, shooting from a low angle often gives off a vibe of strength and confidence. When you place the camera near the ground and look down at it, you suddenly appear more dominant in the frame. It’s like the photo says, “I’m here, I own this moment.” I’ve tried this on hikes, and it really makes the environment feel like it’s backing you up, giving a subtle boost to your presence.
On the flip side, shooting from a high angle can highlight your surroundings more. Holding the camera slightly above your head or even mounting it somewhere higher lets you capture more background context. Maybe there’s a winding path, interesting rooftops, or nature sprawling behind you. This can give the viewer clues about where you are and why it matters. I’ve found that a high angle often softens the focus on me and turns the spotlight to the setting, which sometimes works better depending on the mood you want.
- Low angles create a sense of power and confidence.
- High angles include more environment and give context.
- Angles can influence how the mood comes across—serious, casual, or curious.
- Mixing angles keeps your solo photos from feeling repetitive or flat.
Have you noticed which angles feel natural or awkward when you try them? Sometimes you might think a low angle will be dramatic, but it ends up feeling forced. It’s okay to experiment and see what fits the place and your vibe, even if the results surprise you.
Using Natural Light for Better Photos
Natural light can make or break your solo trip photos, yet it’s often the easiest tool to get right — if you know how to work with it. The sunlight changes throughout the day, and paying attention to it can dramatically improve your picture quality without needing fancy equipment.
Think about where the light hits your face and body. Soft, diffused sunlight tends to smooth out shadows and highlight natural features. Position yourself so the light falls on you at an angle, not straight-on or from behind, unless you’re aiming for a silhouette effect. Even shifting slightly by a few inches can change the tone and mood.
Using natural light means seeing things in a new way. It almost encourages you to move, tweak poses, or find new spots. Sometimes you’ll catch unexpected results that no filter could replicate.
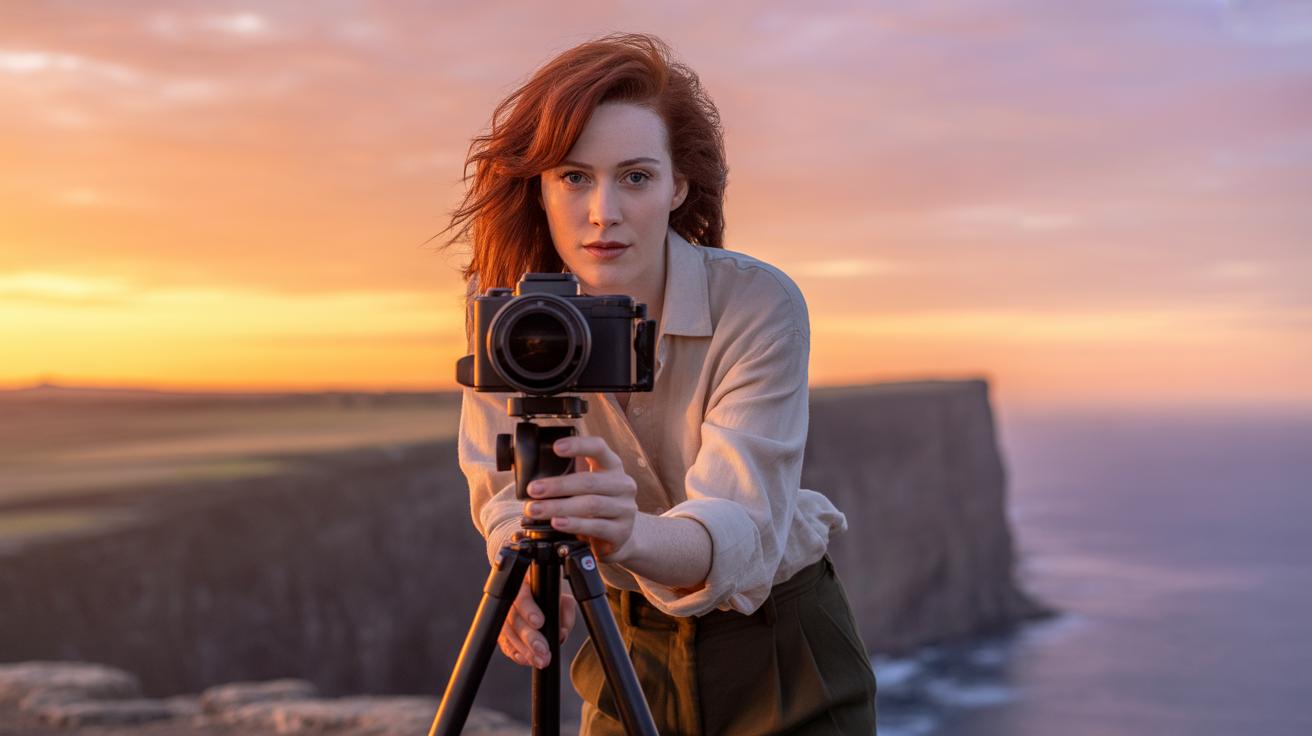
Golden Hour Photography
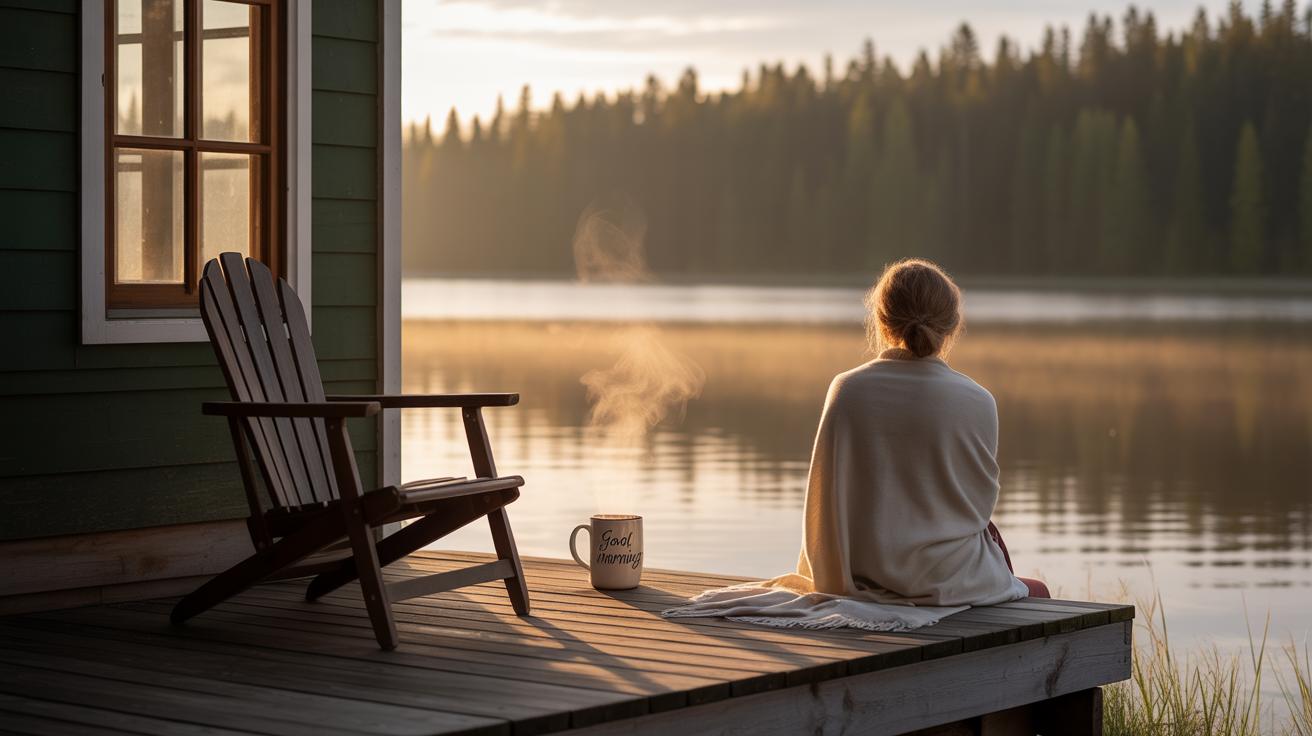
Golden hour — that brief period just after sunrise or before sunset — often feels almost magical. The sun is low, producing warm, glowing light that’s flattering across skin tones and backgrounds alike.
During these times, shadows soften, colors deepen, and the whole scene tends to feel more connected and calm. You don’t have to be a pro to notice the difference; photos taken during golden hour often look richer and more appealing, even on a basic phone camera.
What’s tricky, though, is that this window doesn’t last long. You have to move fairly quickly and be ready. It kind of forces you into a more thoughtful rhythm, which can accidentally improve your photos — or frustrate you if you’re rushed. Either way, it’s usually worth trying to shoot then.
Avoiding Harsh Midday Sun
Midday sun comes with its own set of problems. When the sun is directly overhead, its light is intense and creates stark, unflattering shadows across your face. Dark circles, squinting eyes, and blown-out highlights often show up in your photos.
Still, if you find yourself photographing at this hour, don’t just give up. Look for shade. Places like doorways, trees, or even umbrellas can block some of the harsh light and create softer results.
Another trick is to use reflective surfaces — a pale wall or sand, for instance — to bounce light back onto your face and reduce contrast. It’s a little more effort, sure, but sometimes you’ll find that even tough light can work if you adapt.
Capturing Movement and Emotion
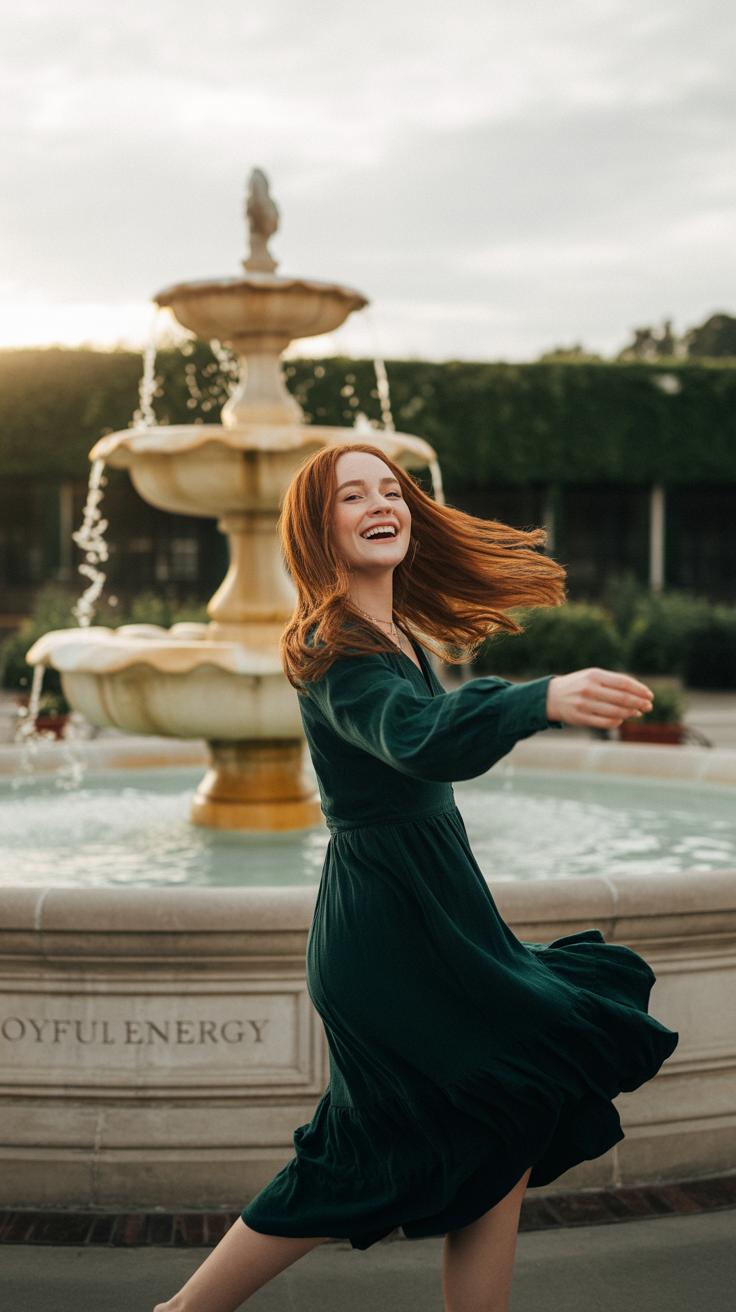
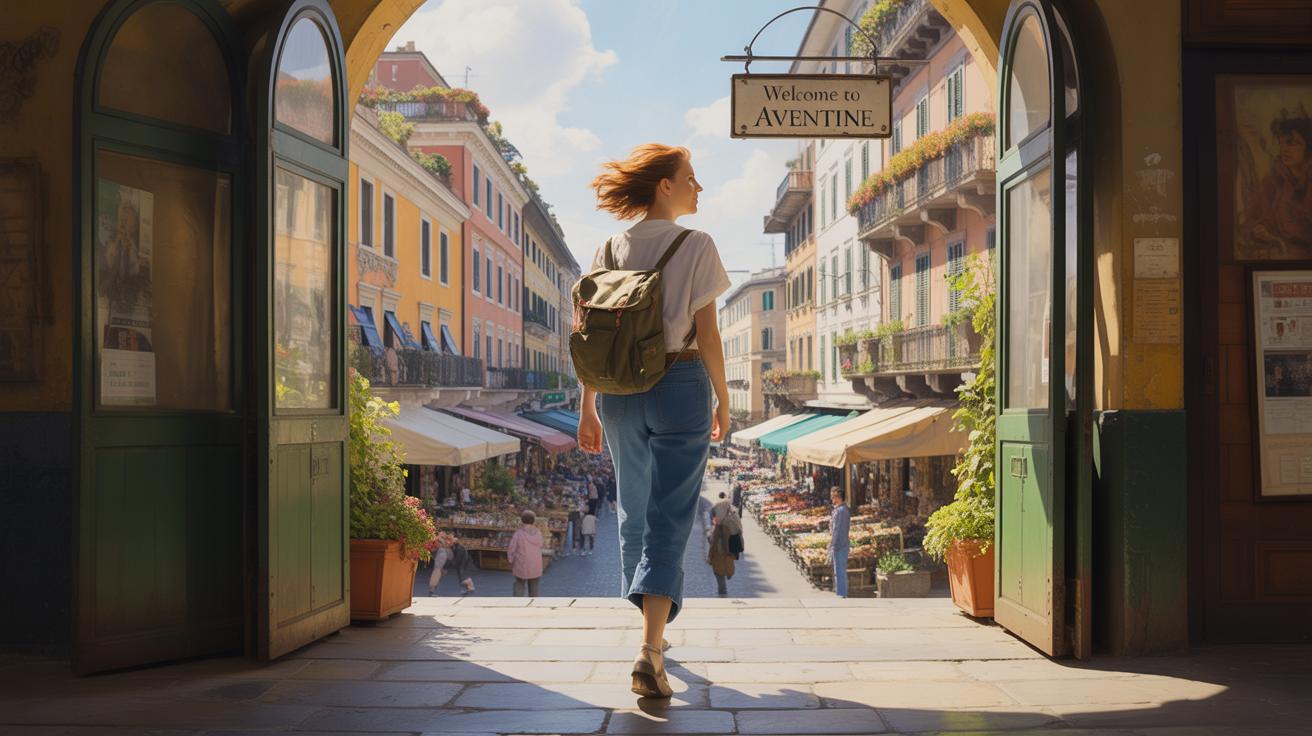
Movement and emotion can turn an ordinary solo photo into something much more alive—like a scene from your trip that speaks for itself. When you’re traveling alone, nailing those moments of natural motion often feels tricky. But it’s not impossible. Imagine walking slowly, letting your feet find a natural rhythm, and triggering the camera just as your foot lifts or lands. These subtle shifts create images that feel real, not staged.
Timing is key. Setting your camera on burst mode or using a timer with a short delay helps capture those fleeting moments. You might try simple actions like turning your head mid-step or reaching out to touch nearby textures—a stone wall, a leaf, or even your bag strap. These small movements add texture to the story.
Walking and Action Shots
Walking shots show you in the midst of your journey, not just posed by the side of the road. Try to look relaxed and not too focused on the camera—it changes the vibe entirely. Here are some things to try:
- Walk towards or away from the camera to mix perspectives. Walking away can suggest mystery or introspection.
- Let your arms swing naturally; stiff arms give away that the shot is staged.
- Experiment with slower walks and sudden shifts in speed. Moving slowly might create softer, more thoughtful images, while brisk walking adds energy.
- Keep your gaze slightly off-camera or downwards, as though you’re lost in thought.
It might feel strange to “perform” these natural moves at first, but with a little patience, it becomes less obvious—and the results improve.
Using Facial Expressions to Tell Your Story
Your face does a lot of the storytelling. A slight change in expression can completely alter the mood of a photo. Instead of forcing a smile, try quiet moments: a thoughtful look, a subtle squint, or even a fleeting laugh caught off guard. These show your reaction to the place or moment, drawing the viewer in.
Consider these ideas:
- Think about what you’re feeling or imagining in the moment—joy, curiosity, calm—then let your face reflect that naturally.
- Play with your eyes: narrowing them can suggest deep thought, while wide eyes can capture surprise or wonder.
- Don’t hesitate to let your guard down; sometimes the smallest quirk—a raised eyebrow or a gentle bite of the lip—makes an image far more relatable.
- If you’re struggling, look at yourself in a mirror before shooting—it can help you discover authentic expressions without overthinking.
Capturing real emotion sometimes means embracing imperfection. Blinking, slight wrinkles when smiling—these aren’t mistakes. They are parts of your genuine self, and photos with them often feel more comfortable and inviting.
Incorporating Surroundings Into Your Photos
Your surroundings can make or break a solo photo, especially when you’re alone and have no one to frame you. Think of the environment as more than just a backdrop—it’s part of the story you’re telling with your images. When you really take a moment to observe the space around you, you start noticing little details that can elevate your photos.
Using Nature as a Backdrop
Natural elements offer depth and a sense of calm that can really highlight your presence. Try positioning yourself near a cluster of trees or a patch of wildflowers so that the foliage frames you without overwhelming the shot. You don’t always have to be centered; sometimes stepping slightly to the side lets the sunlight filter through leaves, creating interesting shadows.
Consider the texture of what’s behind you. A rough barked tree, soft grass, or even a calm body of water can add a contrasting feel to your photo. I’ve noticed that when the surroundings feel alive—moving grass or rippling water—it adds an unexpected energy. It makes you wonder, was the wind a part of that moment, or just a coincidence?
Urban and Architectural Elements
Cityscapes and buildings provide a different kind of energy. Solid lines, shapes, and colors from walls, doorways, or streets can help you compose a photo that feels structured but still spontaneous. You can lean against a wall or sit on a set of stairs to create natural angles—something you might not consider in a natural setting.
Look for interesting textures in brick, cracked pavement, or even faded paint. These details offer contrast against your silhouette or casual pose. Sometimes, the best shots happen when you interact with the urban space—touch a railing, peer through a window, or pause mid-step on a busy street. It brings a sense of life and presence.
Have you ever noticed how the same street can feel different just by changing your angle or distance from the background? Experiment with those elements. Your surroundings aren’t fixed. They respond, subtly, to how you move within them.
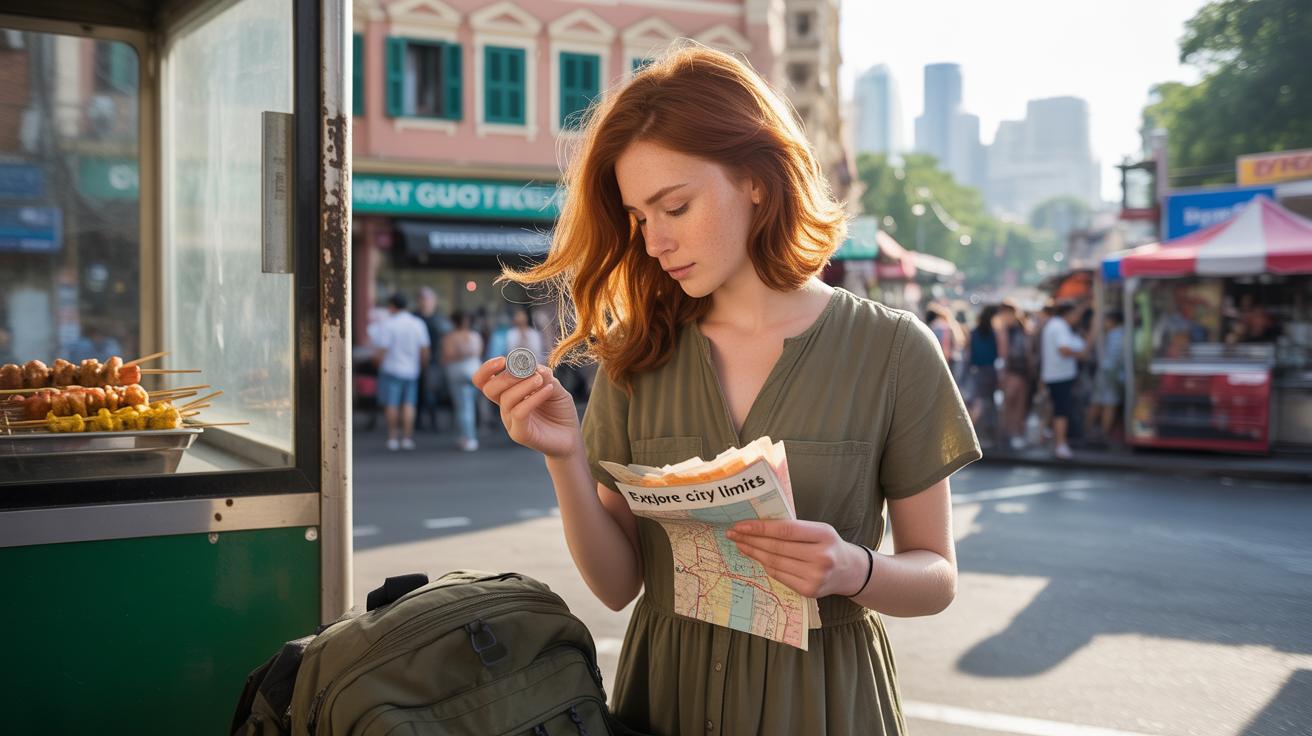
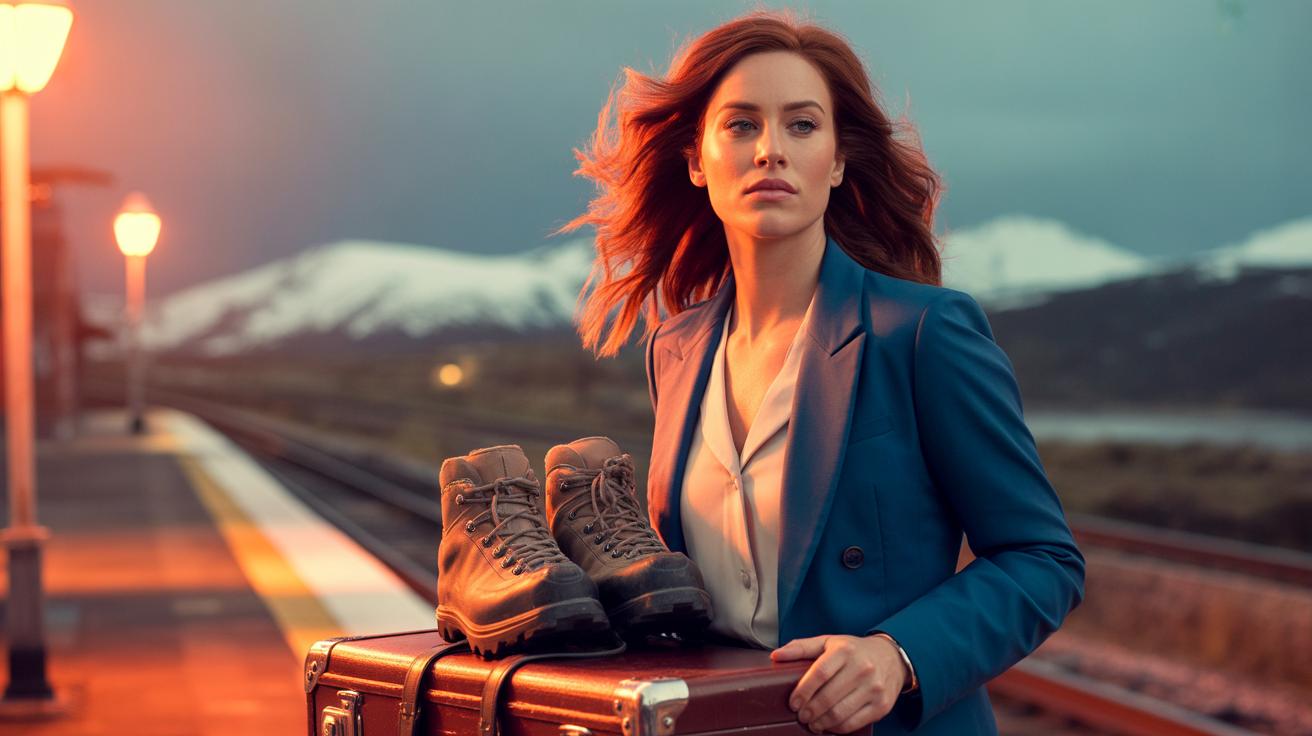
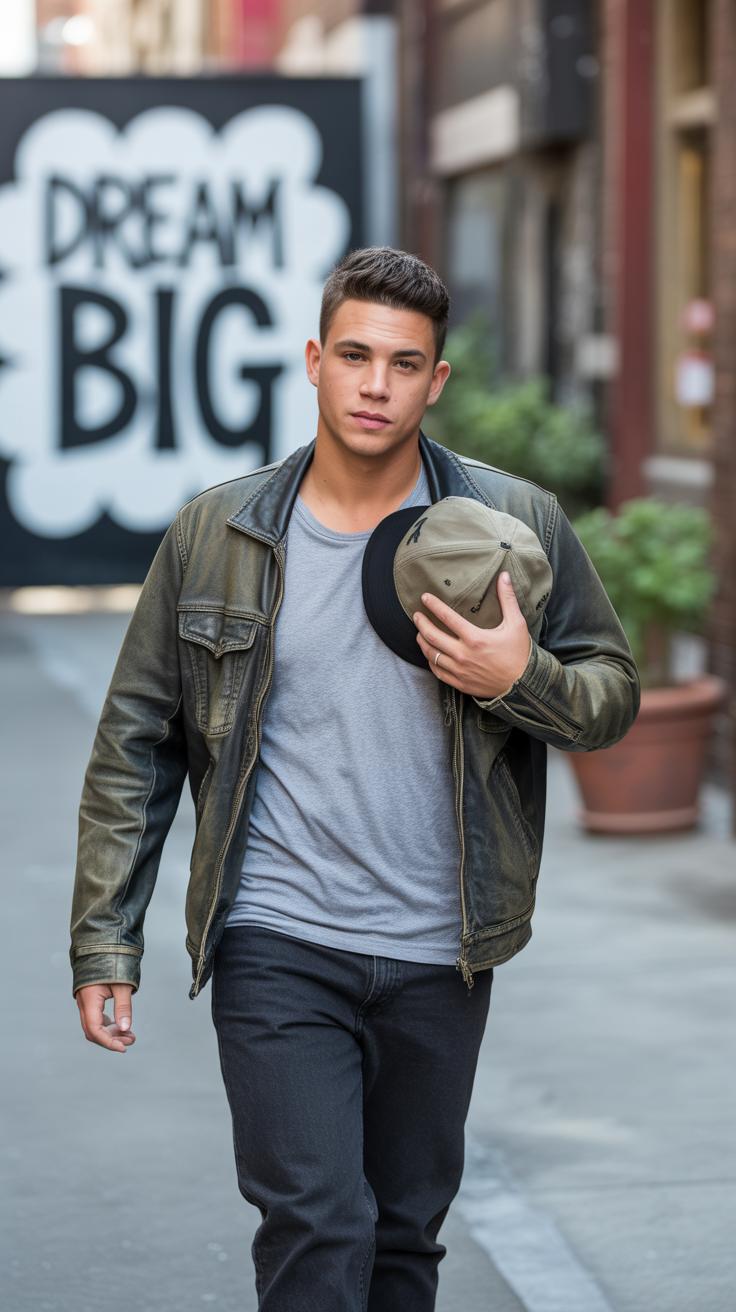
Posing with Props and Travel Gear
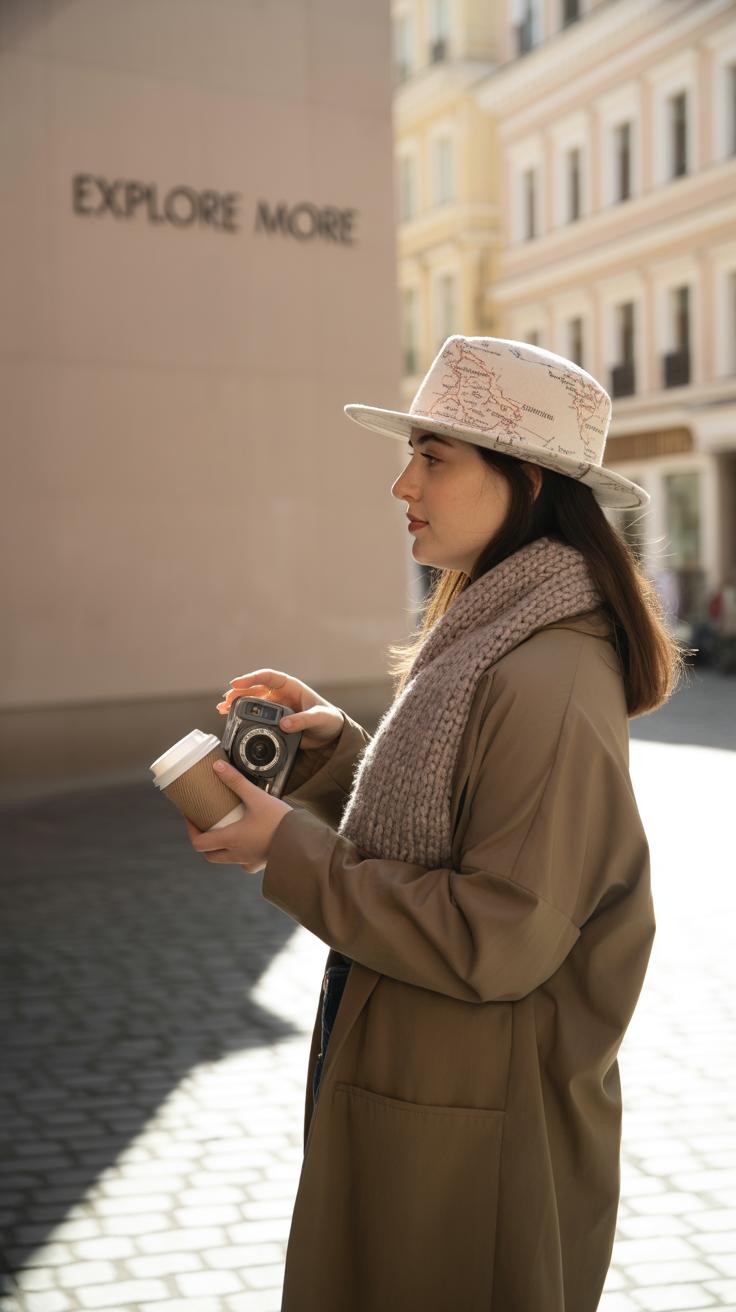
Props like hats, backpacks, or maps do more than fill your hands; they add a sense of story and personality to your solo trip photos. Sometimes, holding a map mid-glance or adjusting a hat can turn a simple photo into a moment that feels alive rather than posed. It’s funny how just having something to interact with shifts your posture—less stiff, more natural.
When you want to highlight your travel accessories, try incorporating them without making it obvious you’re “showing off.” For example:
- Lean slightly on your backpack while scanning the scene—this keeps the item visible but relaxed.
- Adjust your sunglasses or hat as if caught in a candid moment—this invites a casual energy.
- Gently flip open a map or book, pretending to plan your next step—it’s visual storytelling without words.
Using props for interaction can bring your photos alive. Playing with a camera strap, tracing a route on a map, or even sipping from a travel mug can create a narrative. You might not think about it, but these little gestures add layers and emotion. Photos stop feeling like snapshots and become little stories. Have you tried making your travel gear part of the scene, rather than just background details? It could change how your shots come across.
Using Reflection and Shadows Creatively
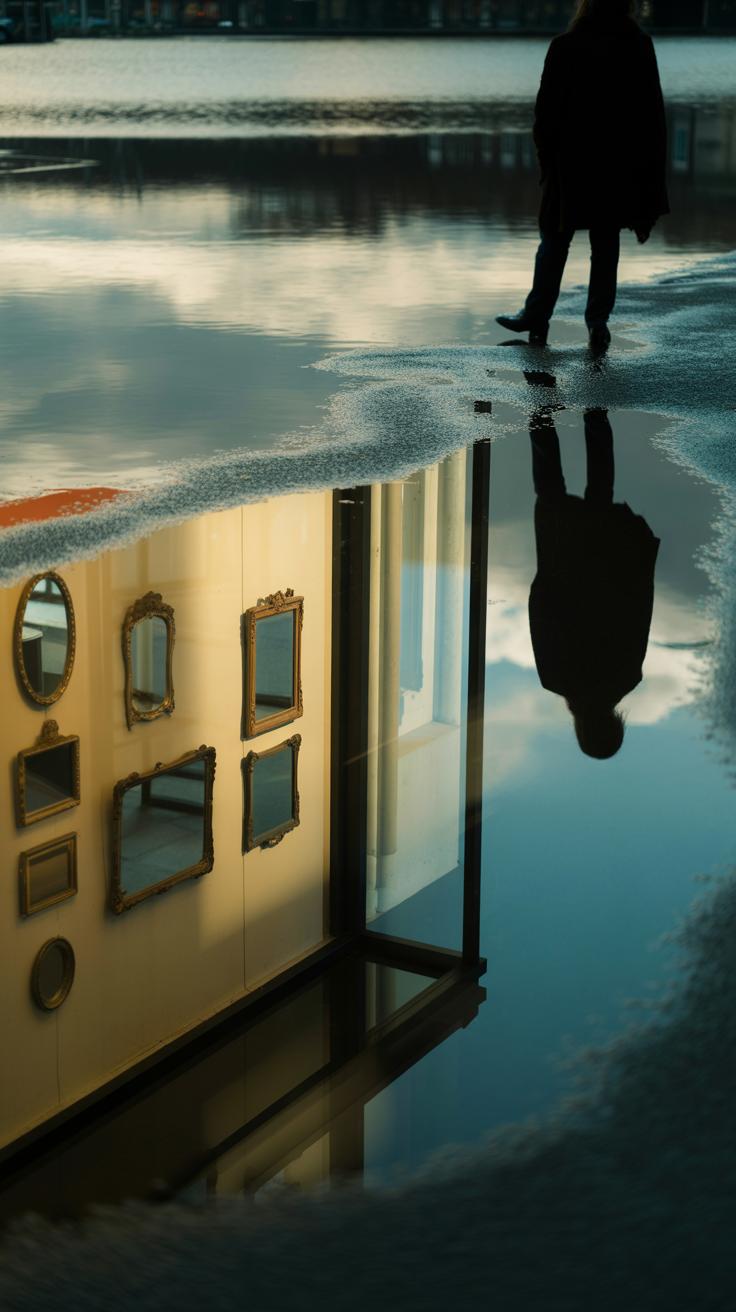
Capturing Reflections in Water or Glass
Reflections can turn an ordinary solo photo into something more intriguing. When you spot still water—like a pond, a lake, or even a puddle—try positioning yourself so your image is mirrored. That mirror effect adds a kind of symmetry that catches the eye, but it’s rarely perfectly neat. Sometimes the water ripples just a bit, making the reflection feel alive and a little mysterious.
Glass surfaces offer a different kind of reflection. Think shop windows, mirrors, or even polished metal. These reflect not only your shape but also what’s behind the glass or inside a room. It layers the photo, and you get this interesting blend of you and the scene beyond, which can create depth without needing anyone else’s help to set it up.
Try shooting at an angle, not straight on. It makes the reflection less predictable and more artistic. Also, reflections can help fill empty spaces around you—a clever way to avoid that awkward gap you sometimes get when you’re traveling solo.
Playing with Shadows for Dramatic Effect
Shadows don’t always get the attention they deserve in solo travel shots. Yet, they can create really cool shapes and moods. For instance, in early morning or late afternoon light, your shadow stretches out long and can almost become a character in the frame. You might find yourself more interested in photographing the shadow rather than your actual silhouette.
Look for interesting patterns cast by objects, like tree branches, fences, or architectural elements. Positioning yourself so parts of your body merge with or disrupt these patterns can produce surprisingly unique images. It’s like painting with light and dark.
Shadows also lend a sense of mystery. Sometimes you don’t even need to show your face clearly—your outline or shadow can imply your presence without revealing everything. It shifts focus onto mood and shape rather than detail, which can be quite powerful for solo photos.
Next time you spot strong light and clear shadows, pause for a moment. Experiment. Move around. Ask yourself: what story can your shadow tell?
Editing Tips for Polished Solo Travel Photos

Adjusting Light and Color
When you look at your solo trip photos, sometimes the lighting just feels off, right? You might think the spot was perfect, but the brightness is dull or the colors don’t pop. Playing with simple light adjustments can really help—try increasing brightness just a bit, but don’t go too far or the image might lose detail. Sometimes lowering shadows gently brings out details in darker areas without making the picture look flat.
Color balance is something I often overlook at first. Warm tones can make a beach scene feel cozier, while cooler hues suit mountain or city shots better. It’s okay to experiment with saturation and contrast here, but subtlety matters. Over-editing tends to make photos look fake, which nobody wants. The goal is enhancing what’s already there, not creating a totally new reality.
Cropping for Better Composition
Have you ever taken a photo where the background or other elements distract from you? Cropping is an easy fix. By trimming edges, you can bring yourself closer to the center or shift off-center for a more dynamic effect. Sometimes just removing unnecessary clutter changes the entire feel of the photo.
Think about where your eyes go first—cropping can guide the viewer’s attention right to you, the subject. It also helps to balance the picture if something looks awkwardly placed. For example, cutting out empty space on one side can make the photo look tighter and more intentional. It’s like framing a painting, just digitally.
Remember, cropping isn’t about losing parts of your travel story; it’s about highlighting the best parts. You might end up with a completely different vibe, which can be surprising—and kind of fun.
Conclusions
Taking solo trip aesthetic photos without help is possible with the right poses and angles. By using simple yet effective poses, you can show your personality and the spirit of your adventure. Choosing the right angles helps your photos look engaging and professional, even when you’re on your own.
Enjoy experimenting with your camera setup and poses to create memories that stand out. With practice, you can capture moments from your solo trip that inspire others and bring your personal experiences to life through photography.