

The Kinematics Of Fabric: How Your Jumpsuit Actually Moves
Fabric Drape Is Your Real Problem
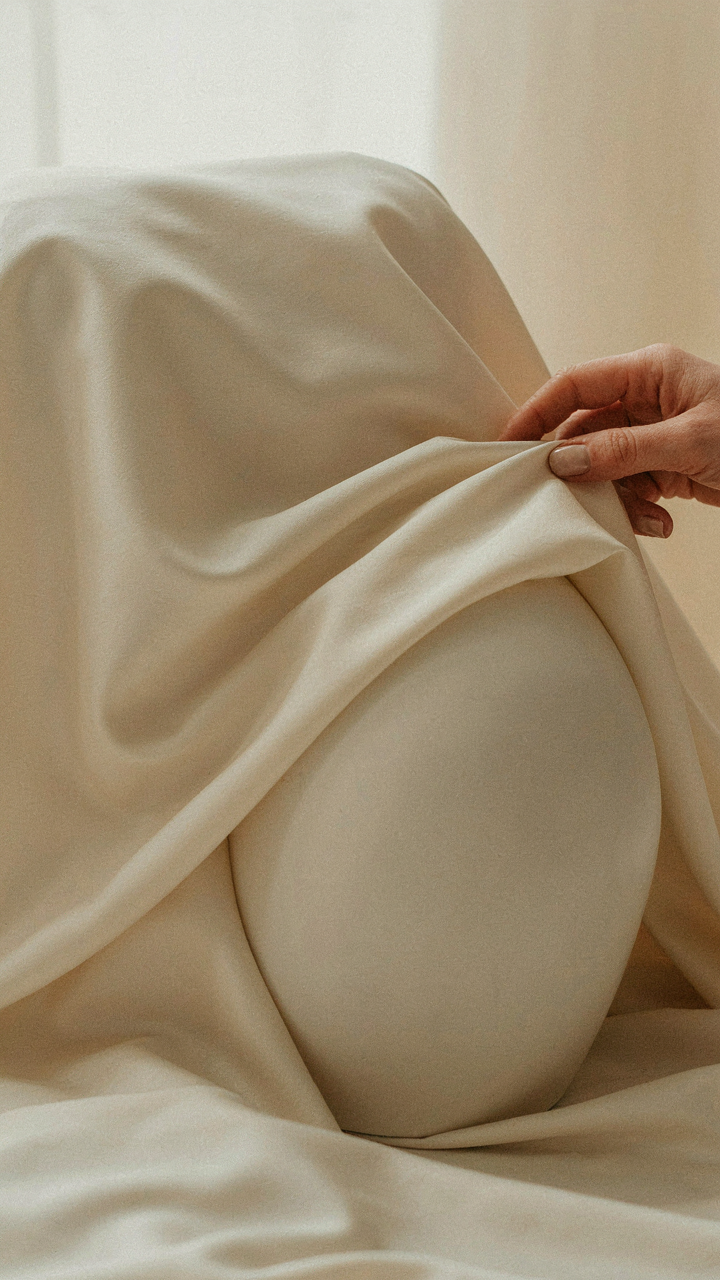
You care about this because you think posing is about angles and attitude. It’s not. A jumpsuit is a deformable body in space, governed by gravity and tension. Physics calls this “drape”—the way material settles under its own weight and the weight of your movement. Most posing advice ignores this entirely, treating fabric like a fixed shell. It isn’t. The suit moves before you do, and if you don’t account for that, every pose collapses.
Fabric drape depends on three factors: fiber weight, weave density, and how much slack exists in the garment. A cotton or linen jumpsuit drapes differently than a silk or rayon one. Heavier fabrics hold folds. Lighter fabrics cling and pool. You need to know your material’s behavior before you hit the camera. Test the suit’s response to arm lifts, torso twists, and leg positioning. Watch where it naturally wants to gather. That’s your constraint. Work inside it, not against it.
Movement Creates The Silhouette
The common advice—stand still and look sharp—kills flattering photos. A static jumpsuit flattens your frame because fabric at rest drapes straight down. Motion activates the garment. Tension in the material creates definition. This isn’t poetry. It’s mechanics. When you shift weight to one leg, fabric pulls taut across the hip and thigh. When you rotate your torso slightly, the front panel stretches and the side seams angle inward, narrowing your midsection.
Liquid movement, not rigid posture, is what works. Subtle weight shifts create micro-tensions that build visual structure. Shoot mid-movement rather than at rest. A half-step forward. A slight shoulder roll. A gentle torso rotation. These aren’t big motions. They’re deliberate fabric activation. The jumpsuit’s silhouette emerges from tension, not from you standing there. Direct your photographer to shoot while you’re transitioning between positions, not holding them static.
Gravity Is Your Photographer: Using The World’s Strongest Filter
Angles That Exploit Natural Light
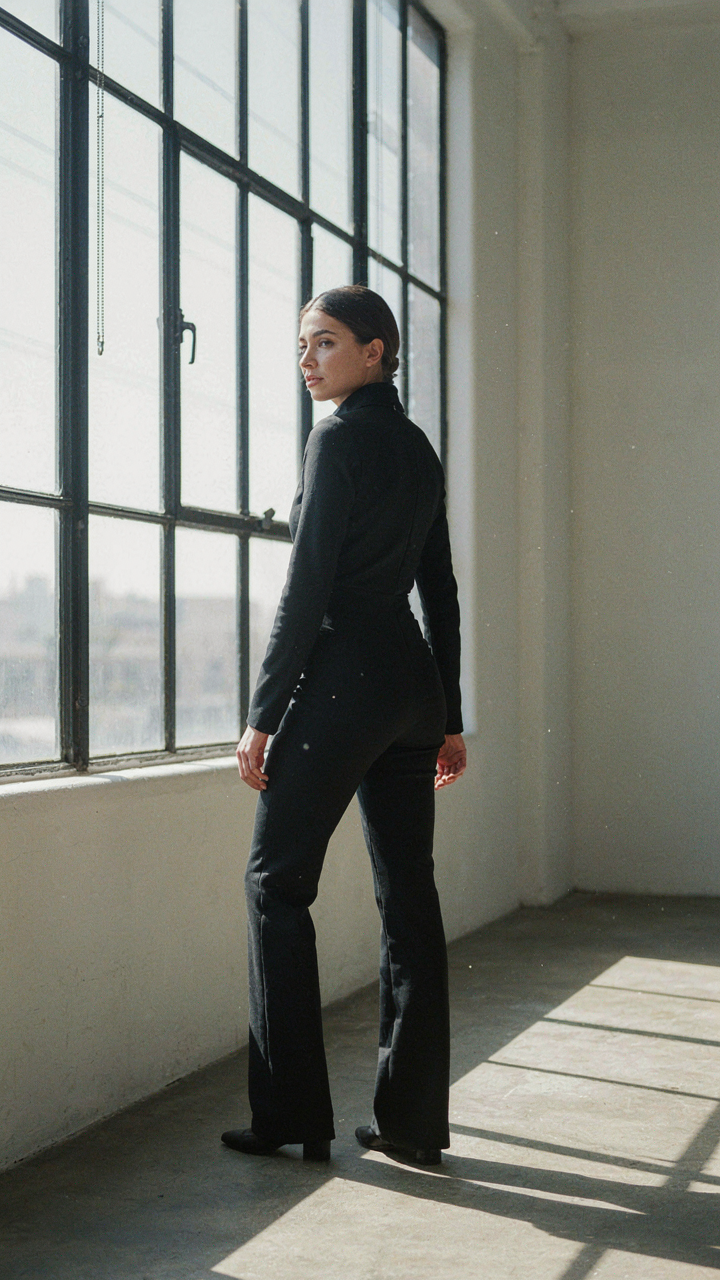
You want photos that don’t scream “I tried too hard,” which is actually just fear that you look flat and forgettable. Light is physics. In optics, the angle of incidence equals the angle of reflection—meaning where light hits you determines what the camera captures. Position yourself so light hits your body at 45 degrees, not straight-on. This creates dimension instantly. Flat light destroys jumpsuits because the fabric reads as a uniform surface instead of a garment with shape.

The jumpsuit’s advantage is its unbroken line from shoulder to ankle. Sidelight amplifies this. Stand perpendicular to your light source—window, sun, or key light—rather than facing it dead-on. Your body casts a subtle shadow down one side, making the fabric drape read as intentional structure rather than fabric bunching randomly. Shoot during golden hour if outdoors. Indoor, position a window to your left or right, never behind or directly ahead.
Shadow Play Creates Actual Definition
Everyone says “use shadows for dimension,” then stops. That’s incomplete. Black jumpsuits are engineered to absorb light, which means you must actively place shadow to define form, not let it happen by accident. Position one shoulder slightly back, the other forward. This rotates your torso and creates a shadow plane across your chest and ribs. The fabric folds catch this shadow naturally. Without the rotation, a black jumpsuit looks like a void with no body underneath.
Tilt your chin slightly down and toward the light source, not away from it. This casts your face into controlled shadow while keeping your features readable. The shadow under your jawline separates your neck from the neckline of the suit. On the legs, stand with weight on one leg, knee slightly bent. The fabric on your supporting leg sits tighter; the opposite leg’s fabric relaxes and catches shadow differently. This variation in light and shadow across the garment is what makes a photograph read as intentional rather than accidental.
The “Effortless” Illusion: Mastering The Pre Pose Micro Adjustments
Subtle Shifts That Define Your Waist
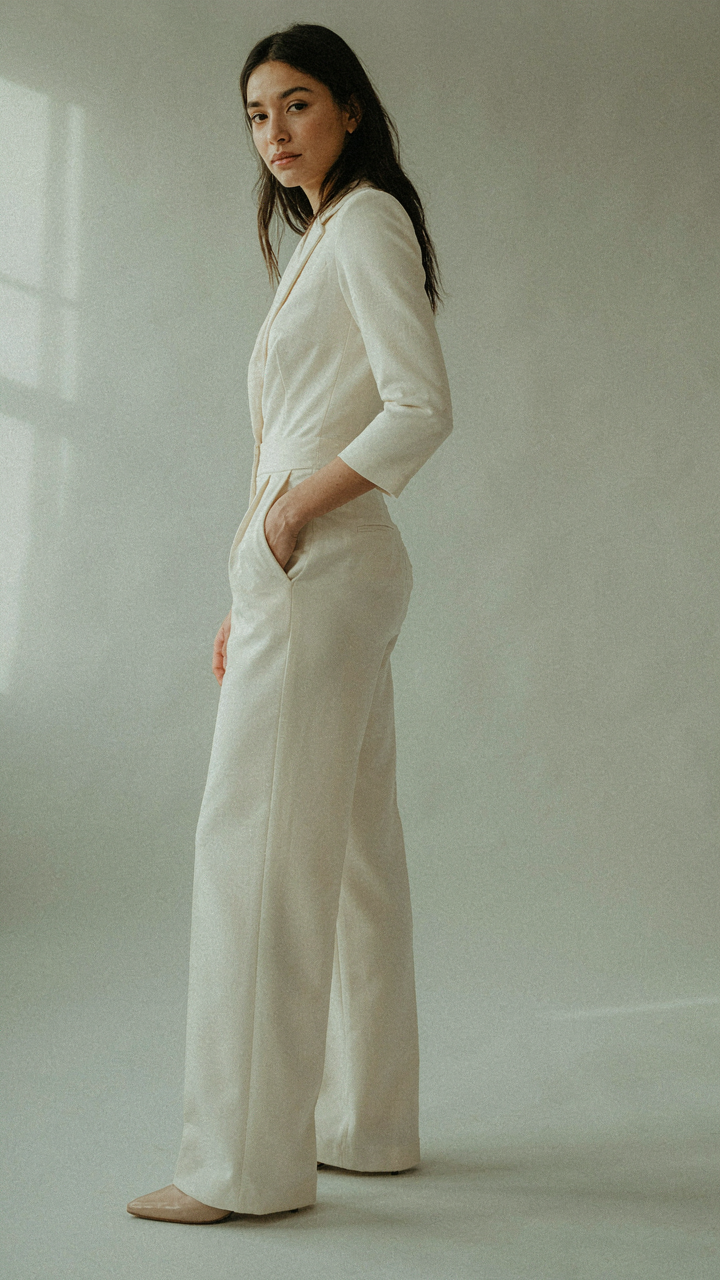
You’re here because you don’t trust how you look in jumpsuits, and you’re right not to. The garment drapes your entire frame as one unit, which means every angle matters. Borrowed from tailoring mechanics, the principle of “grain tension” applies here: when fabric pulls across your body, it either compresses or elongates the silhouette depending on how you position yourself relative to it.

The waist in a jumpsuit isn’t fixed by the garment alone. Your body angle controls it. Stand dead center facing the camera and the fabric hangs neutral. Rotate your shoulders back and twist your hips slightly forward, and the side seams pull taut where they cross your narrowest point. This isn’t posing for confidence. It’s repositioning the fabric planes to hit the visual sweet spot. Practice this micro rotation in a mirror until it feels like nothing changed. When it feels invisible to you, the camera sees definition.
Hand Placement Anchors Your Limbs
Most advice says “put your hands in your pockets” or “let them hang naturally.” Both are incomplete. The real problem is that bare arms in a jumpsuit create visual drift. Your hands need to interrupt the vertical line of the garment so the viewer’s eye stops somewhere intentional instead of sliding off your body.
One hand in a front pocket grounds that side. The other hand rests on your thigh or tucks into the opposite pocket opening if it exists. If no pockets work, cross one arm loosely across your body at hip height and let the other hang with slight bend in the elbow. The bend is the mechanism: it creates a visual anchor that prevents your arms from reading as disconnected appendages. Never let both arms hang straight. The jumpsuit will swallow them.
The Jumpsuit Poses Protocol: From Static Stand To Storytelling
Motion Creates Dimension In Stillness
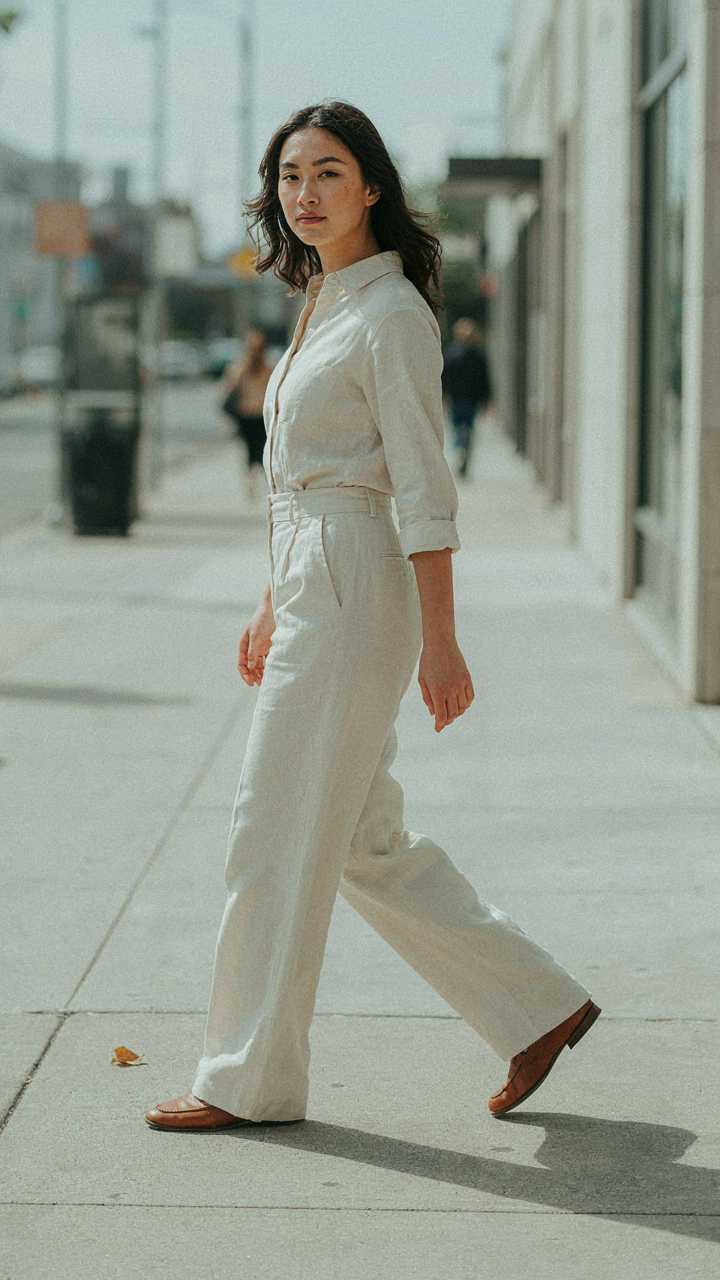
You want to look effortless in photos because stillness reads as stiffness, and stiffness reads as low-status. The mechanism is borrowed from cinematography: blocking. In film, actors don’t stand flat to camera. They move through space before the frame captures them. Apply the same principle here. A jumpsuit is a single unified garment, so your body position determines whether it drapes or clings, elongates or bunches. Micro-movements before the shot—a half-step forward, a shoulder roll, a weight shift to one leg—create tension in the fabric that reads as intentional styling, not accident.

Stop thinking pose as destination. Think pose as the last frame of movement. Shift your weight to your back leg and let your front hip angle forward. This isn’t vanity; it’s physics. The fabric pulls differently. Your torso gains definition. Your legs appear longer because the jumpsuit’s lines follow the actual line your body creates. Shoot during the motion, not after you’ve locked into position. The difference is the difference between a photo and a portrait.
Photos That Build, Not Just Exist
The mistake everyone makes is treating each photo as independent. They’re not. Narrative arc means you’re building recognition and credibility across the series, not gambling on one frame carrying everything. Take three shots: first, you’re adjusting the neckline or collar (this reads as familiarity with the garment). Second, you’re in mid-stride or mid-turn (this suggests confidence and movement). Third, you’re settled (this is where the full silhouette lands cleanly).
Each frame should answer a question the previous one raised. First shot: who is wearing this? Second shot: what are they doing in it? Third shot: why does this matter? This sequencing works because the viewer’s brain processes narrative faster than it processes aesthetics. By the third image, they’ve already decided the jumpsuit works on you because they’ve watched it work. The mechanism is psychological anchoring. Shoot your hero pose last, not first, so the viewer’s final impression is already locked.
Composition As Deception: Framing For A Flawless Form
Rule Of Thirds For Your Body
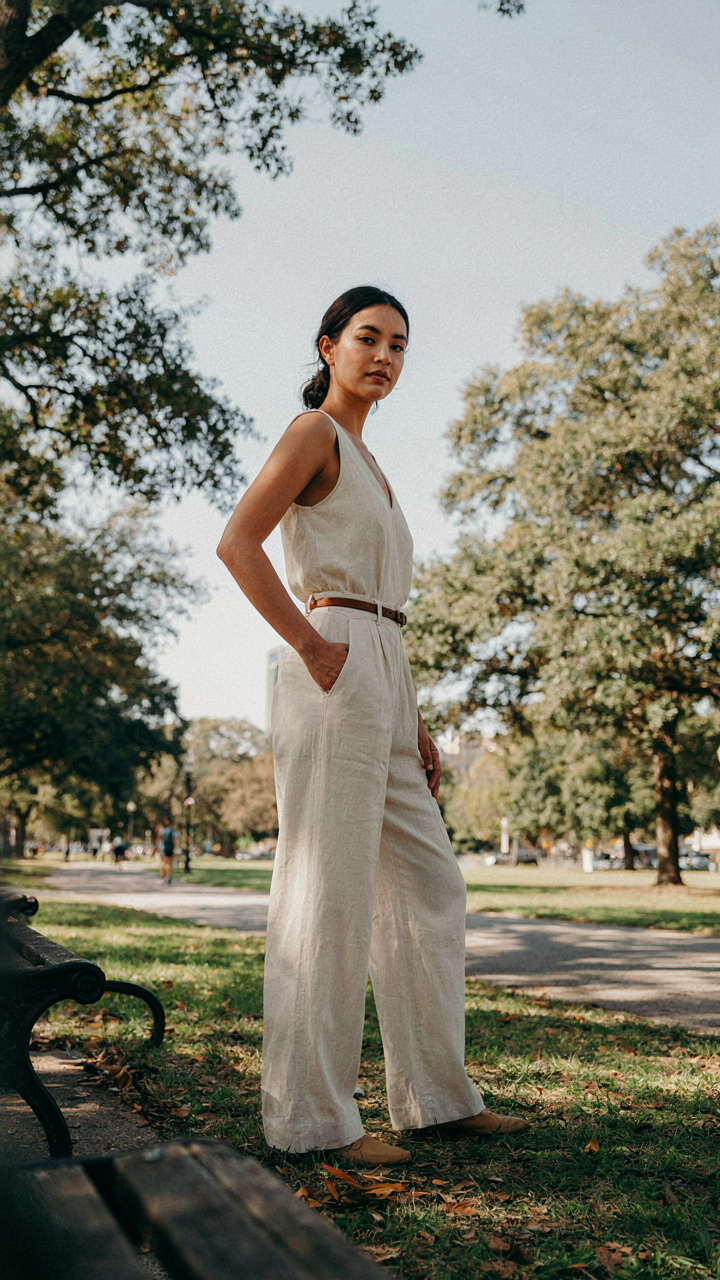
You want people to perceive you as intentional, not accidental. That’s what this is really about. The rule of thirds—borrowed from visual composition in photography and painting—divides a frame into nine equal sections using two horizontal and two vertical lines. Apply this to your body: position your strongest features along these intersection points, not centered in frame.

A jumpsuit’s vertical seams and horizontal panels already segment your silhouette. Angle your body so these lines align with the grid. If you’re shooting full-length, place your head in the upper third and your feet in the lower third, leaving the middle for the suit’s form. Position one shoulder slightly forward, one back. This breaks symmetry and creates visual tension that reads as confidence, not stiffness.
Negative Space: The Suit Becomes The Subject
Empty space makes a jumpsuit visible. Most people clutter the frame with their arms, hands, and torso pressed against their sides—they’re hiding, not posing. Negative space is oxygen around your form.
Create distance between your arms and torso. Step one foot forward, the other back. Let your arms hang with intention or gesture away from your body. If you’re seated, cross one leg or angle both to the side. The jumpsuit fabric needs air around it to show its cut and structure. Without gaps, the suit collapses into your shape instead of being seen as a separate object. Position yourself with at least two to three inches of visible space on either side of your torso before you take the shot.
The Unposed Jumpsuit: Embracing Imperfection For Impact

Capturing Candid Moments Without The Setup
You want the photo to feel effortless because you’re afraid staged shots expose you as trying too hard. Here’s the mechanism: psychology borrowed from street photography tells us that tension dissolves the moment a subject stops performing for the camera. The jumpsuit becomes a prop that works for you only when you stop thinking about it. Movement kills awareness. A person walking, adjusting fabric, or reaching for something has surrendered the self-consciousness that makes photos feel hollow.

Candid moments require positioning before the camera rolls. Stand near natural light. Move through it. Adjust the collar. Reach across your body. Bend slightly at the waist. The photographer captures the gesture, not the pose. This generates authenticity because you’re solving a real problem, not holding a manufactured angle. The jumpsuit reads as part of your movement, not separate from it.
The Genuine Expression Over The Smile
Forced smiles don’t sell jumpsuits because your face signals compliance, not confidence. The real power lives in what precedes the smile: a conversation, a laugh already happening, or a moment where you’ve forgotten the camera exists. Your face should be the aftermath of genuine emotion, not its performance. People photograph well when they’re thinking about something other than photography.
Direct the photographer to capture you mid-sentence or after you’ve reacted to something. Let your mouth rest neutral, then ask for one authentic laugh. The jumpsuit sits better on a person whose body isn’t braced for a picture. When your face relaxes, your shoulders drop. Your posture improves naturally. Your hands find purposeful positions instead of awkward ones. The jumpsuit photographs best when you’re inhabiting it, not auditioning in it.
Environmental Synergy: Using Your Surroundings As A Prop
Architectural Lines And Leading
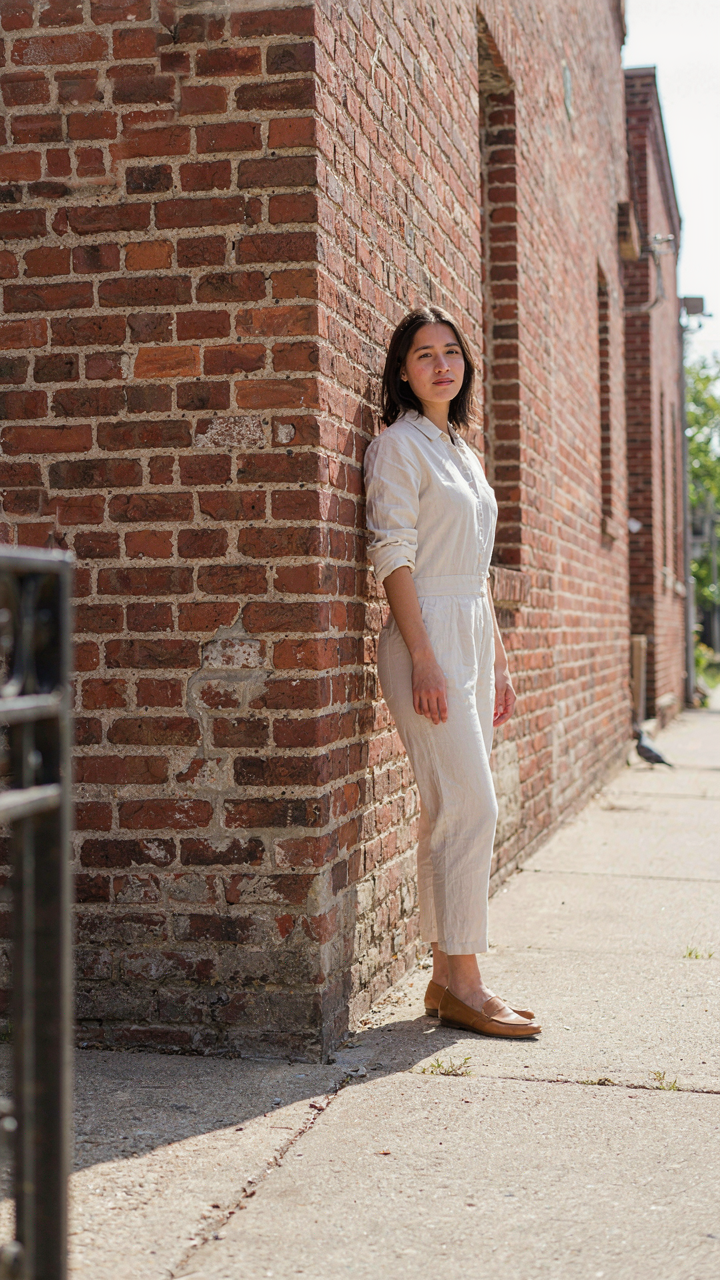
You want the photo to do the work for you so you look intentional instead of like you’re just standing there. The real mechanism here borrowed from compositional geometry is convergence—lines in your environment that guide the viewer’s eye toward your body create implicit structure that makes any pose read as deliberate. A doorframe, a hallway corner, a building edge—these aren’t backgrounds. They’re compositional anchors that eliminate the flatness that kills jumpsuit photos.

Position yourself so vertical and horizontal lines intersect near your torso or legs. A corner behind you creates two perpendicular lines that frame your silhouette. If you’re against a wall with a clear edge, angle your body so the line runs parallel to your arm or leg, not perpendicular to it. This alignment makes the jumpsuit’s geometry feel part of the space rather than fighting it.
Texture And Contrast Against Context
Most advice says find a pretty background. That’s incomplete because it ignores the actual principle at work here—contrast is what the camera sees, not beauty. A matte jumpsuit against a textured brick wall reads sharper than the same suit against smooth concrete because the visual friction between surfaces makes the fabric and fit pop. The jumpsuit becomes foreground by optical necessity, not styling luck.
Seek environments with competing texture—weathered wood, patterned tile, overgrown vines on stone. Position yourself so your body occupies the space between different surfaces. If a wall has both smooth and rough sections, stand between them. The fabric’s sheen catches light differently against rough texture than smooth surfaces, and that difference is what makes the garment read as three-dimensional rather than flat. This creates separation without needing studio lighting.
The Feedback Loop: Analyzing And Adapting Your Jumpsuit Performance
What Actually Worked
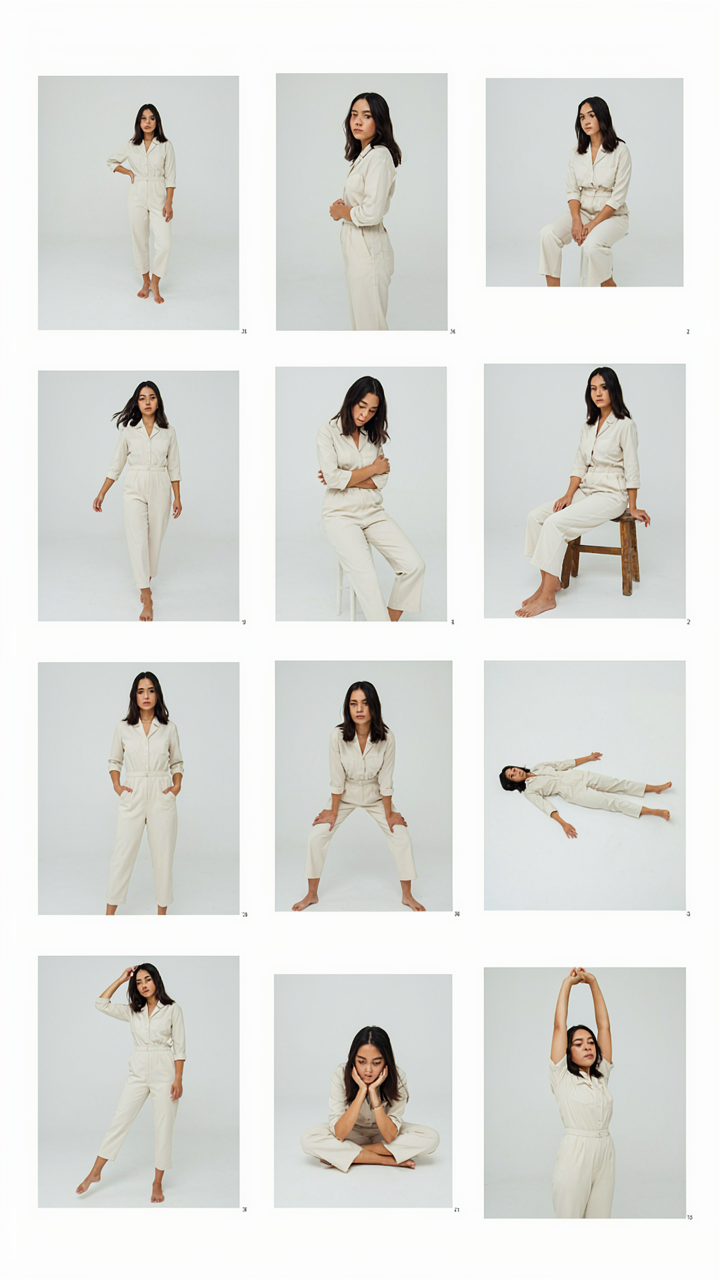
You’re reading this section because you’re terrified you’ll take a hundred photos and still look wrong. The real mechanism is simple: you can’t fix what you don’t measure. Most people take photos, hate them, and blame the jumpsuit. They never isolate which variable caused the failure. Compare your best shot to your worst shot. What’s different? Shoulder angle? Hip position? Fabric tension? Lighting angle? Write it down. One variable per observation. This is the only way you build a reliable pose.

The common advice here is worthless. Everyone says “trust your instincts” or “take lots of shots and pick your favorite.” Neither teaches you anything. You need structured self-critique. Look at your photos with the same distance you’d use reviewing someone else’s work. Where does the jumpsuit pull? Where does it drape cleanly? Where do your proportions flatten or elongate? Document the exact pose that created each result. Pattern recognition only works when you have patterns to recognize.
Small Shifts That Move The Needle
In systems thinking, we call this the concept of leverage: applying force at the right point creates disproportionate results. Your jumpsuit poses operate the same way. A one-inch hip shift sideways can eliminate bunching across the torso. A two-degree shoulder blade rotation can change how fabric sits on your chest. A half-inch forward head tilt can define your neck. These aren’t minor tweaks. They’re the difference between a photo that works and one that doesn’t. Start tracking micro-adjustments and their impact.
- Shoulder blade positioning: Pinch shoulder blades together slightly to eliminate fabric pooling at the back. Test a quarter-inch change and photograph the result before moving further.
- Hip angle rotation: Rotate hips one inch forward or back to flatten the midsection. This changes how the front panel drapes without moving your torso visibly.
- Rib cage lift: Engage your core and lift through the ribs by half an inch. This creates separation between your torso and hips, defining the jumpsuit’s lines.
- Foot placement width: Adjust stance width by two inches at a time. Wider base grounds you; narrower base elongates the leg line through the fabric.
- Chin angle: Move your chin down a quarter-inch or back a half-inch. Small changes eliminate neck compression and define jaw structure against the neckline.
The iteration protocol is mechanical: make one change, photograph it, compare to the control shot, document the result. If it improves the photo, keep it and adjust the next variable. If it worsens it, revert immediately. Never stack multiple changes at once. You won’t know which one created the problem. After ten cycles, you’ll have a repeatable pose that accounts for your specific body shape, the jumpsuit’s fabric behavior, and the lighting conditions you’re shooting in.
Beyond The Outfit: The Psychology Of Confident Jumpsuit Photos
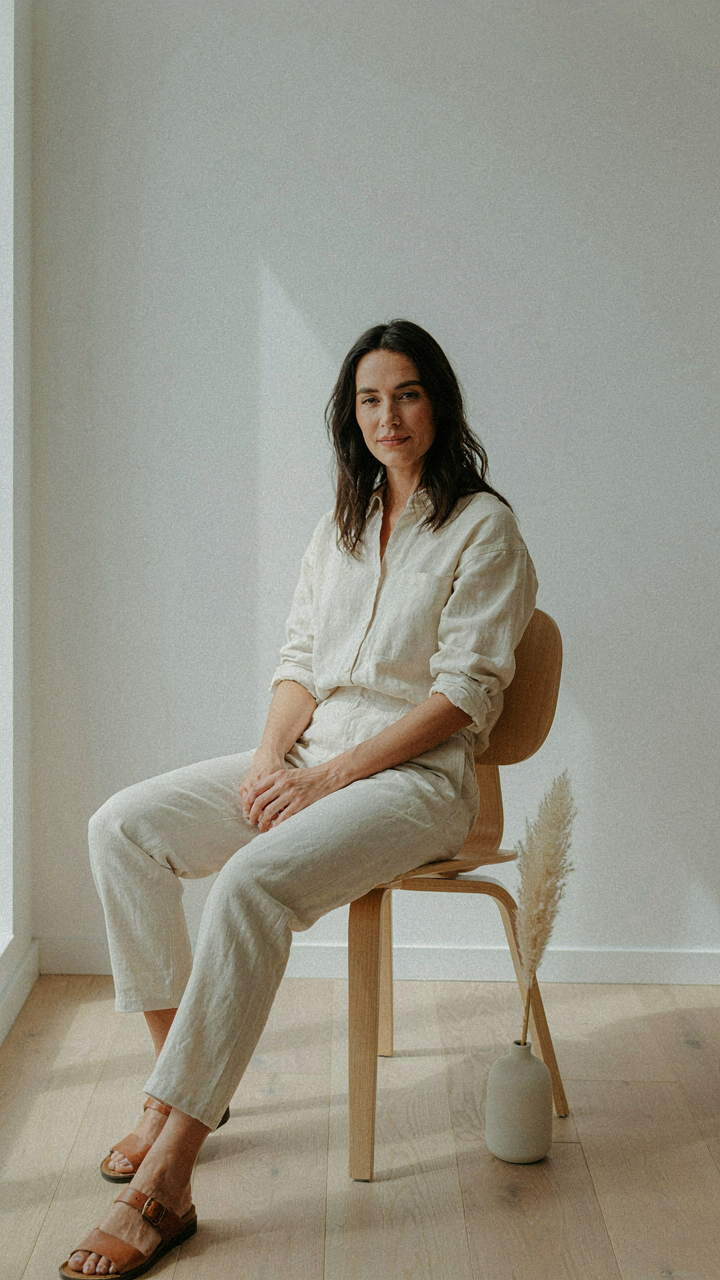
The Comfort Before The Pose
You want jumpsuit photos to prove you’ve got it together. The mechanism is simple: your nervous system broadcasts through your face and posture before you ever hit the pose. Confidence isn’t something you fake. It’s the absence of internal resistance. When you’re uncomfortable in the garment, fighting the fit, or doubting how you look, the camera catches that tension in your jaw, your shoulders, your eyes. You can’t pose your way out of it.

Start with a jumpsuit that actually fits your body. Not trendy. Not Instagram-tight. Fitted enough that you move without thinking about it. Try it on, walk around your space for ten minutes, sit down, stand up, reach. If you’re still adjusting it or thinking about it when you stand still, it’s wrong. The fit has to be automatic so your attention can move to the actual pose and how you present yourself.
Realness Reads Better Than Performance
Most advice tells you to find your angles and practice expressions in the mirror. That’s incomplete. The photos that get engagement aren’t the ones where someone nailed a pose. They’re the ones where you look like you, just aware of the camera. Authenticity doesn’t mean zero intention. It means your intention is coherent with your actual state, not performing a state you don’t inhabit.
Pick one small thing to emphasize in your pose: shoulder placement, hip angle, or chin height. Just one. Then relax everything else and let your face do what it naturally does. The jumpsuit is a tool for framing your proportions. Your presence is what makes the photo work. Hold the pose for three seconds, then move. The best shot usually happens in the transition, not the perfect freeze.
Your Fear Of Looking Awkward Is A Self-fulfilling Prophecy. Move Naturally
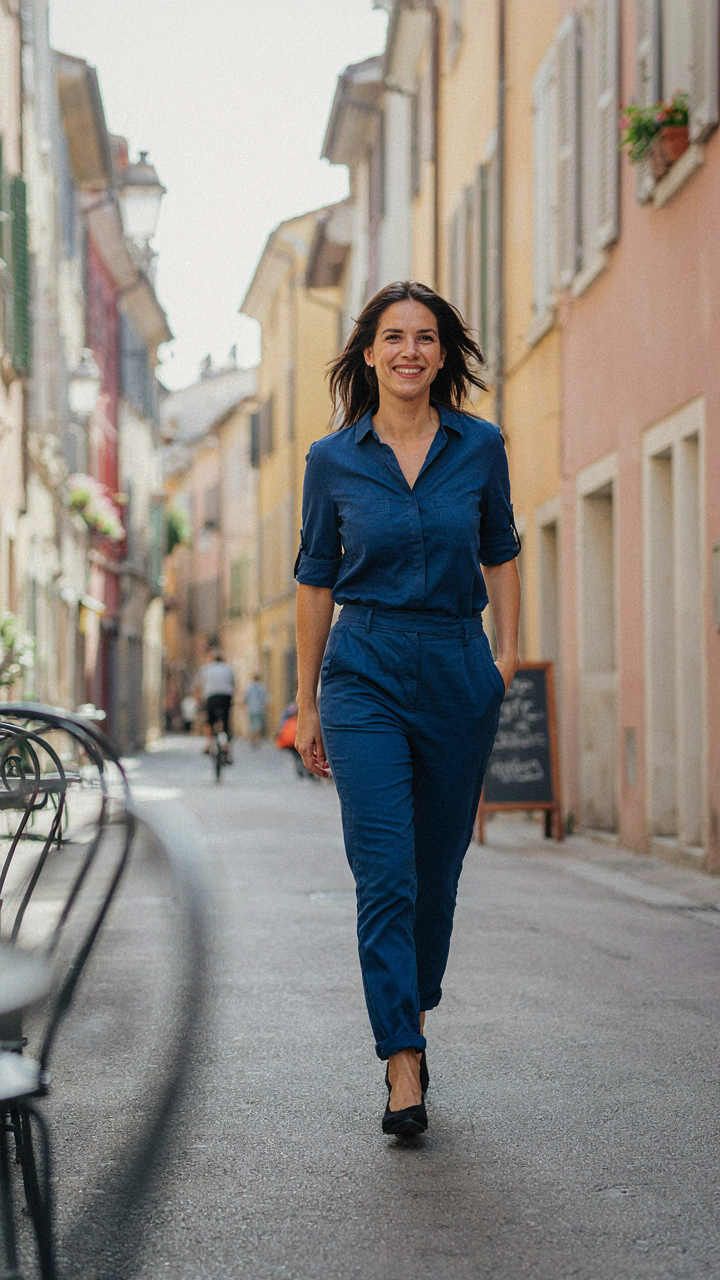
You already know this: the moment you overthink your pose, your body locks up and the camera catches it. Stop treating jumpsuit photos like a stiff portfolio session. Your nervous system responds to your own doubt before anyone else sees the image. The antidote isn’t more poses to memorize. It’s moving first, then shooting. Walk around your space for sixty seconds tomorrow, then have someone snap photos while you’re already in motion. You’ll look alive instead of positioned. Motion beats perfection every single time.