Introduction
Solo Travel Aesthetic Photo Ideas For Stunning Diary Shots is a guide to help you take beautiful photos of your solo travel adventures. Traveling alone offers a unique chance to capture moments without distractions. The pictures you take can tell the story of your journey, reflecting your personal experience and style.
This article explores simple tips on angles, lighting, and poses that you can use to make your travel diary stand out. You will find advice on how to use your camera or smartphone to create eye-catching shots that highlight both you and the places you visit. By the end, you’ll feel ready to document your solo trips with photos that you will love.
Understanding Solo Travel Aesthetic
The Feel Of Solo Travel
Solo travel has a unique vibe that’s hard to pin down but easy to sense in photos. It’s about moments when you’re exactly where you want to be—alone with your thoughts or immersed in new surroundings. There’s a calmness mixed with curiosity, a kind of gentle vulnerability that comes from relying just on yourself. Sometimes you feel confident and free; other times, it’s a bit uncertain or even lonely. These feelings show up in images through empty streets, quiet cafes, or candid shots where you’re lost in an unfamiliar place. They are not just pictures of destinations but snapshots of emotions.
That blend of emotions shapes the look and mood of solo travel shots, often giving them a reflective or meditative tone. Maybe you catch a glimpse of hesitation before crossing a street or the joy of a sunrise enjoyed in silence. Those small details can speak volumes.
Visual Storytelling In Solo Travel Photos
Photos from solo trips tell stories without words. A single frame can capture a step in your journey, offered with no distractions—just you and the world around. Think about the sequence of your shots as chapters of a personal travel diary. They reveal where you’ve been, what you’ve seen, and how you’ve experienced it.
Your pictures might show:
- A quiet bench facing a mountain, inviting reflection.
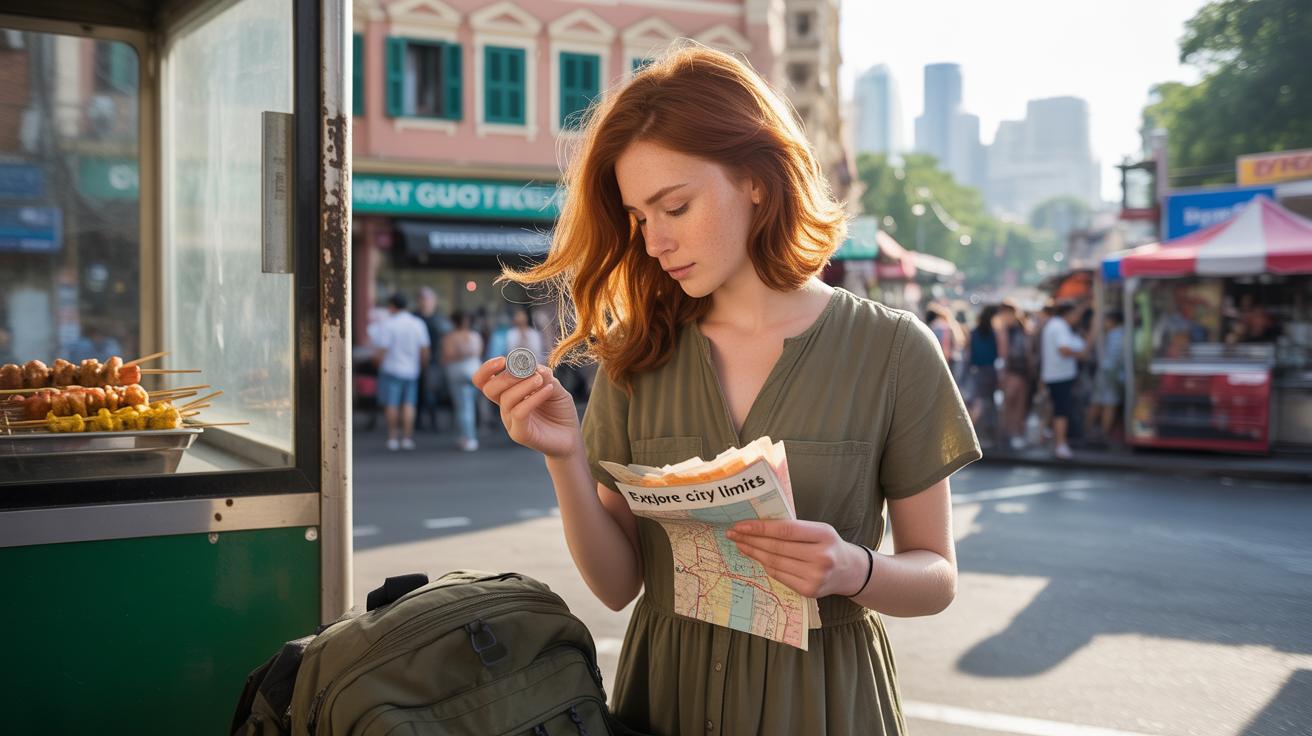
- Your hands holding a map, hinting at exploration and discovery.
- Shadows stretching on a city wall during twilight, suggesting the passing of time alone.
Each photo is a chapter and when viewed together, they create something uniquely yours. No need for a grand backdrop or a perfect smile—what matters is authenticity. Those candid, imperfect moments are often the most striking. How do you want your solo story to be remembered? What do you want others to feel when they see your photos?
Choosing The Right Gear For Solo Travel Photography

Picking the right gear for solo travel photography feels like walking a fine line between convenience and quality. What works best depends on what you’re comfortable carrying and how involved you want to get with photography while on the move.
Compact Cameras Versus Smartphones
Compact cameras can offer better image quality, more control over settings, and versatility with zoom lenses. But they’re bulkier, and sometimes carrying one around feels like a hassle when you just want to explore freely. Smartphones, on the other hand, have come a long way. Their cameras are quite capable these days, often with multiple lenses and smart features. Plus, you’ve got editing apps right there, no extra gear needed.
I’ve noticed that many solo travelers rely on their phones because it’s just easier. Yet, when a compact camera is handy, the photos often have that extra depth and sharpness. Maybe it’s about what story you want to tell—quick snaps or something more deliberate?
Essential Accessories To Carry
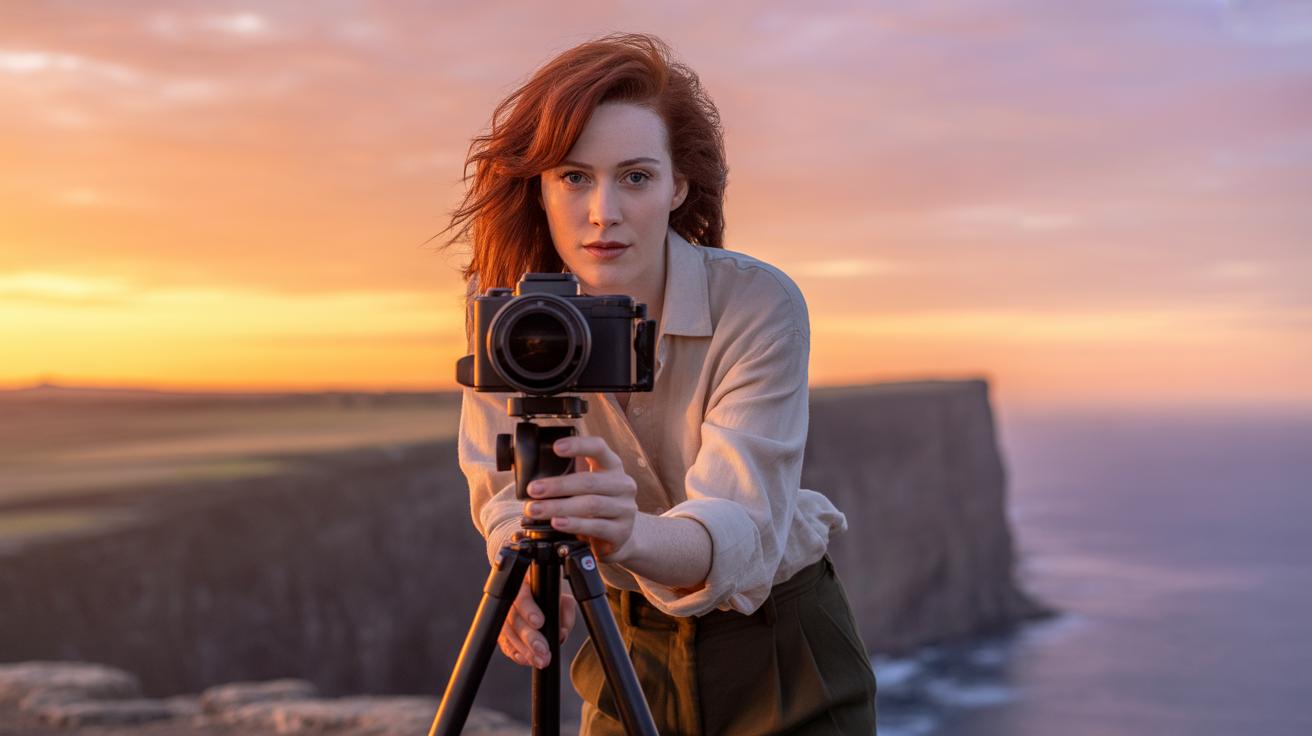
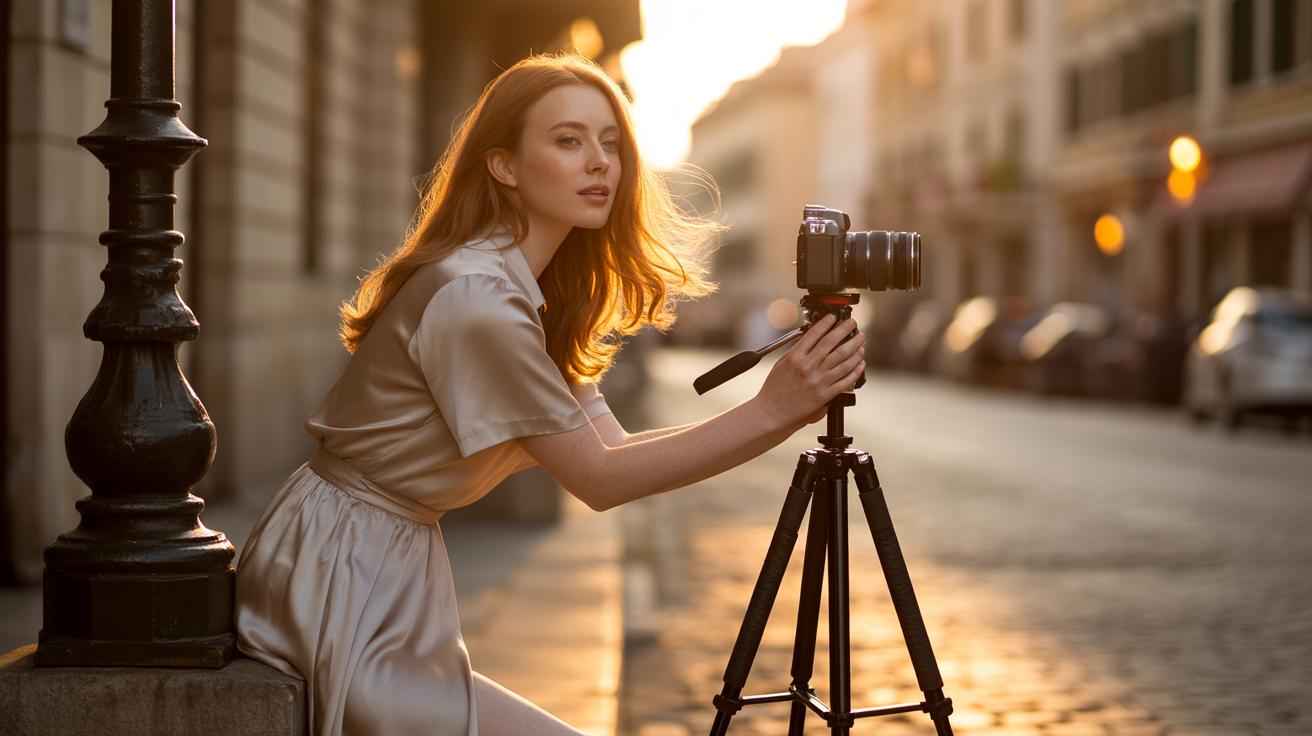
For solo shots, a small tripod almost feels non-negotiable. It lets you frame yourself without guessing, freeing you to explore poses and angles. There are compact, flexible tripods that fit in a backpack without being a burden. Pairing that with a remote shutter or using your phone’s timer can make a big difference in capturing steadier and well-composed images.
Other accessories I find useful include extra batteries or portable chargers, especially for long days out. Lens wipes help keep your shots clean, particularly if you’re visiting dusty or rainy spots. Each tool adds a layer of possibility, but it’s easy to overpack—finding balance takes trial and error.
Finding Perfect Lighting On Your Solo Trips
Best Times Of Day For Photos
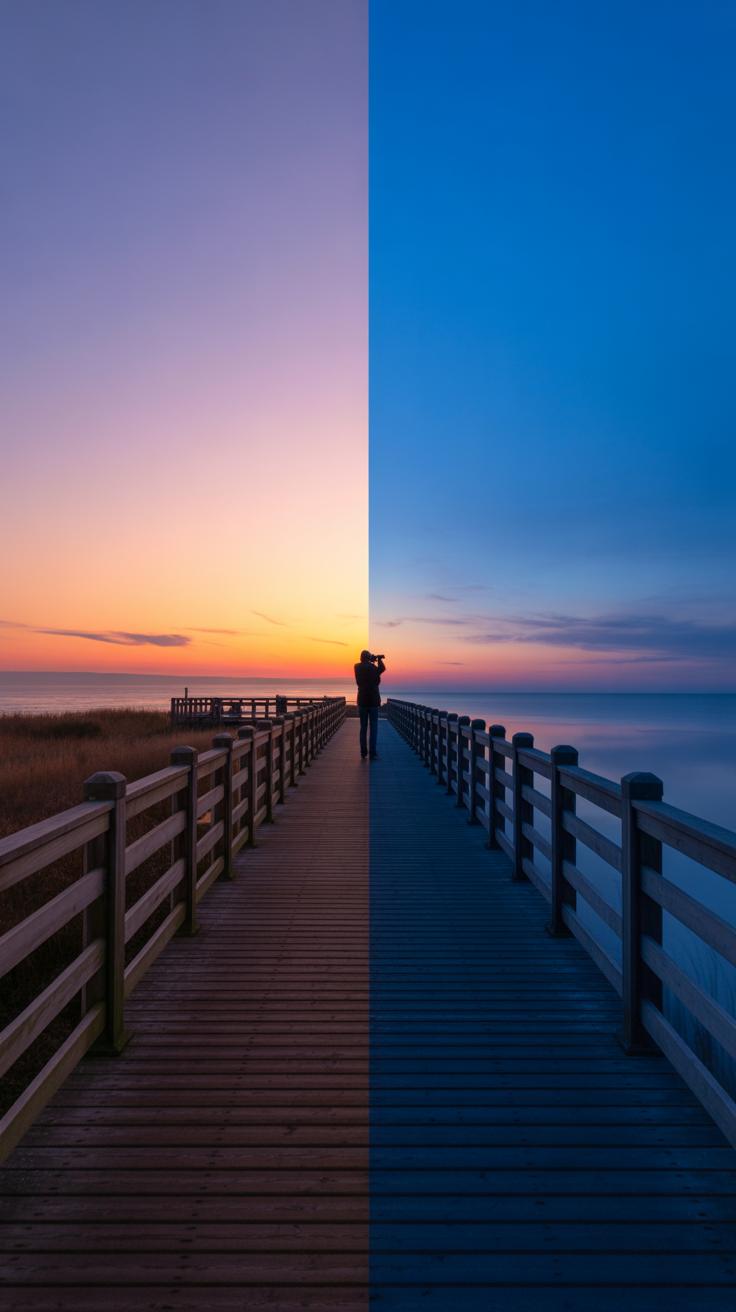
Natural light changes so much during the day—it’s like a whole different mood each time. Morning light tends to be soft and gentle, casting a fresh glow on your surroundings. I’ve found early mornings give photos a calm, quiet feeling, almost like the world is just waking up with you. It’s great if you want that peaceful vibe in your shots.
Evening light, on the other hand, is richer and warmer. The sun’s golden hour right before sunset adds a nice warmth that flatters skin tones and highlights textures beautifully. Though it’s tempting to think morning is best, sometimes the evening light brings out more drama. Have you noticed how the light almost feels like it’s telling a story then?
Using Shadows And Brightness

Shadows often get overlooked, but they add another layer. Playing with shadows can give your photos depth and a touch of mystery. For example, sharp shadows from a tree or building can guide the viewer’s eye or create interesting shapes that break up the image.
Brightness levels matter too. Bright light might overwhelm details if you’re not careful, but with some contrast—balancing light and dark—you get a photo that feels alive. I think sometimes it’s about trusting your eye; you might want lots of shadows in one shot, less in another. It depends on your mood and the story you want to tell, doesn’t it?
Mastering Angles For Solo Travel Shots
Eye Level And Low Angles
When it comes to solo travel photos, eye level shots often feel natural and approachable. They capture you as others see you, giving a sense of connection. Standing or sitting straight into the camera usually works well here, especially in busy or intimate settings, like a café or a bustling street.
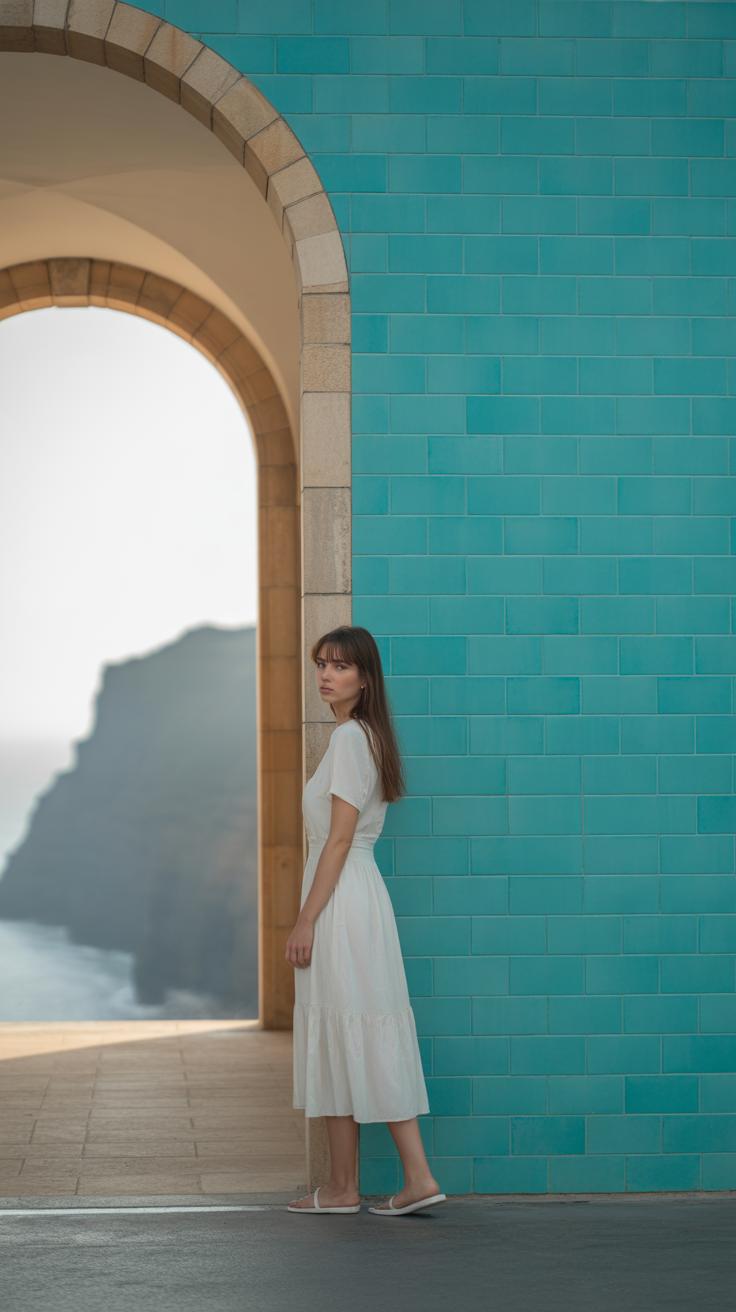
Low angles, on the other hand, can give a subtle boost to your photos. Shooting slightly from below can make you look taller and more confident, which is perfect if you want to emphasize your presence in a place, like standing near a historic monument or an intriguing wall. Sometimes, these angles add a bit of drama or power to your frame without being over the top.
Try tilting your phone or camera just a bit upward, but don’t overdo it. The key is to keep things flattering. You might find some angles emphasize features you hadn’t noticed before—or maybe make your jawline look sharper, or your pose more relaxed. It’s a bit of experimentation but often worth it.
Using High Angles And Wide Shots
High angles can change the story your photo tells. Shooting down from above tends to make the person look smaller or more vulnerable, which works well for reflective or quieter moments. If you’re sitting on a stairway or at a café table, a high angle captures not just you but what’s around you. It’s almost like the photo speaks about your experience, not just your look.
Wide shots bring a different feeling altogether. Standing farther from the camera to include broad scenery can highlight your place in the bigger picture — mountains, beaches, city skylines. These shots often feel like a pause, a breath, letting the environment shine alongside you. It’s a chance to show scale that close-ups simply can’t.
Yet, wide shots sometimes risk losing you in the frame. So, think about where you position yourself—somewhere that draws the eye naturally, maybe near interesting shapes or colors that contrast with your outfit or pose. Balancing yourself within the scene can make all the difference between a forgettable photo and one that feels just right.
Creating Captivating Poses Without Assistance

Posing alone can feel a bit strange at first. Without someone guiding you, it’s easy to freeze or settle for the usual “arms down, smile” look. But really, you can get much more interesting shots by thinking beyond the basics – and it doesn’t have to be complicated. The key is to feel comfortable and natural, or at least try to. When you’re alone, you have full control. That’s something I often forget until I get to review my shots later and think, “Oh, I could’ve moved a little differently there.”
Simple Standing And Sitting Poses
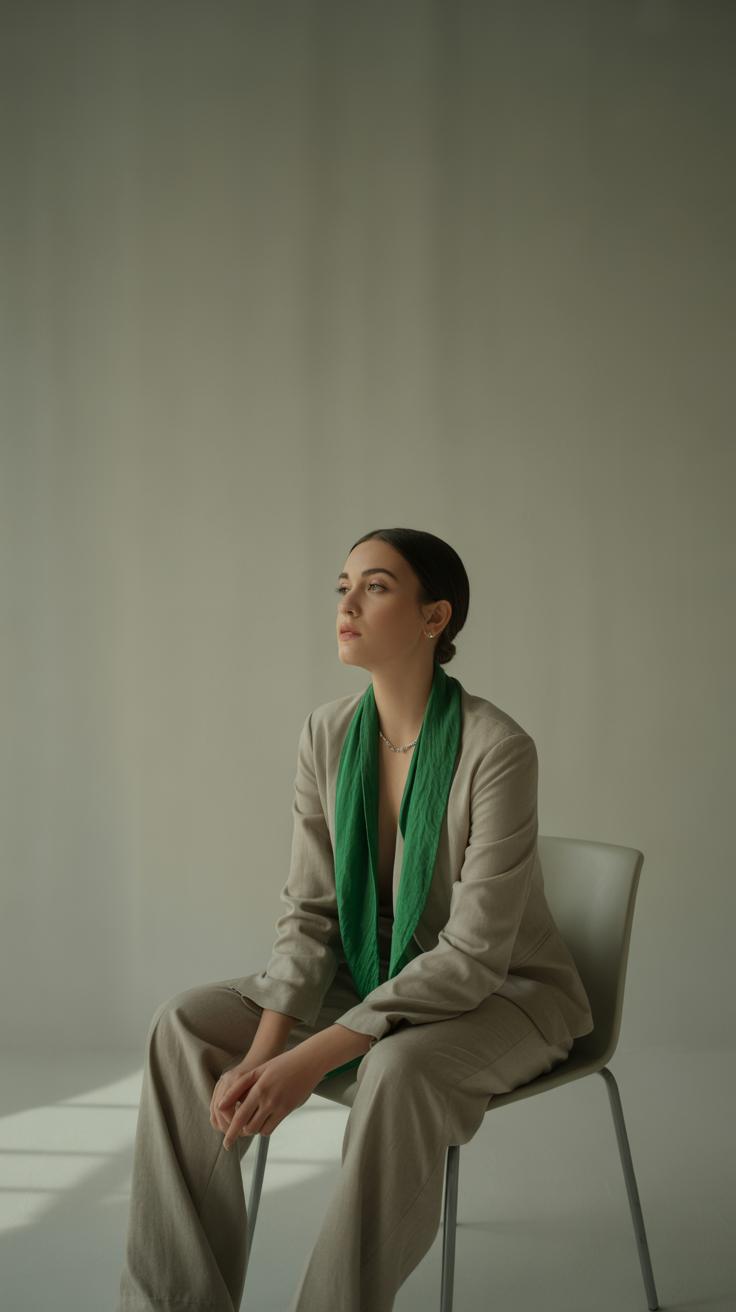
Start with slow, easy poses. You don’t need to twist into something unnatural. Standing with one foot slightly forward can add a casual touch. Or try shifting your weight onto one leg while looking off-camera. Sitting is just as good; a low bench or step can work well. Maybe cross one leg over the other or rest an elbow on your knee. These small changes can make a simple shot feel less stiff.
- Stand with a soft bend in your knees, hands gently touching your face or hair.
- Sit on stairs or rocks, lean slightly forward, and look down or away.
- Use subtle head tilts—too much can seem staged, but just a hint makes the photo more expressive.
Don’t underestimate the power of just being still and relaxing your shoulders. Often, that’s all you need for a spontaneous feel.
Using Movement And Props To Enhance Photos
Static poses can get boring fast, especially on solo shoots. I try to add some movement—like walking slowly towards the camera or spinning around. It’s okay if exactly timed shots aren’t perfect. Usually, a bit of blur or unpredictability adds life.
Props can help too. Grab a hat, book, or even a cup of coffee. Holding something gives your hands a purpose and makes the scene more relatable. You can pretend to adjust your scarf or peek through sunglasses. Ask yourself: what feels genuine in this spot? Sometimes just walking the frame while holding a vintage camera or a map can turn a simple photo into a story.
- Walk naturally, vary your pace, and capture a few mid-stride frames.
- Turn your back to the lens while looking over your shoulder for a casual vibe.
- Interact with local objects or your gear to bring context without forcing it.
Over time, these small tricks can turn your solo travel shots from snapshots to moments that actually show you’re there, living it—even if no one else is behind the lens.
Selecting Backgrounds That Enhance Your Photos
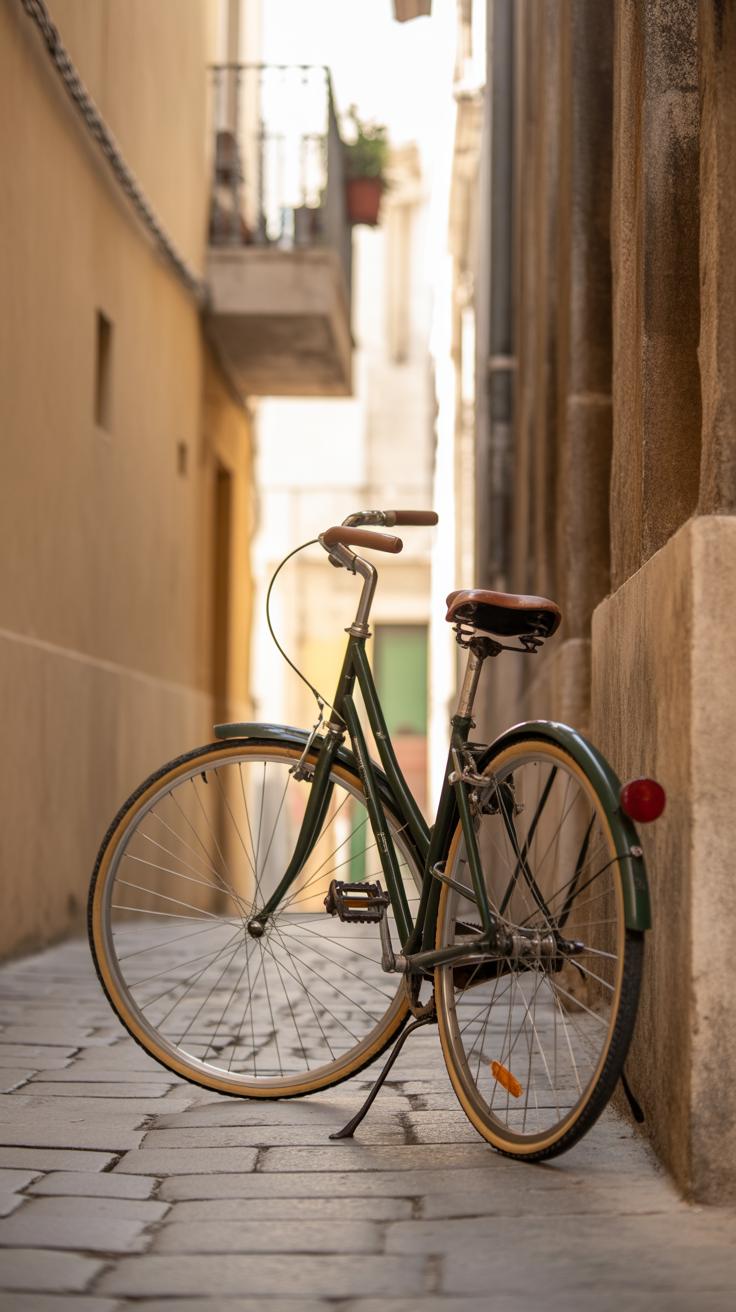
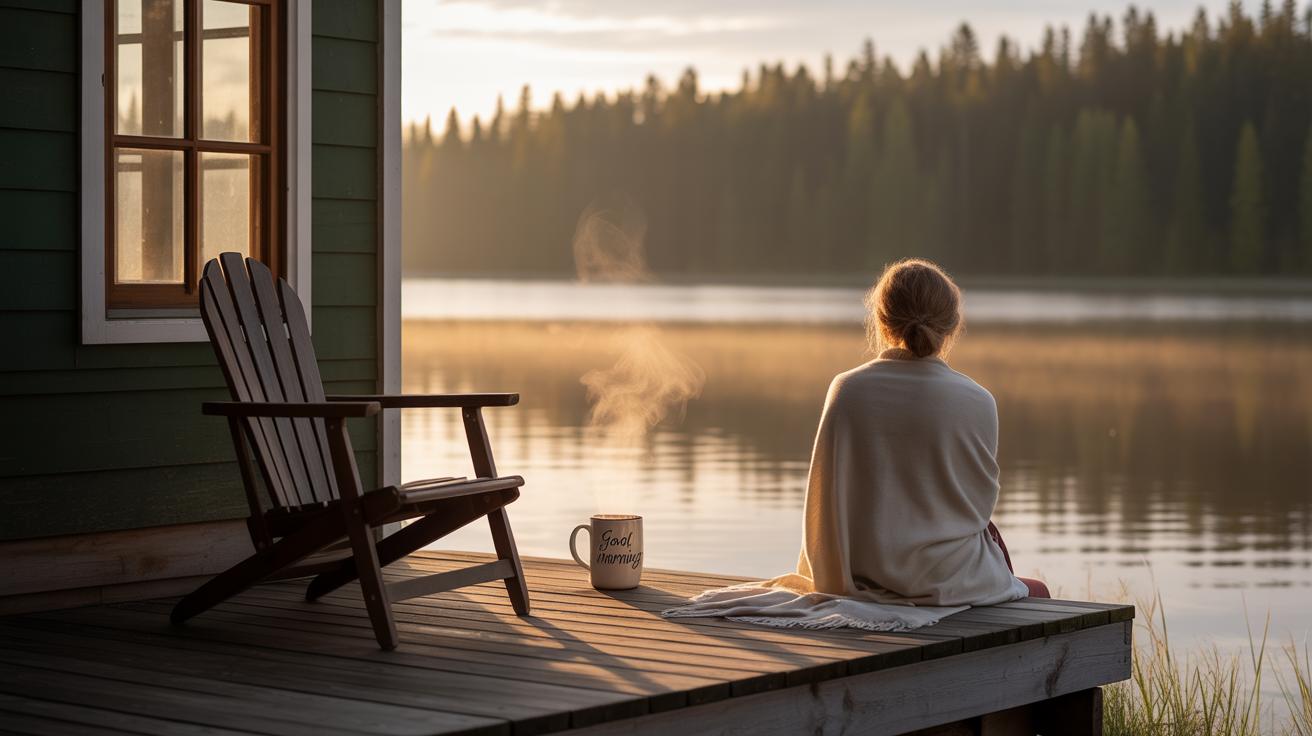
Choosing the right background can really shape the mood of your solo travel shots. Sometimes, nature offers a calm, timeless vibe. Imagine sitting on a rock by a quiet lake or standing under towering trees—it can feel like the world slows down just for you. Nature’s unpredictability—wind rustling leaves or shifting light—adds a subtle depth you don’t always get in cities.
On the other hand, urban scenes bring a totally different energy. Streets, graffiti walls, or busy plazas can make your photo feel alive and current. Cities tell stories of movement and culture, which might suit a more spontaneous style. But honestly, sometimes they feel too busy, and your presence gets a bit lost.
Nature And Urban Settings
Here’s a quick way to think about it:
- Nature backgrounds often suit peaceful or reflective moments. If you want that, try beaches, forests, or mountains.
- Urban spots can inject life, contrast, and a sense of place, especially if the area has unique street art or colorful architecture.
- Do you want to stand out sharply against your background? City lights and bold colors can help with that. Nature might blend you in more gently.
It’s not about one better than the other, really. Sometimes I’ve found myself drawn to a quiet park bench in a noisy city just for that contrast. Variety keeps your travel diary interesting.
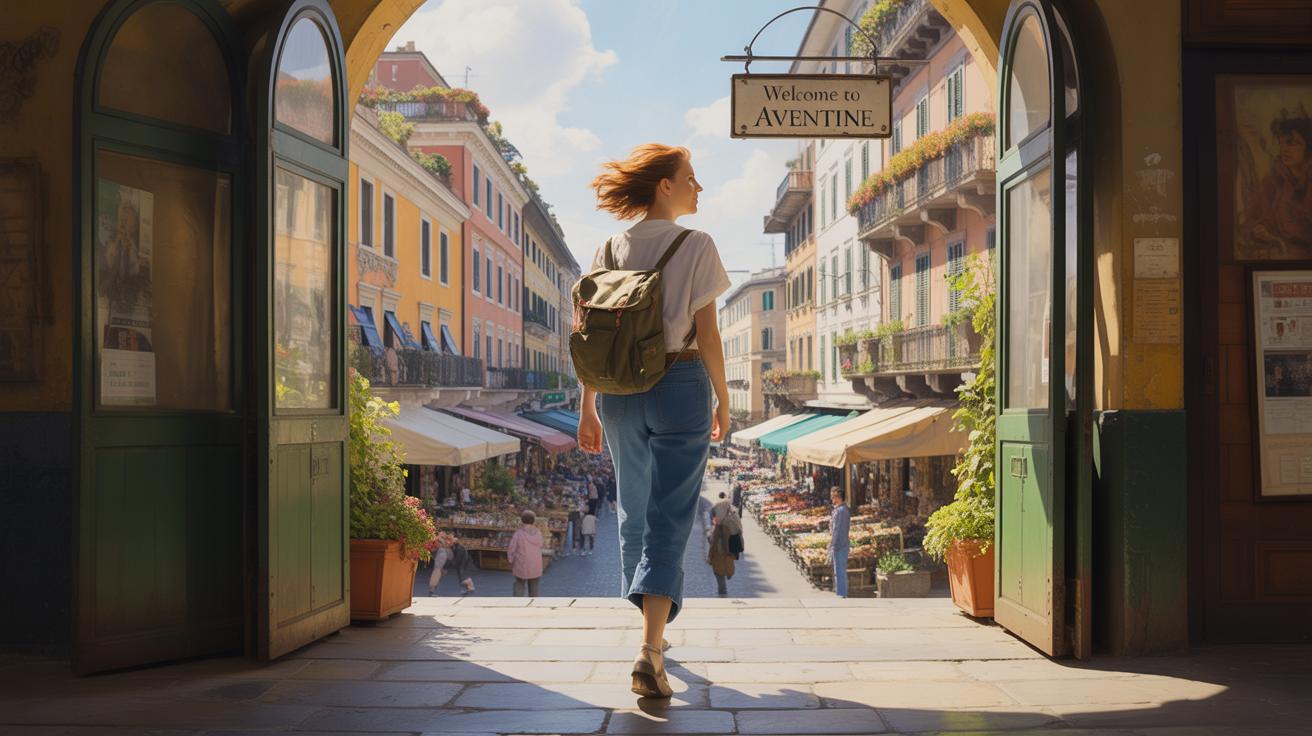
Cultural And Architectural Elements
Then there are landmarks and historic buildings, which offer more than just a pretty backdrop. They add layers of meaning. When you place yourself in front of a centuries-old temple or a colorful market street, your photo captures not only you but also the story of a place.
But here’s a question—does every famous landmark need to be the star? Maybe sometimes letting a less obvious architectural detail shine can surprise people. Think of a rustic door, a tiled wall, or a quirky sculpture. These elements give your solo journey context and feel genuine.
When you combine cultural features with your pose and expression, your photo becomes a snapshot of your entire experience, not just a fake postcard.
Using Props And Accessories To Enrich Your Shots
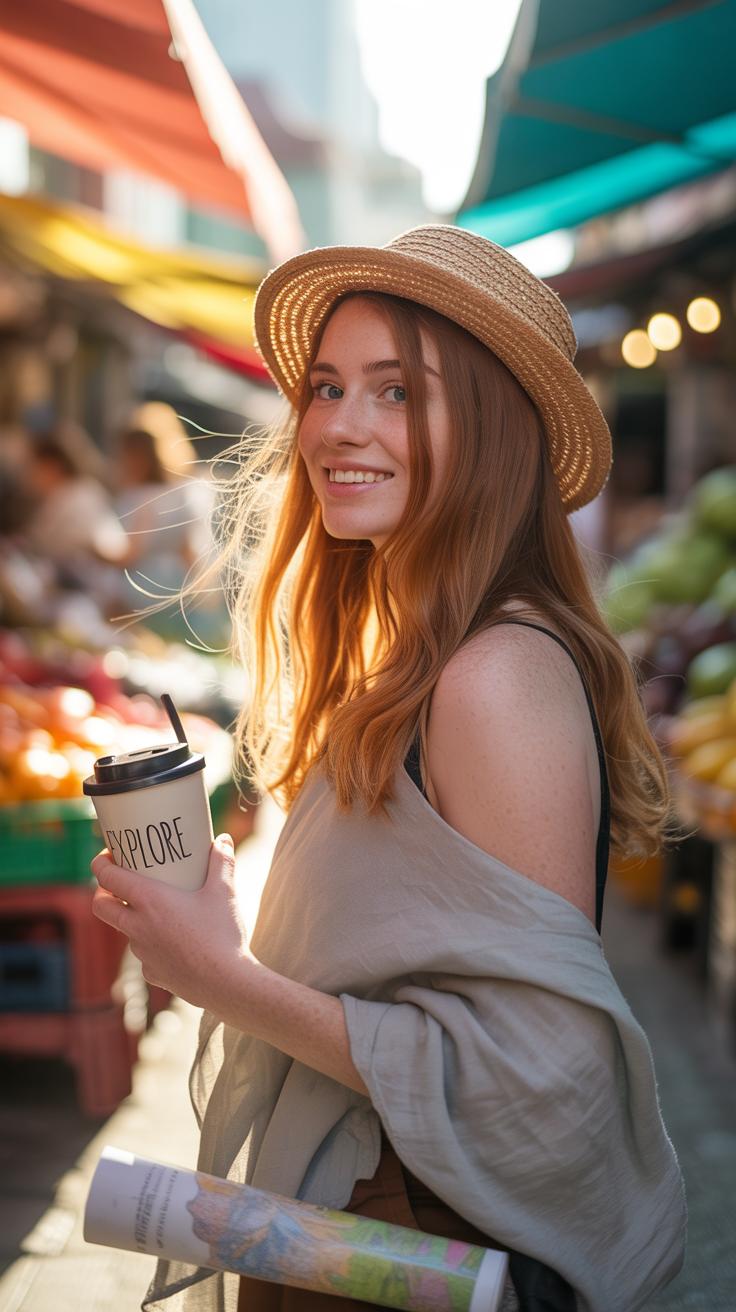
Small props or accessories can completely change the way your solo travel photos tell a story. Even something as simple as a hat or a pair of sunglasses can add a layer of personality and depth. They catch the eye and sometimes give clues about the place or mood you want to capture. When you’re on your own, these little extras can make the shot feel less empty — they fill the frame subtly without overshadowing you.
Hats, Sunglasses, And Backpacks
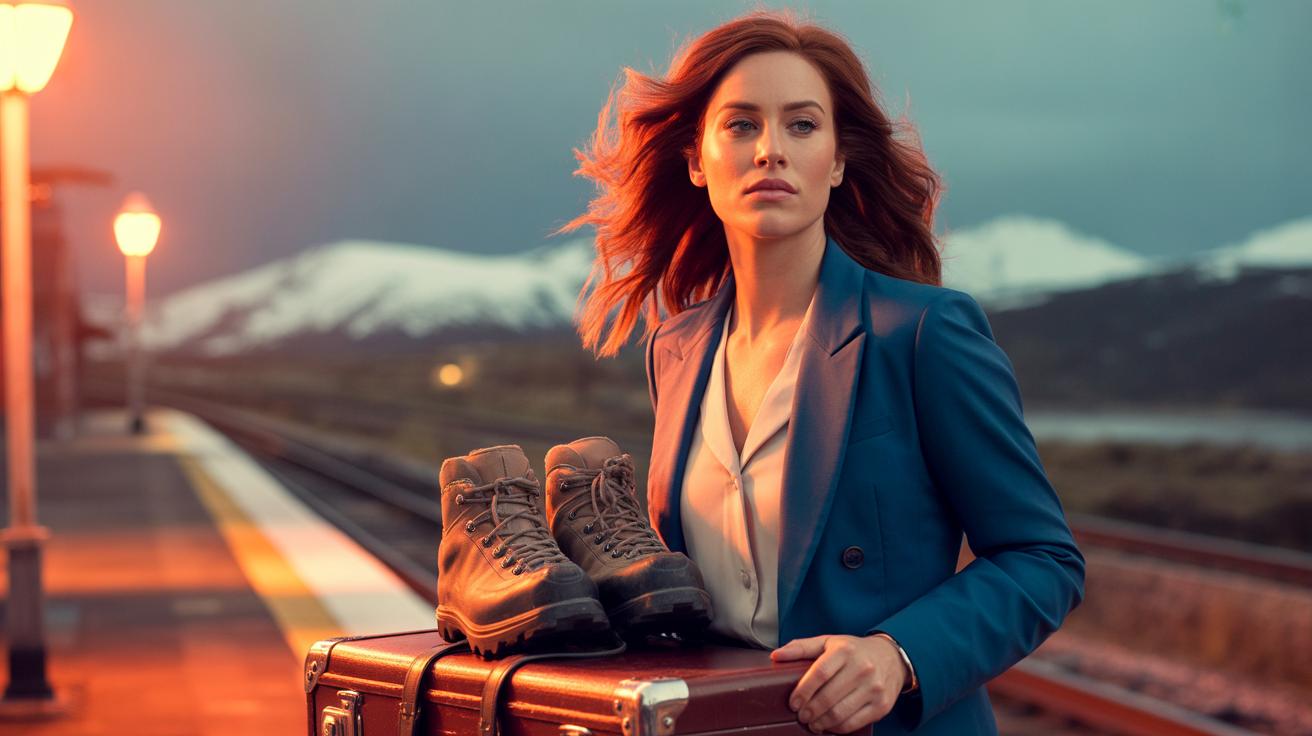
Think about these as essentials that double as style statements. A wide-brimmed hat might hint at a sunny beach day, while a worn leather backpack suggests adventure on winding paths. Sunglasses often add a cool, mysterious touch, and sometimes they reflect the scene around you, tying you visually into your surroundings. I’ve noticed that slipping on a hat or adjusting a strap in a photo often sparks a more natural pose, making the shot feel less staged.
Travel Journals And Cameras As Props
Journals and cameras do more than just fill space. They mirror the act of traveling itself. Holding a journal might show you’re reflecting, perhaps jotting down thoughts as places wash over you. A vintage camera can evoke a sense of nostalgia, or simply demonstrate that you’re not just passing through but actively capturing memories. I’ve found these props invite a storytelling quality—someone looking down at a journal or focusing on a camera lens can hint at a private moment without needing words.
Editing Solo Travel Photos To Boost Their Appeal

When you look back at your solo travel shots, you might notice some don’t quite capture the moment the way you remembered it. That’s where simple editing steps can make a noticeable difference, without turning your photo into something it’s not. Editing isn’t about changing reality, but more about highlighting what stood out to you in your experience.
Adjusting Light And Color
One thing I often do is tweak the brightness just a little. Sometimes photos come out a bit dark or washed out, especially if the lighting wasn’t perfect. Subtle adjustments can restore the natural look—just enough to bring out textures or details.
Color correction is another key part. You don’t want overly saturated skies or skin tones that look unnatural. A gentle boost to vibrancy or contrast often works better than pushing everything to extremes. Think about what felt true to the moment: was the light warm and soft, or cool and crisp? Try to reflect that.
Using Filters And Cropping
Filters can be tempting—they promise an instant aesthetic upgrade. Still, moderation matters. Using filters sparingly keeps your images authentic and relatable. Sometimes a subtle filter can add mood or cohesiveness across a series of photos, but too much can distract.
Cropping helps you reframe your shot when the background or framing isn’t perfect. You can draw attention to yourself or a particular part of the scene by trimming away distractions. I found cropping useful when I realized that a bunch of random people or objects were stealing focus from the main subject—you, and your experience.
Editing isn’t about perfection; it’s about making your photos feel like they did when you were there. Don’t be afraid to experiment, but also trust your first impression. What did you want to remember? Let that guide your choices.
Organizing And Sharing Your Solo Travel Diary
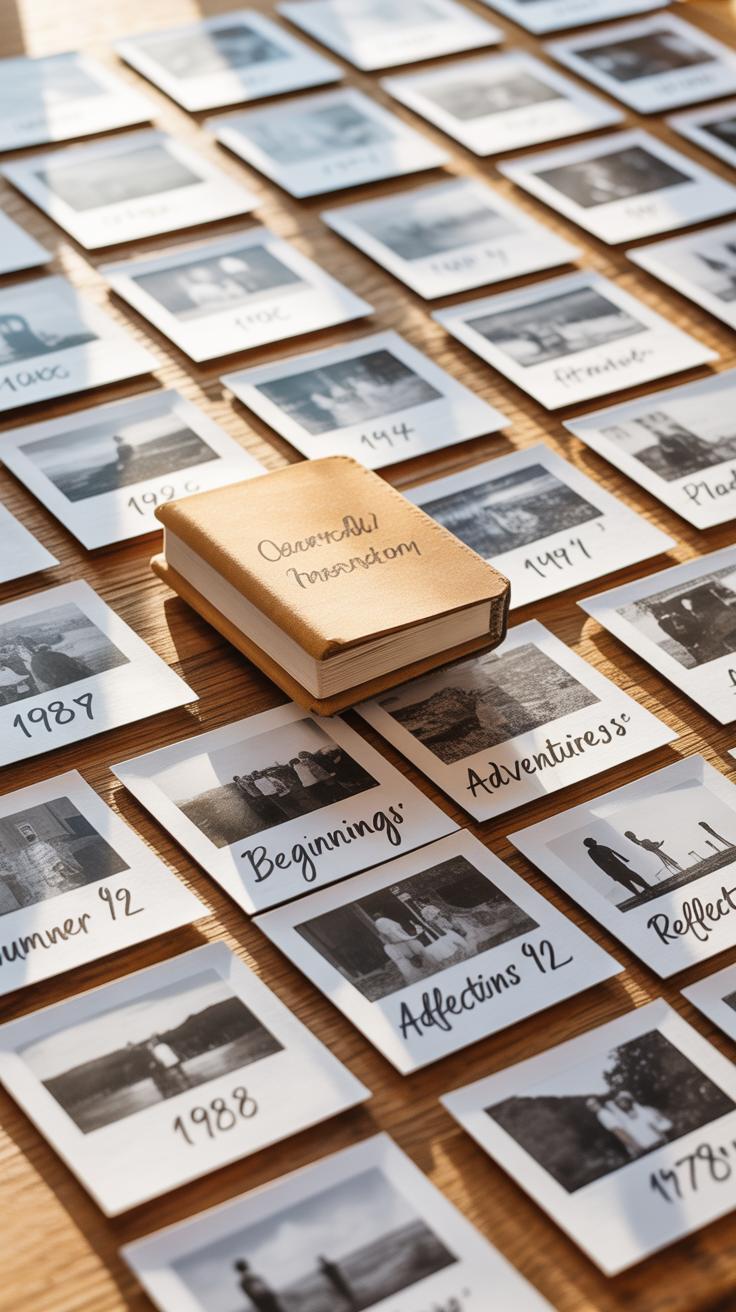
Keeping a solo travel diary isn’t just about snapping pictures—it’s about telling a story. When you pick photos for your diary, think about the journey you want to recall or share. Which moments stick with you? Is it the quiet mornings by the lake or the bustling market streets? Try to balance wide shots with close-ups, scenes with expressions. Not every photo needs to be perfect or polished; sometimes the raw, less tidy ones capture the true feel.
Think about the flow—does your set of photos feel like a sequence? You don’t have to include everything, just the images that push the story forward. Sometimes a single candid frame can carry more weight than a dozen scenic shots. Ask yourself, does this photo show a piece of the experience? Does it spark a memory or a feeling?
For sharing, the options are plenty, each serving different purposes. Digital platforms let you reach friends or other travelers quickly. Social media sites or travel forums work if you like real-time feedback, but a personal blog offers more control over how your story unfolds. If online isn’t your thing, consider printing a photo book or even a simple scrapbook. Tactile keepsakes can surprise you—they bring back emotions that screens often miss. Plus, they make great gifts for yourself or others.
So what matters most? Keeping your diary honest to your solo trip and easy to revisit. Where will you let your story live?
Staying Safe While Taking Solo Travel Photos
When you’re out chasing that perfect shot, it’s easy to get lost in the moment—and forget what’s happening around you. But staying aware of your surroundings can make all the difference. Try to keep a quick mental note of where people are, what’s behind you, and any escape routes—especially in busy or unfamiliar areas. Sometimes I found myself so focused on framing a photo, I missed subtle cues or felt uneasy a little too late. It’s better to pause for a second, glance around, and then shoot.
Your equipment is your companion on these trips. Carry your camera or phone securely—maybe in a crossbody bag or a strap you can lock. I once had a camera strap snap unexpectedly, and that shook me for a moment. Having gear close to your body cuts the chance of someone swiping it or accidentally dropping it. When you’re not shooting, tuck devices away rather than flashing them around. The less obvious your gear is, the safer you’ll be.
Think about timing, too. Maybe skip taking photos in places that feel deserted or sketchy, even if the light looks amazing. It’s tempting to capture everything, but your safety beats any shot. What’s the point of a great image if it comes at a real risk?
Ask yourself: is this spot safe right now? Could I keep an eye on my things if I look through the viewfinder? These little questions can keep your experience positive, and that makes the whole journey more enjoyable in the long run.
Conclusions
Taking solo travel photos is a great way to keep memories of your adventures. By using the right angles, lighting, and creative poses, you can tell a story through your pictures. This helps you remember the places you visited and the feelings you had while traveling alone.
Don’t be afraid to experiment with different styles and backgrounds. Each photo can show a part of your journey and make your travel diary more special. Keep trying new ideas and enjoy the process of capturing your unique travel moments.